
DIY POTA & SOTA Battery
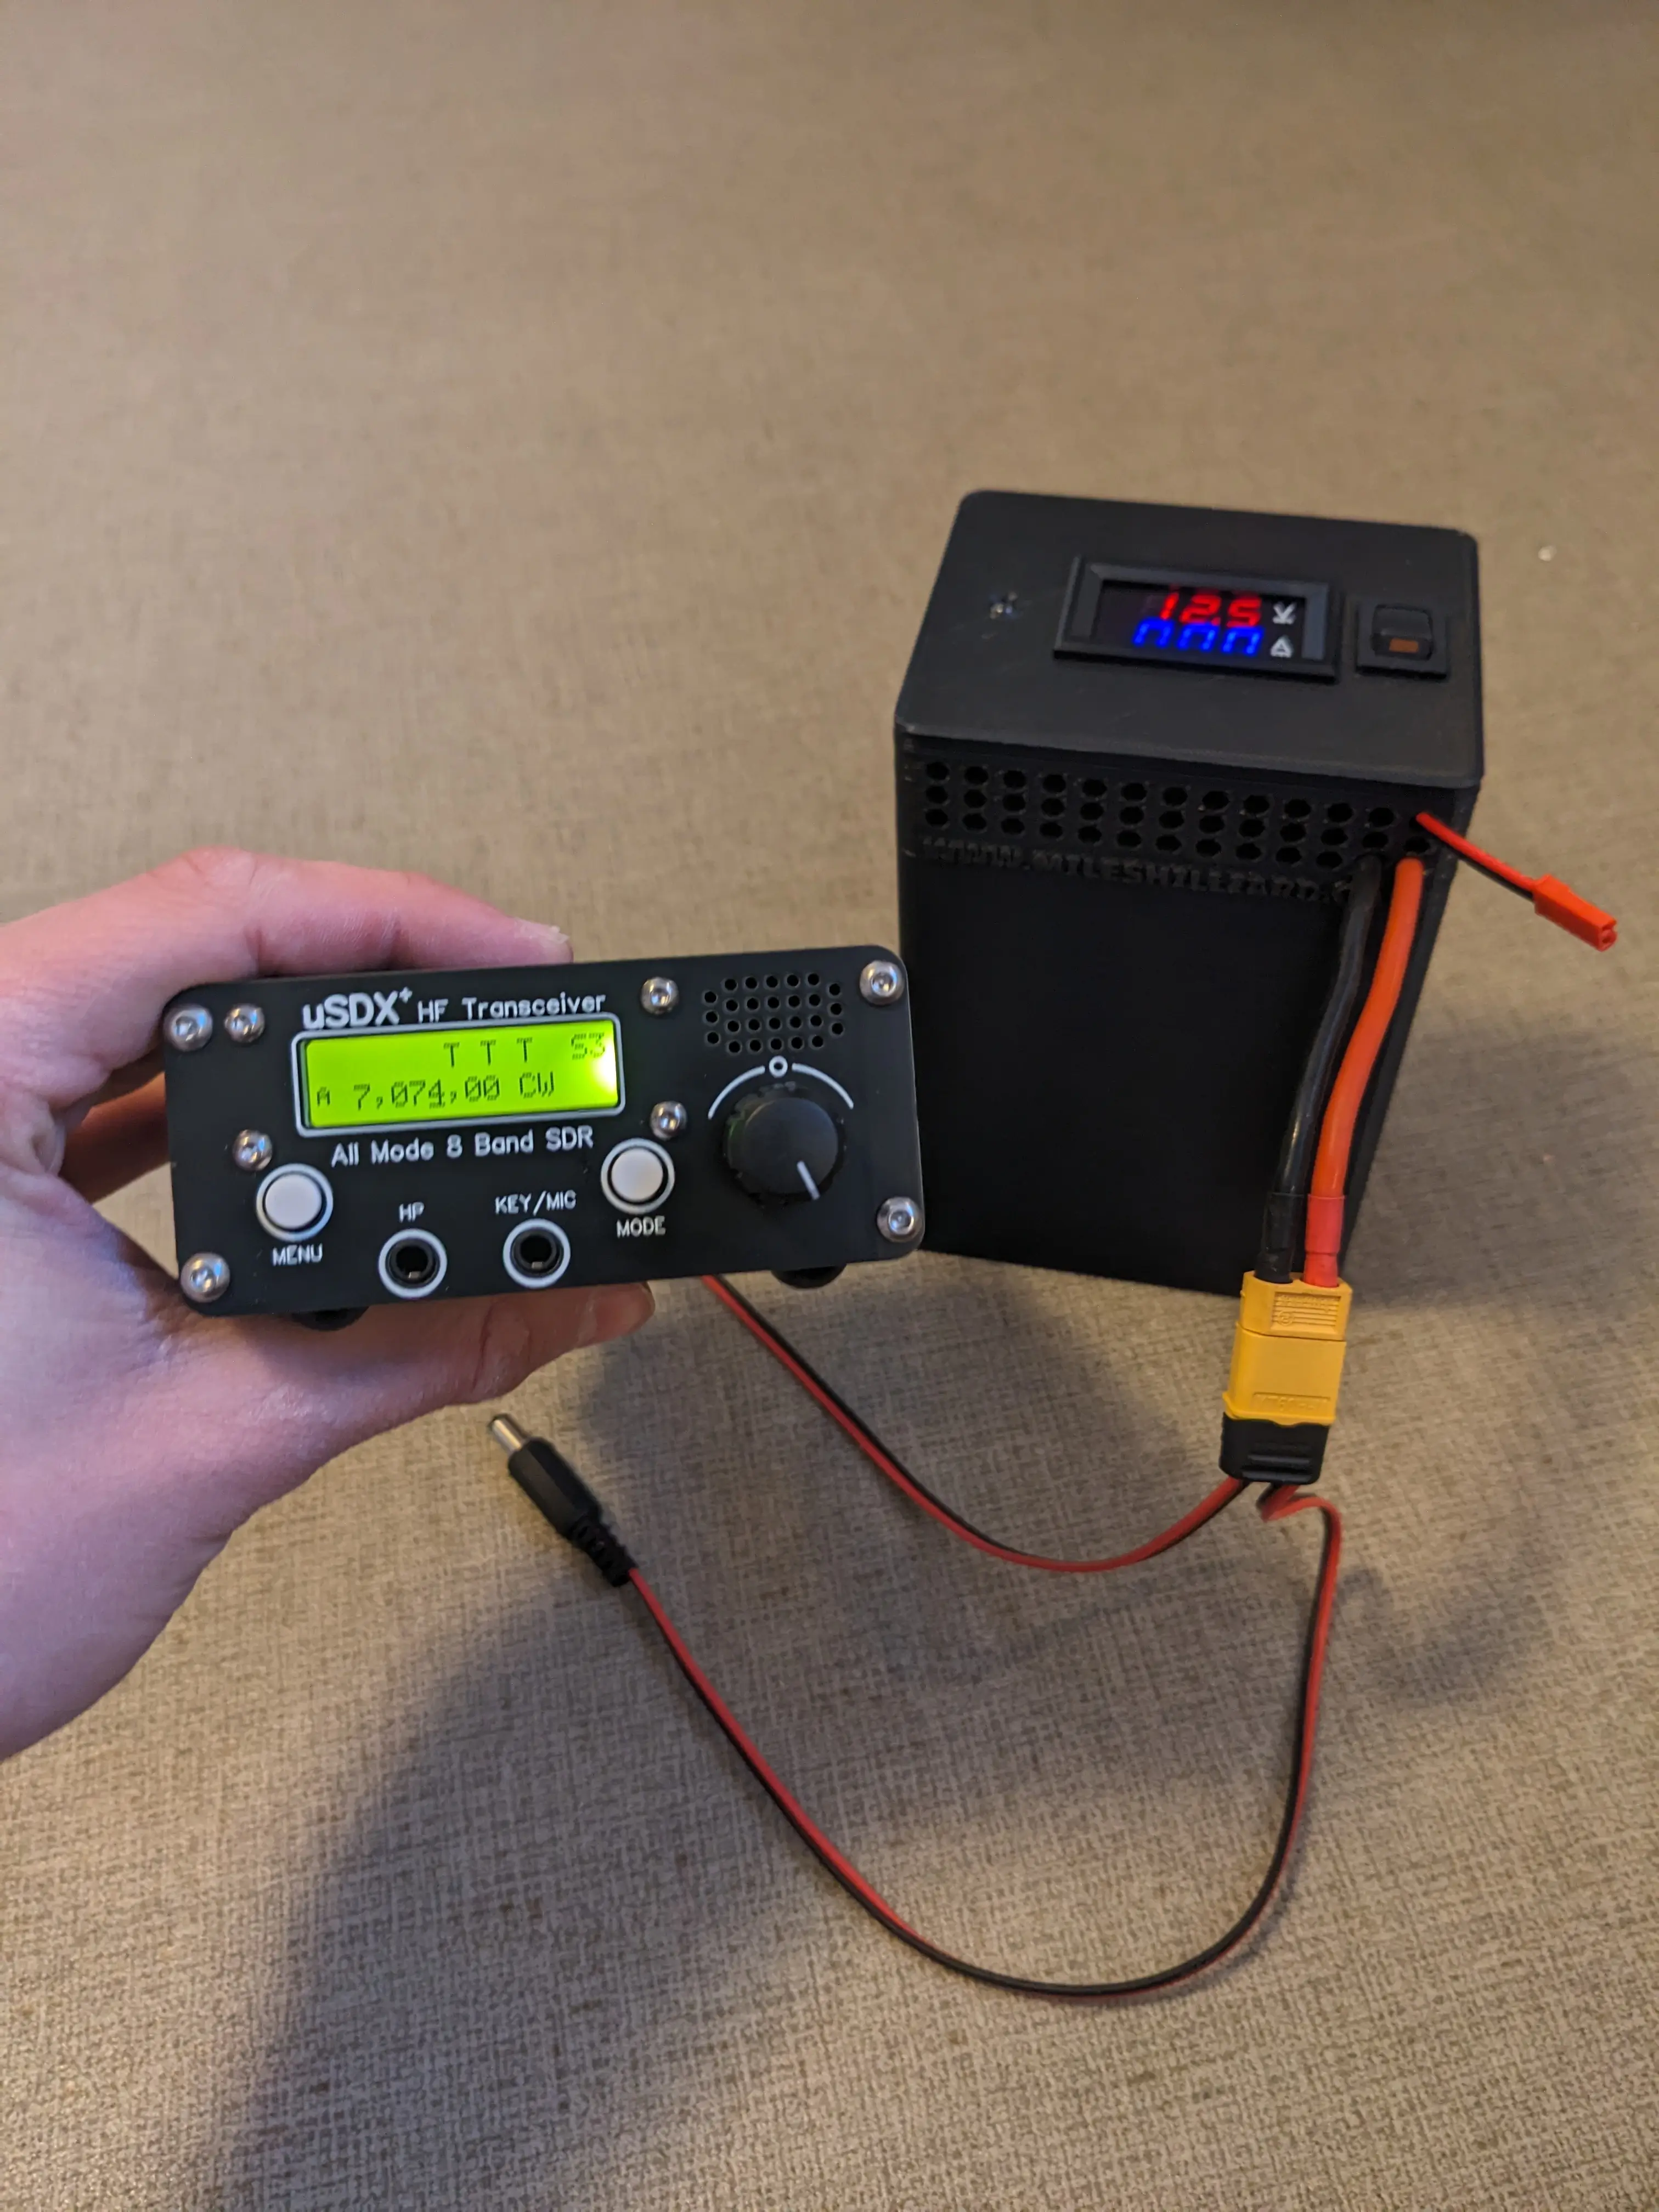
Ever since I got my USDX+ QRP Radio I have needed some way to reliably power it.
Originally, I started with a random 12v wall wart that I found from an old router. I saw that it could deliver 3A so I thought it would have been the perfect match… but I was wrong
The USDX+ has an SDR receiver and is very prone to interference (not just RF but power line noise too) which I found very noticeable on my trip to AZ. Despite that, I still made my first CW contacts!!! I also didn’t have an antenna tuner, which made using my EFHW a little harder than I originally anticipated. (I bought an ATU-100 kit that I will make a post about assembling and mods,etc.shortly on)
My plan is to bring this radio (and soon the tuner as well) with me when I take trips/vacations/hikes mostly to places where there is no easy way to get power. There are existing solutions, like portable lithium batteries that are perfect for this type of thing, but I really don’t need any more batteries in my inventory.
I decided to model my system around the cheap and readily available MIGHTY MAX 12v SLA 5 AH battery. I decided against lithium for several reasons but the biggest one being because I don’t actually have great 18650 cells for this project at the moment, and I have 5 of these SLA batteries laying around.
To start, I designed everything in Fusion 360 to be 3D printed.

Then, I sent everything over to my Ender 3 to be done overnight, which greeted me with nicely printed parts the next morning.

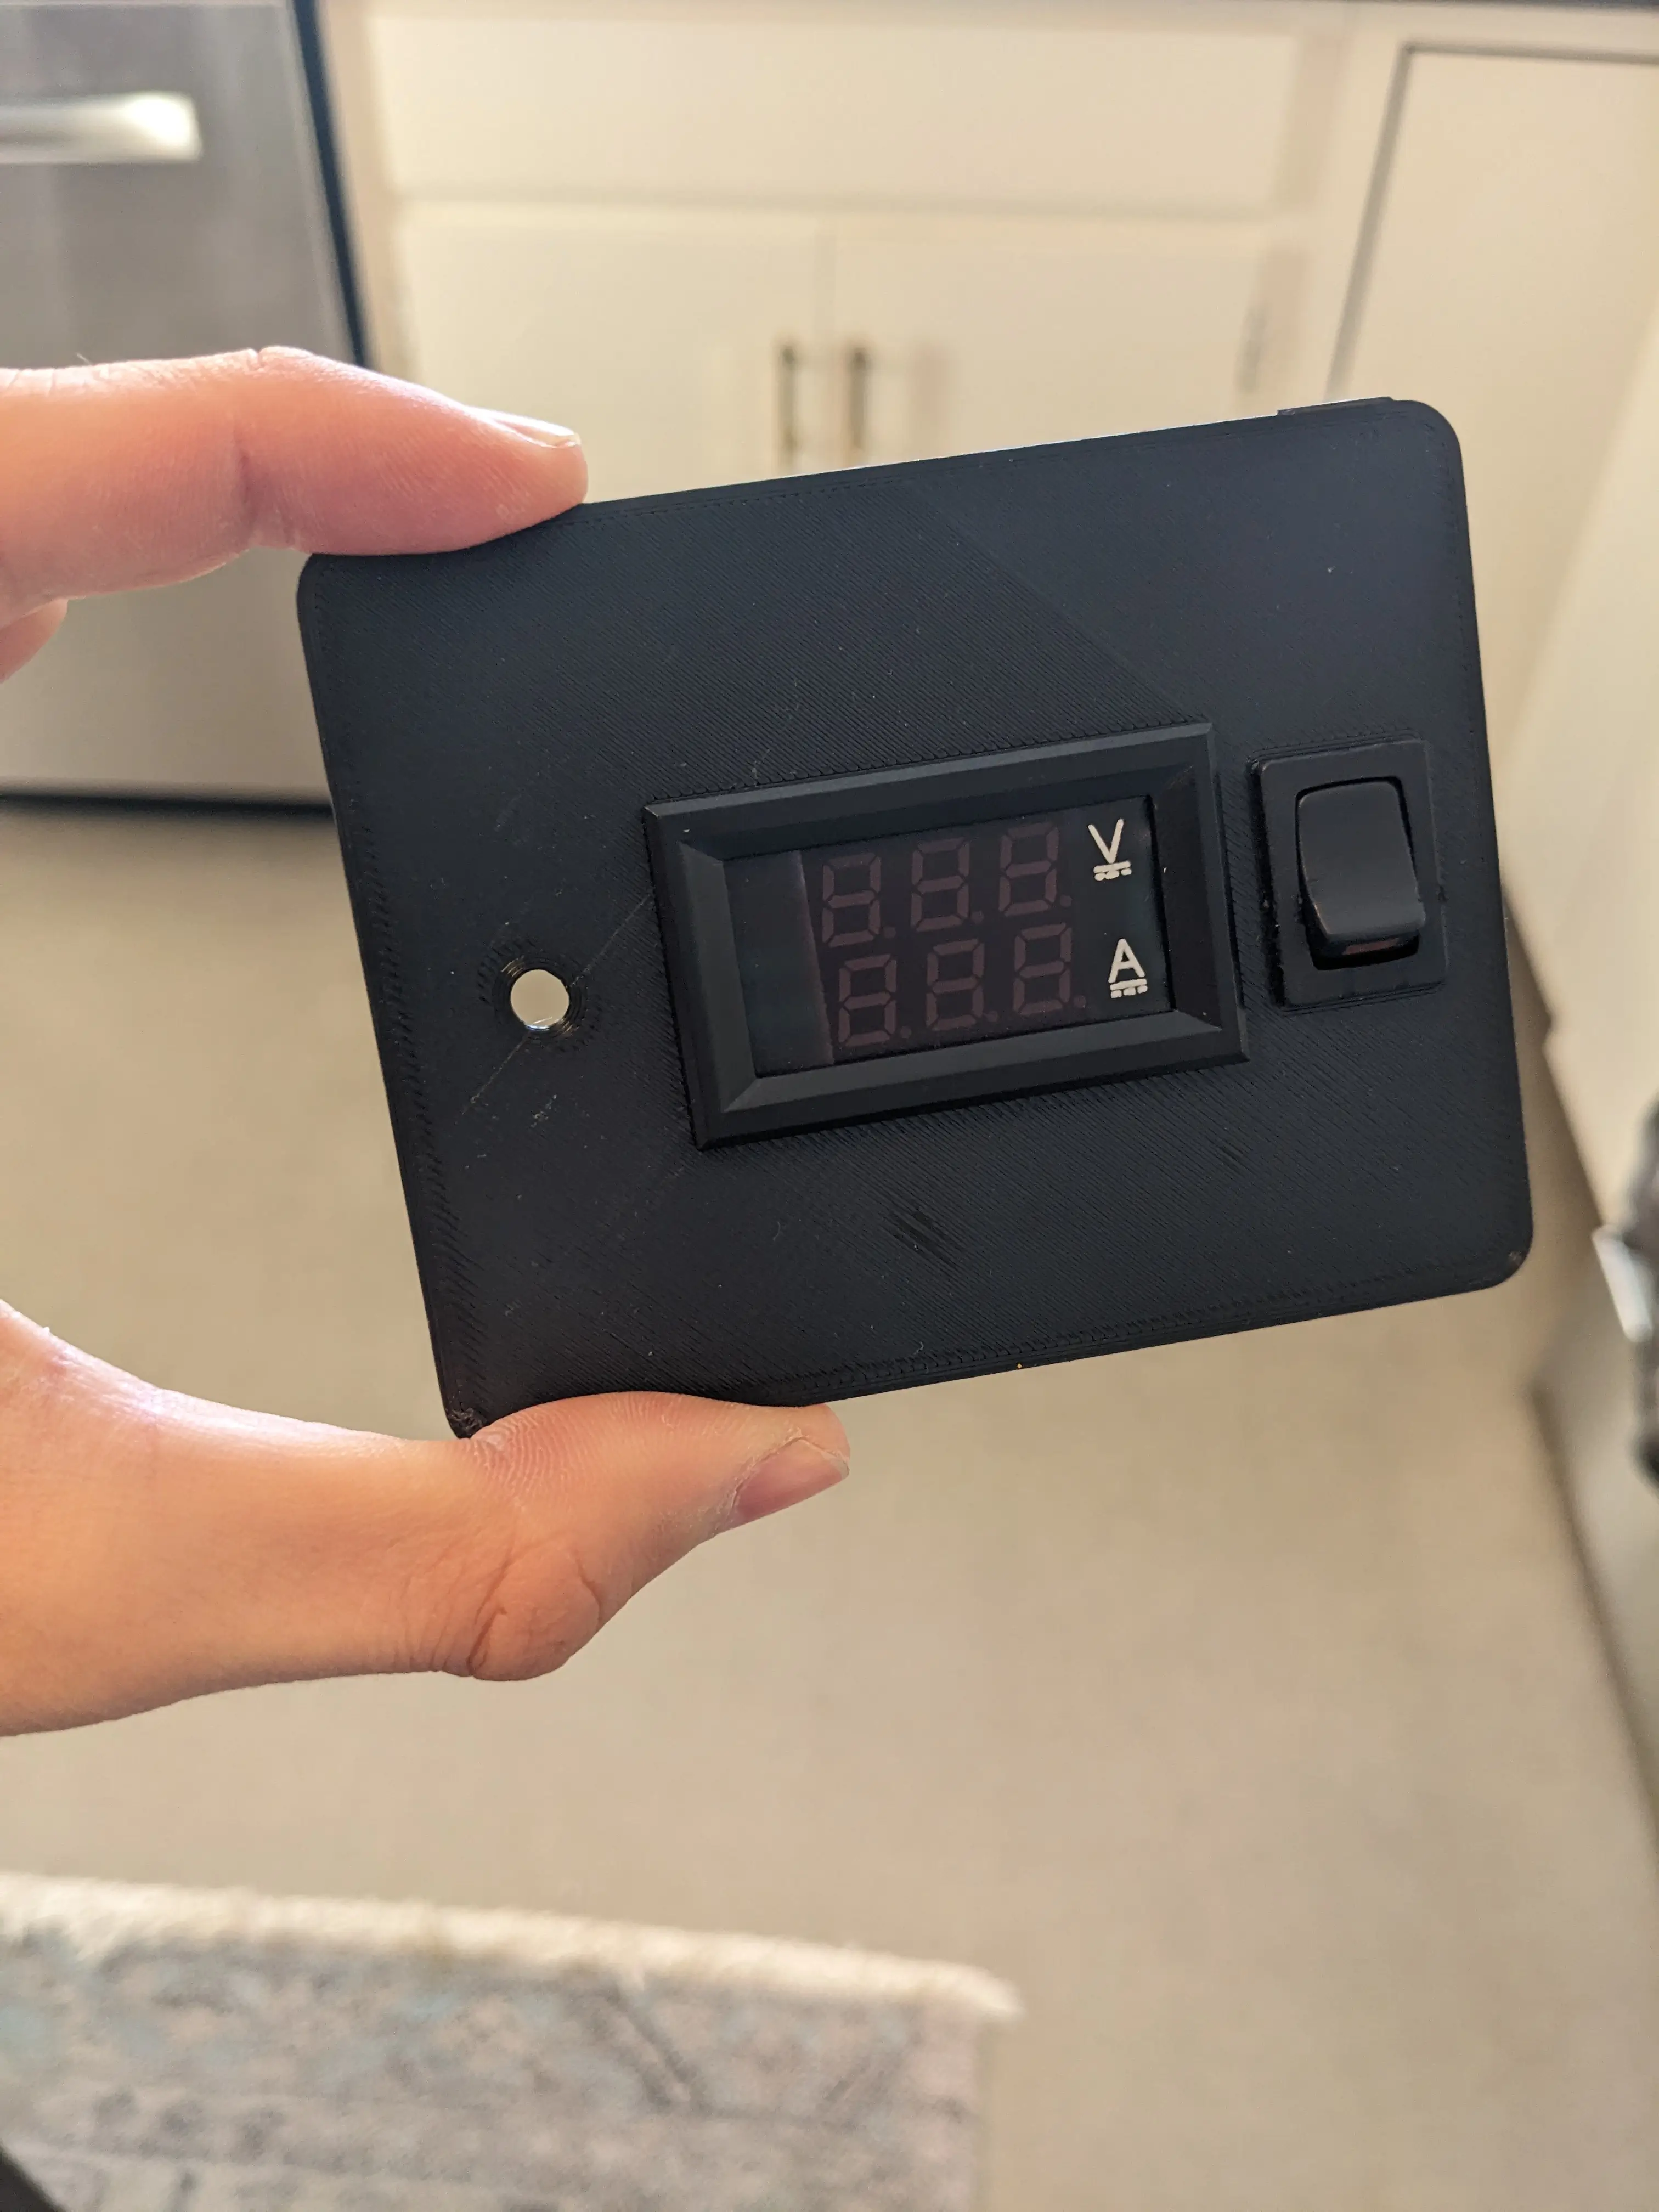
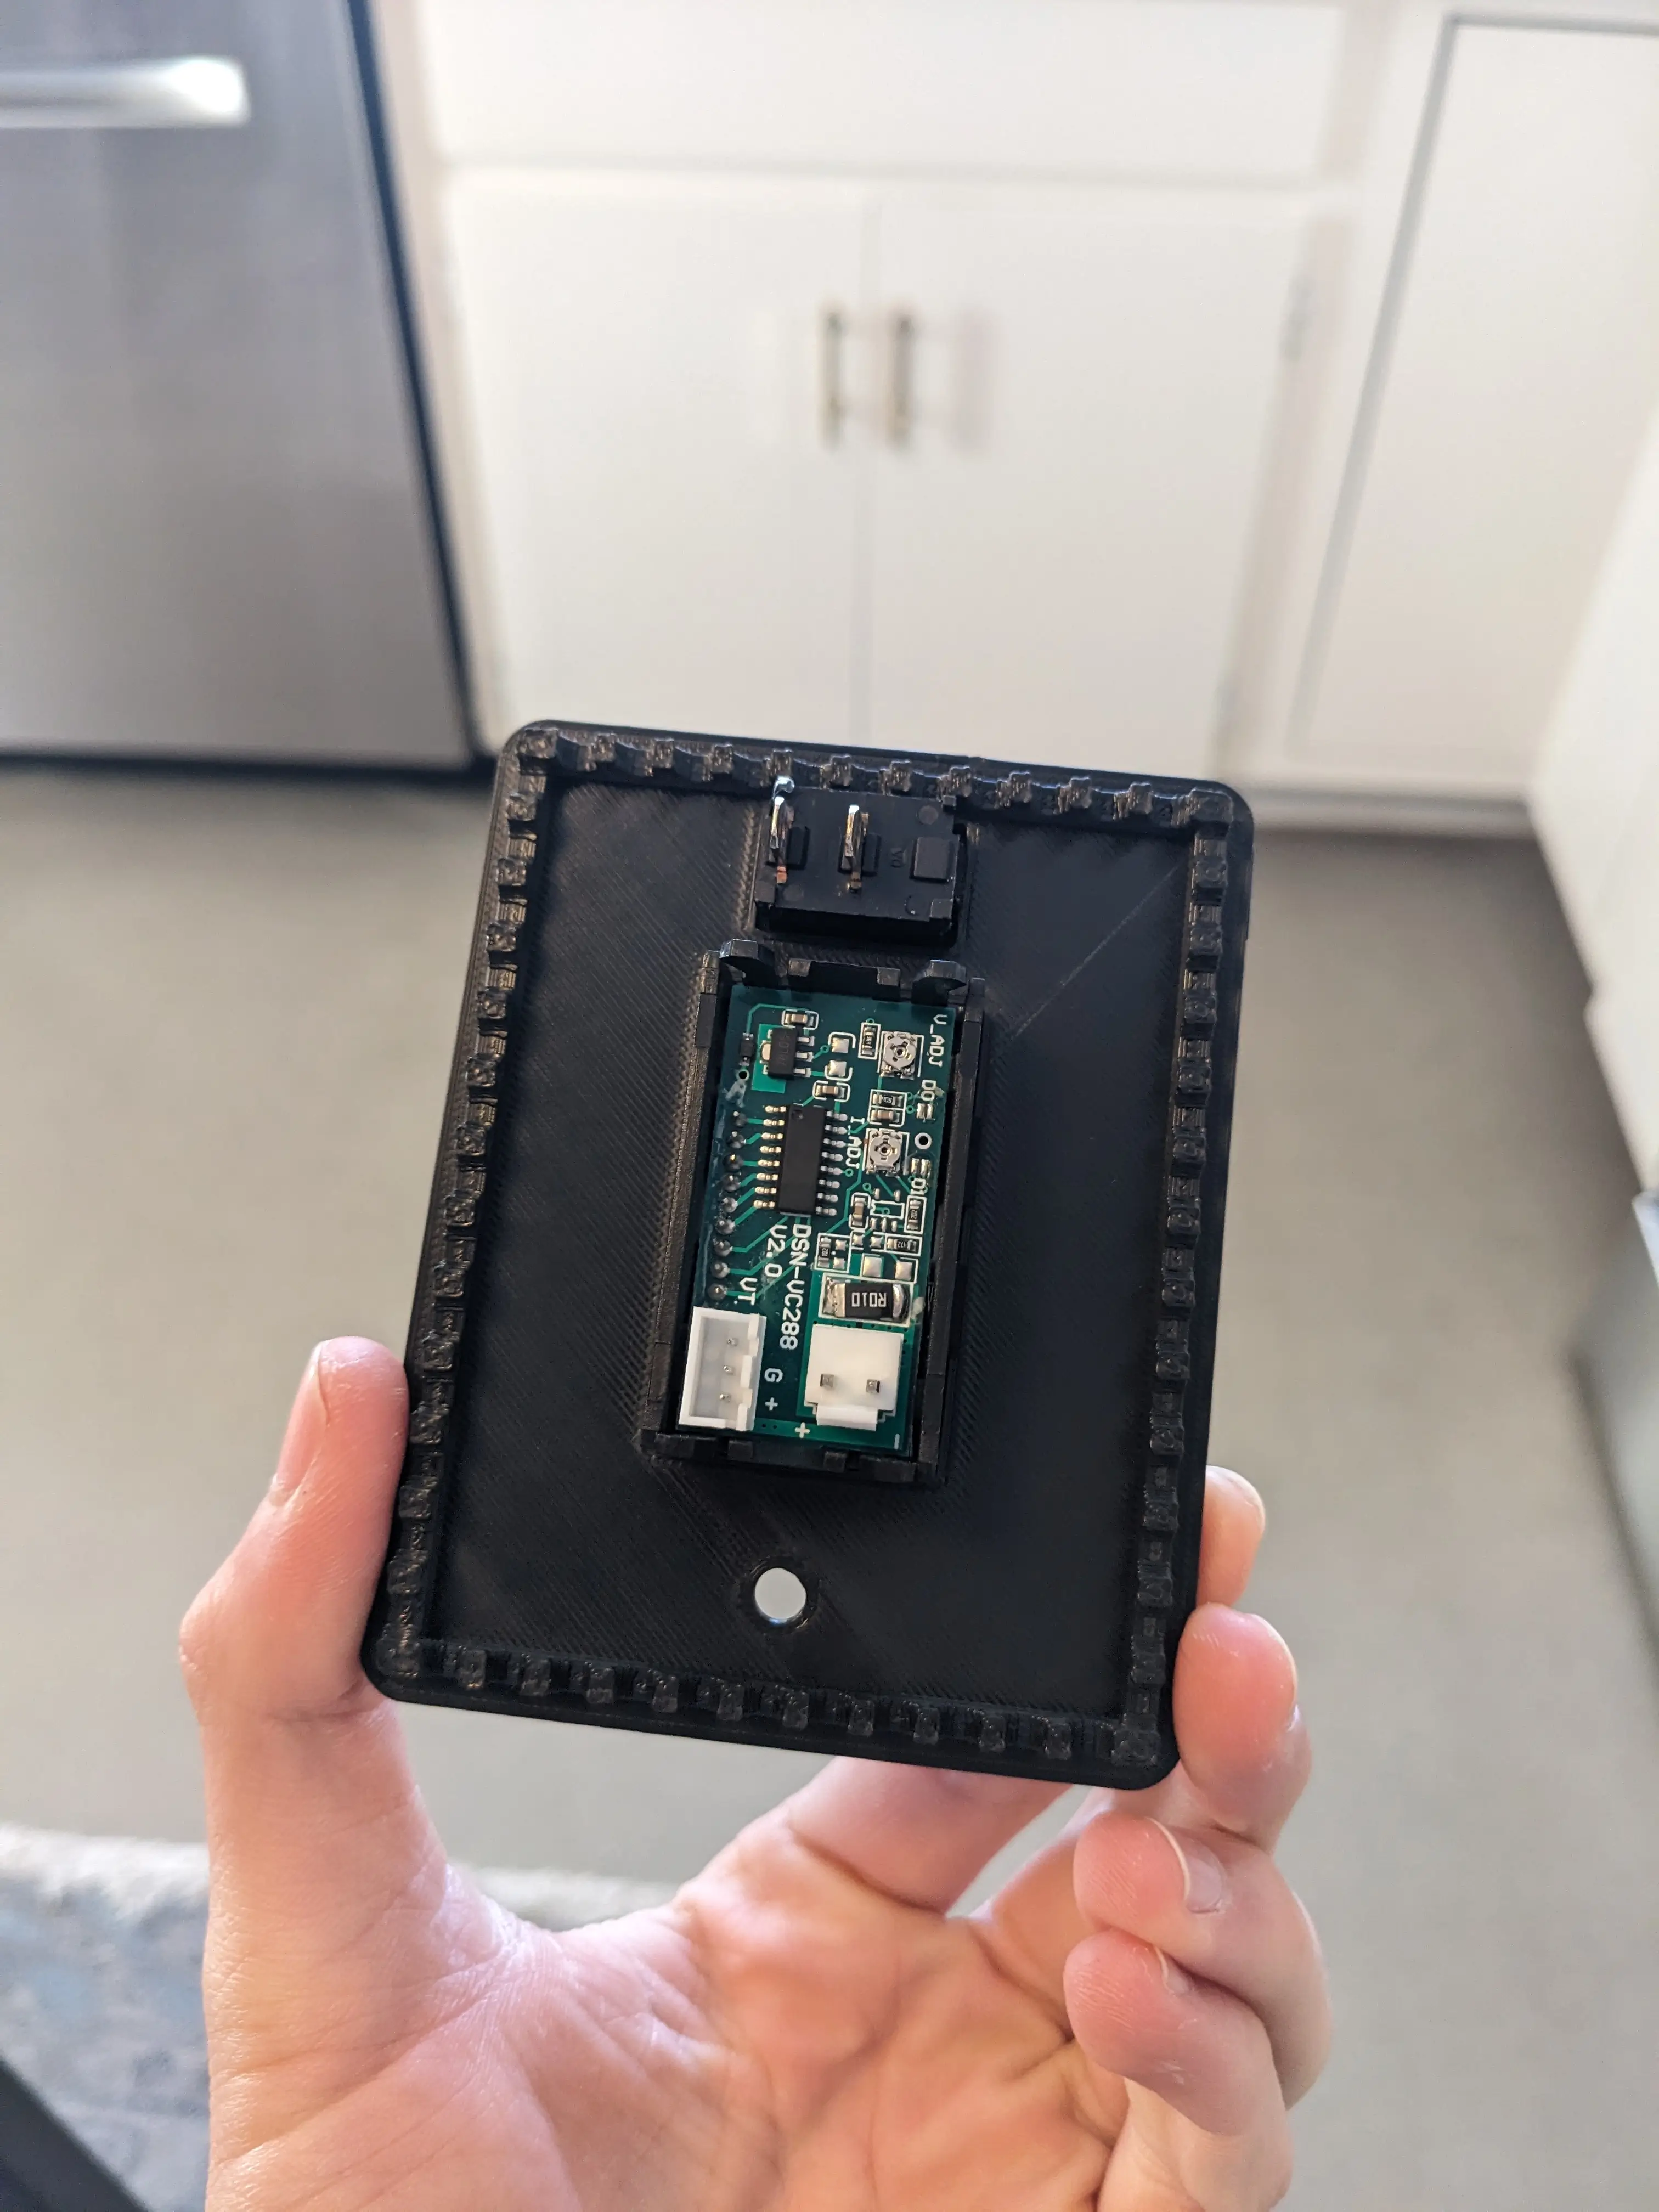
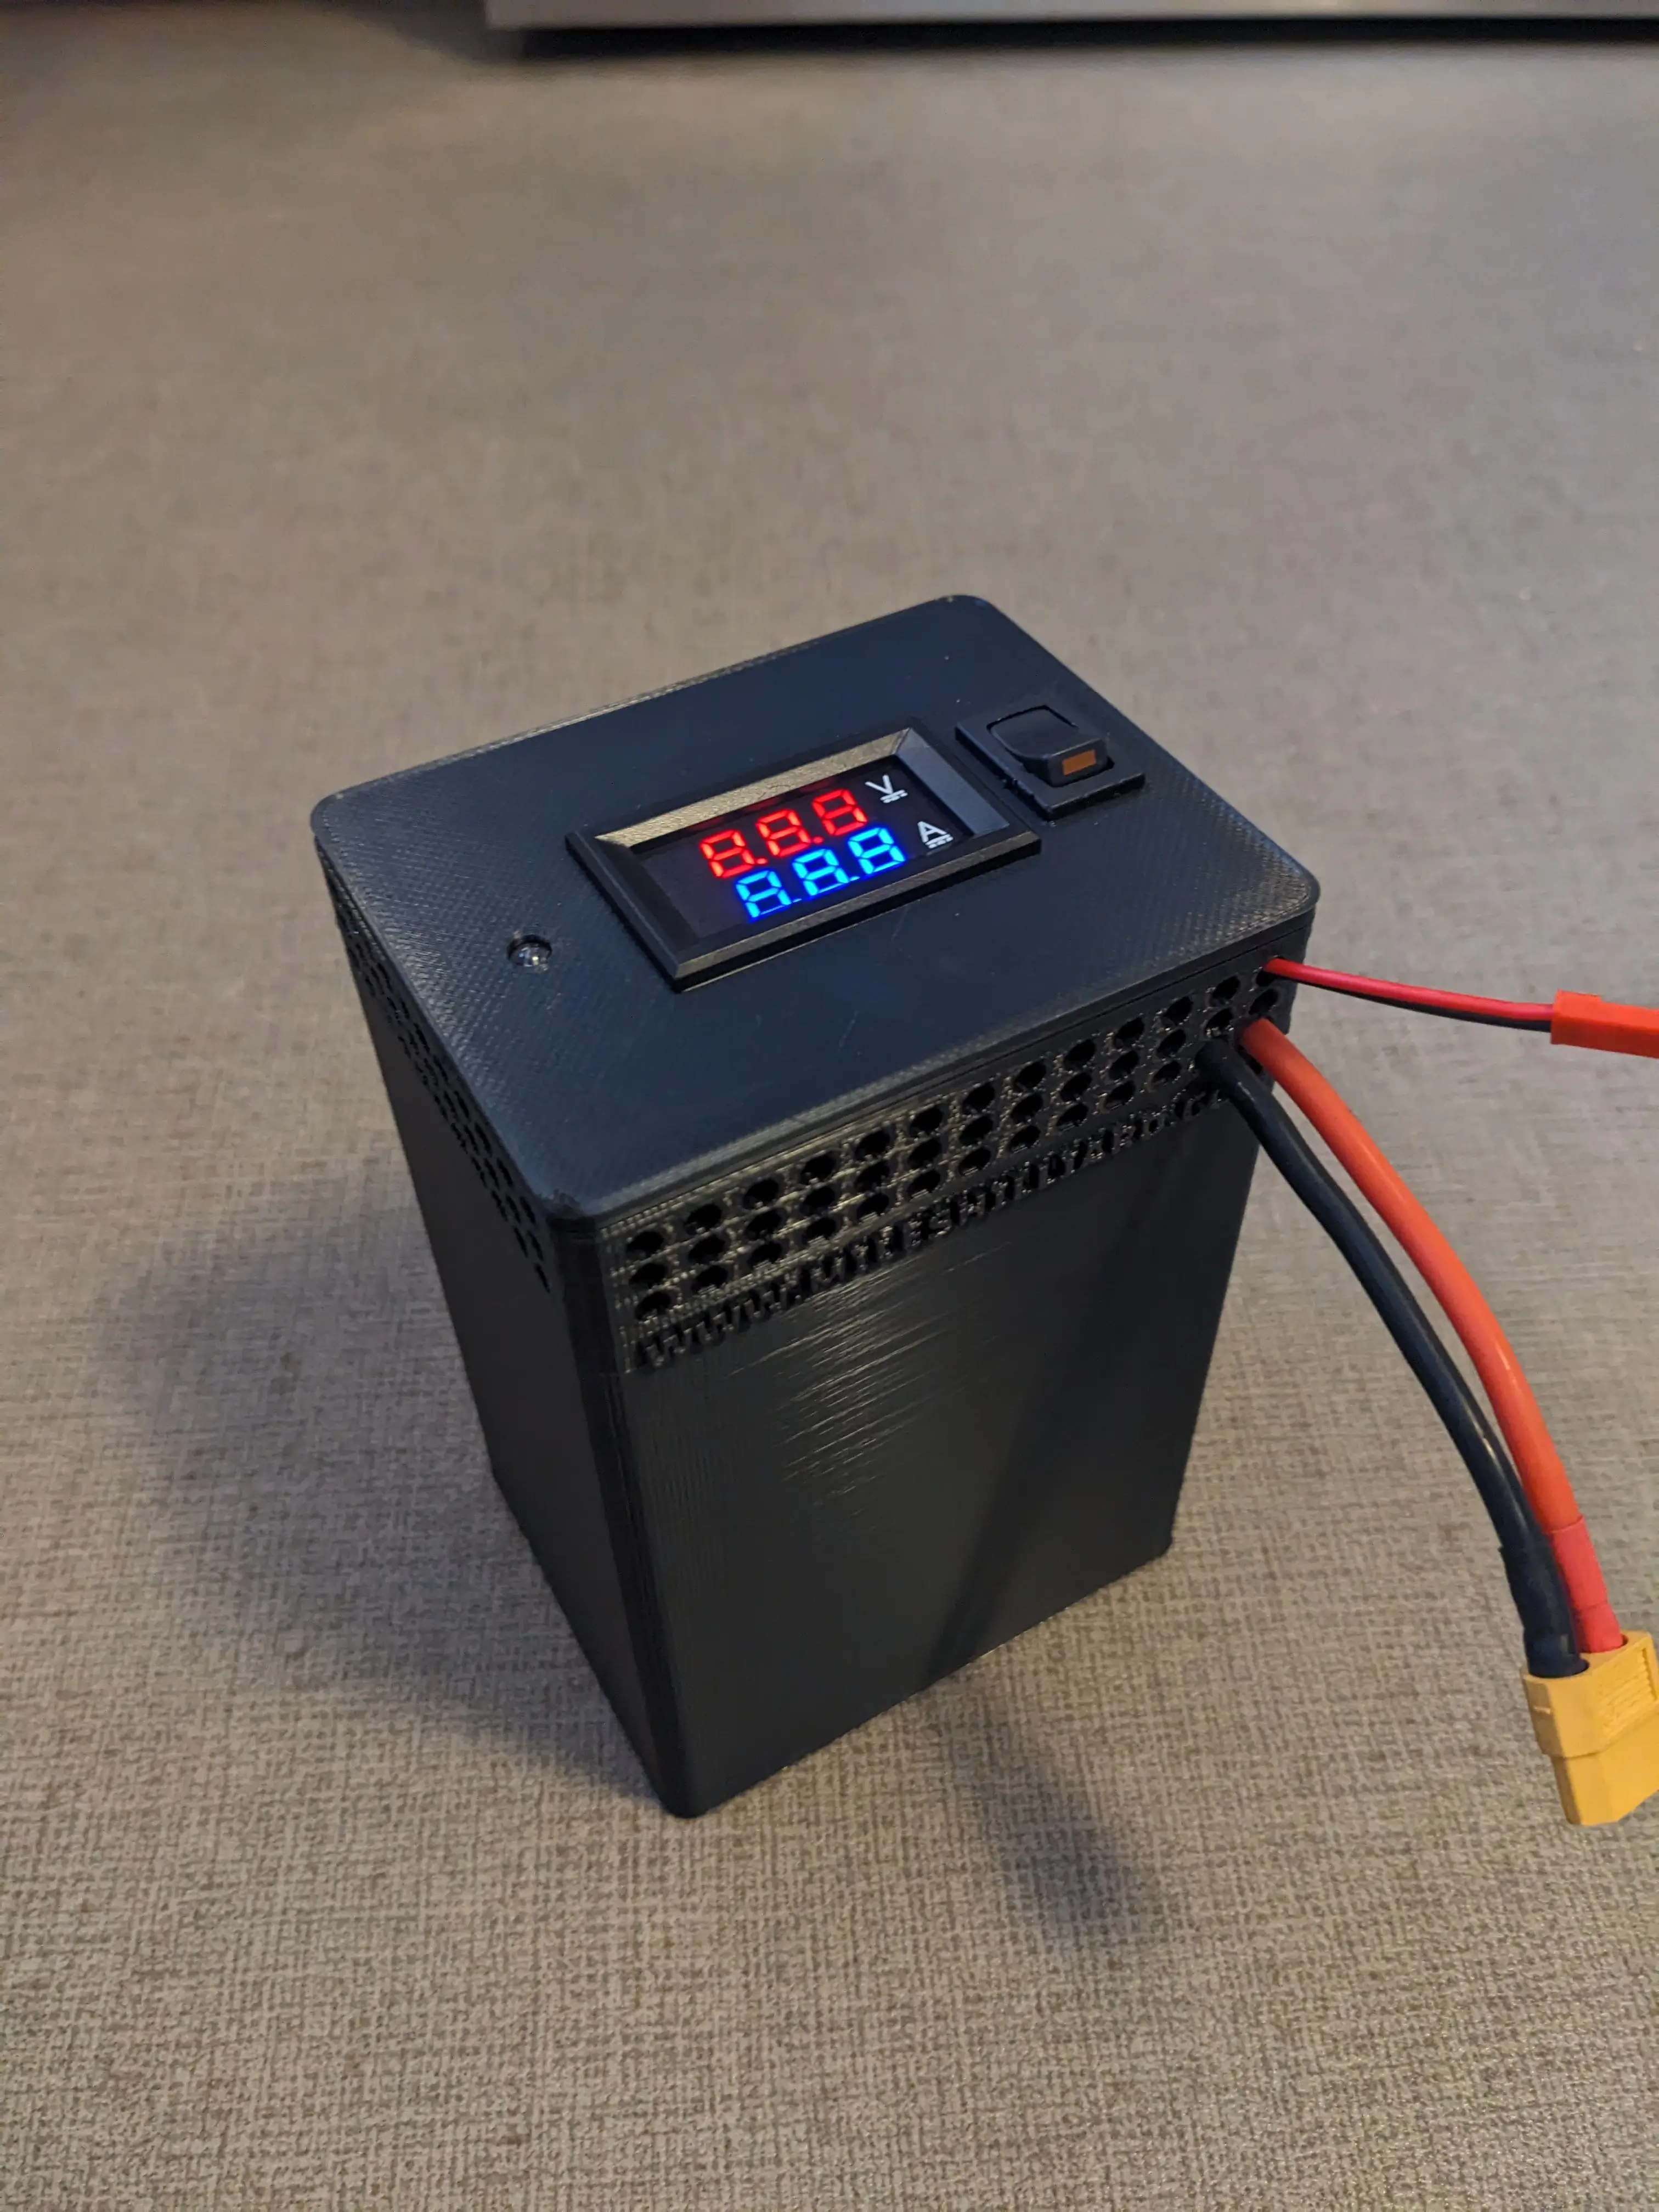
Next, I installed the voltage and amperage display, along with the main power switch to the front panel, which pushed into place very nicely. I think I have mastered the tolerances for my printer 😎.
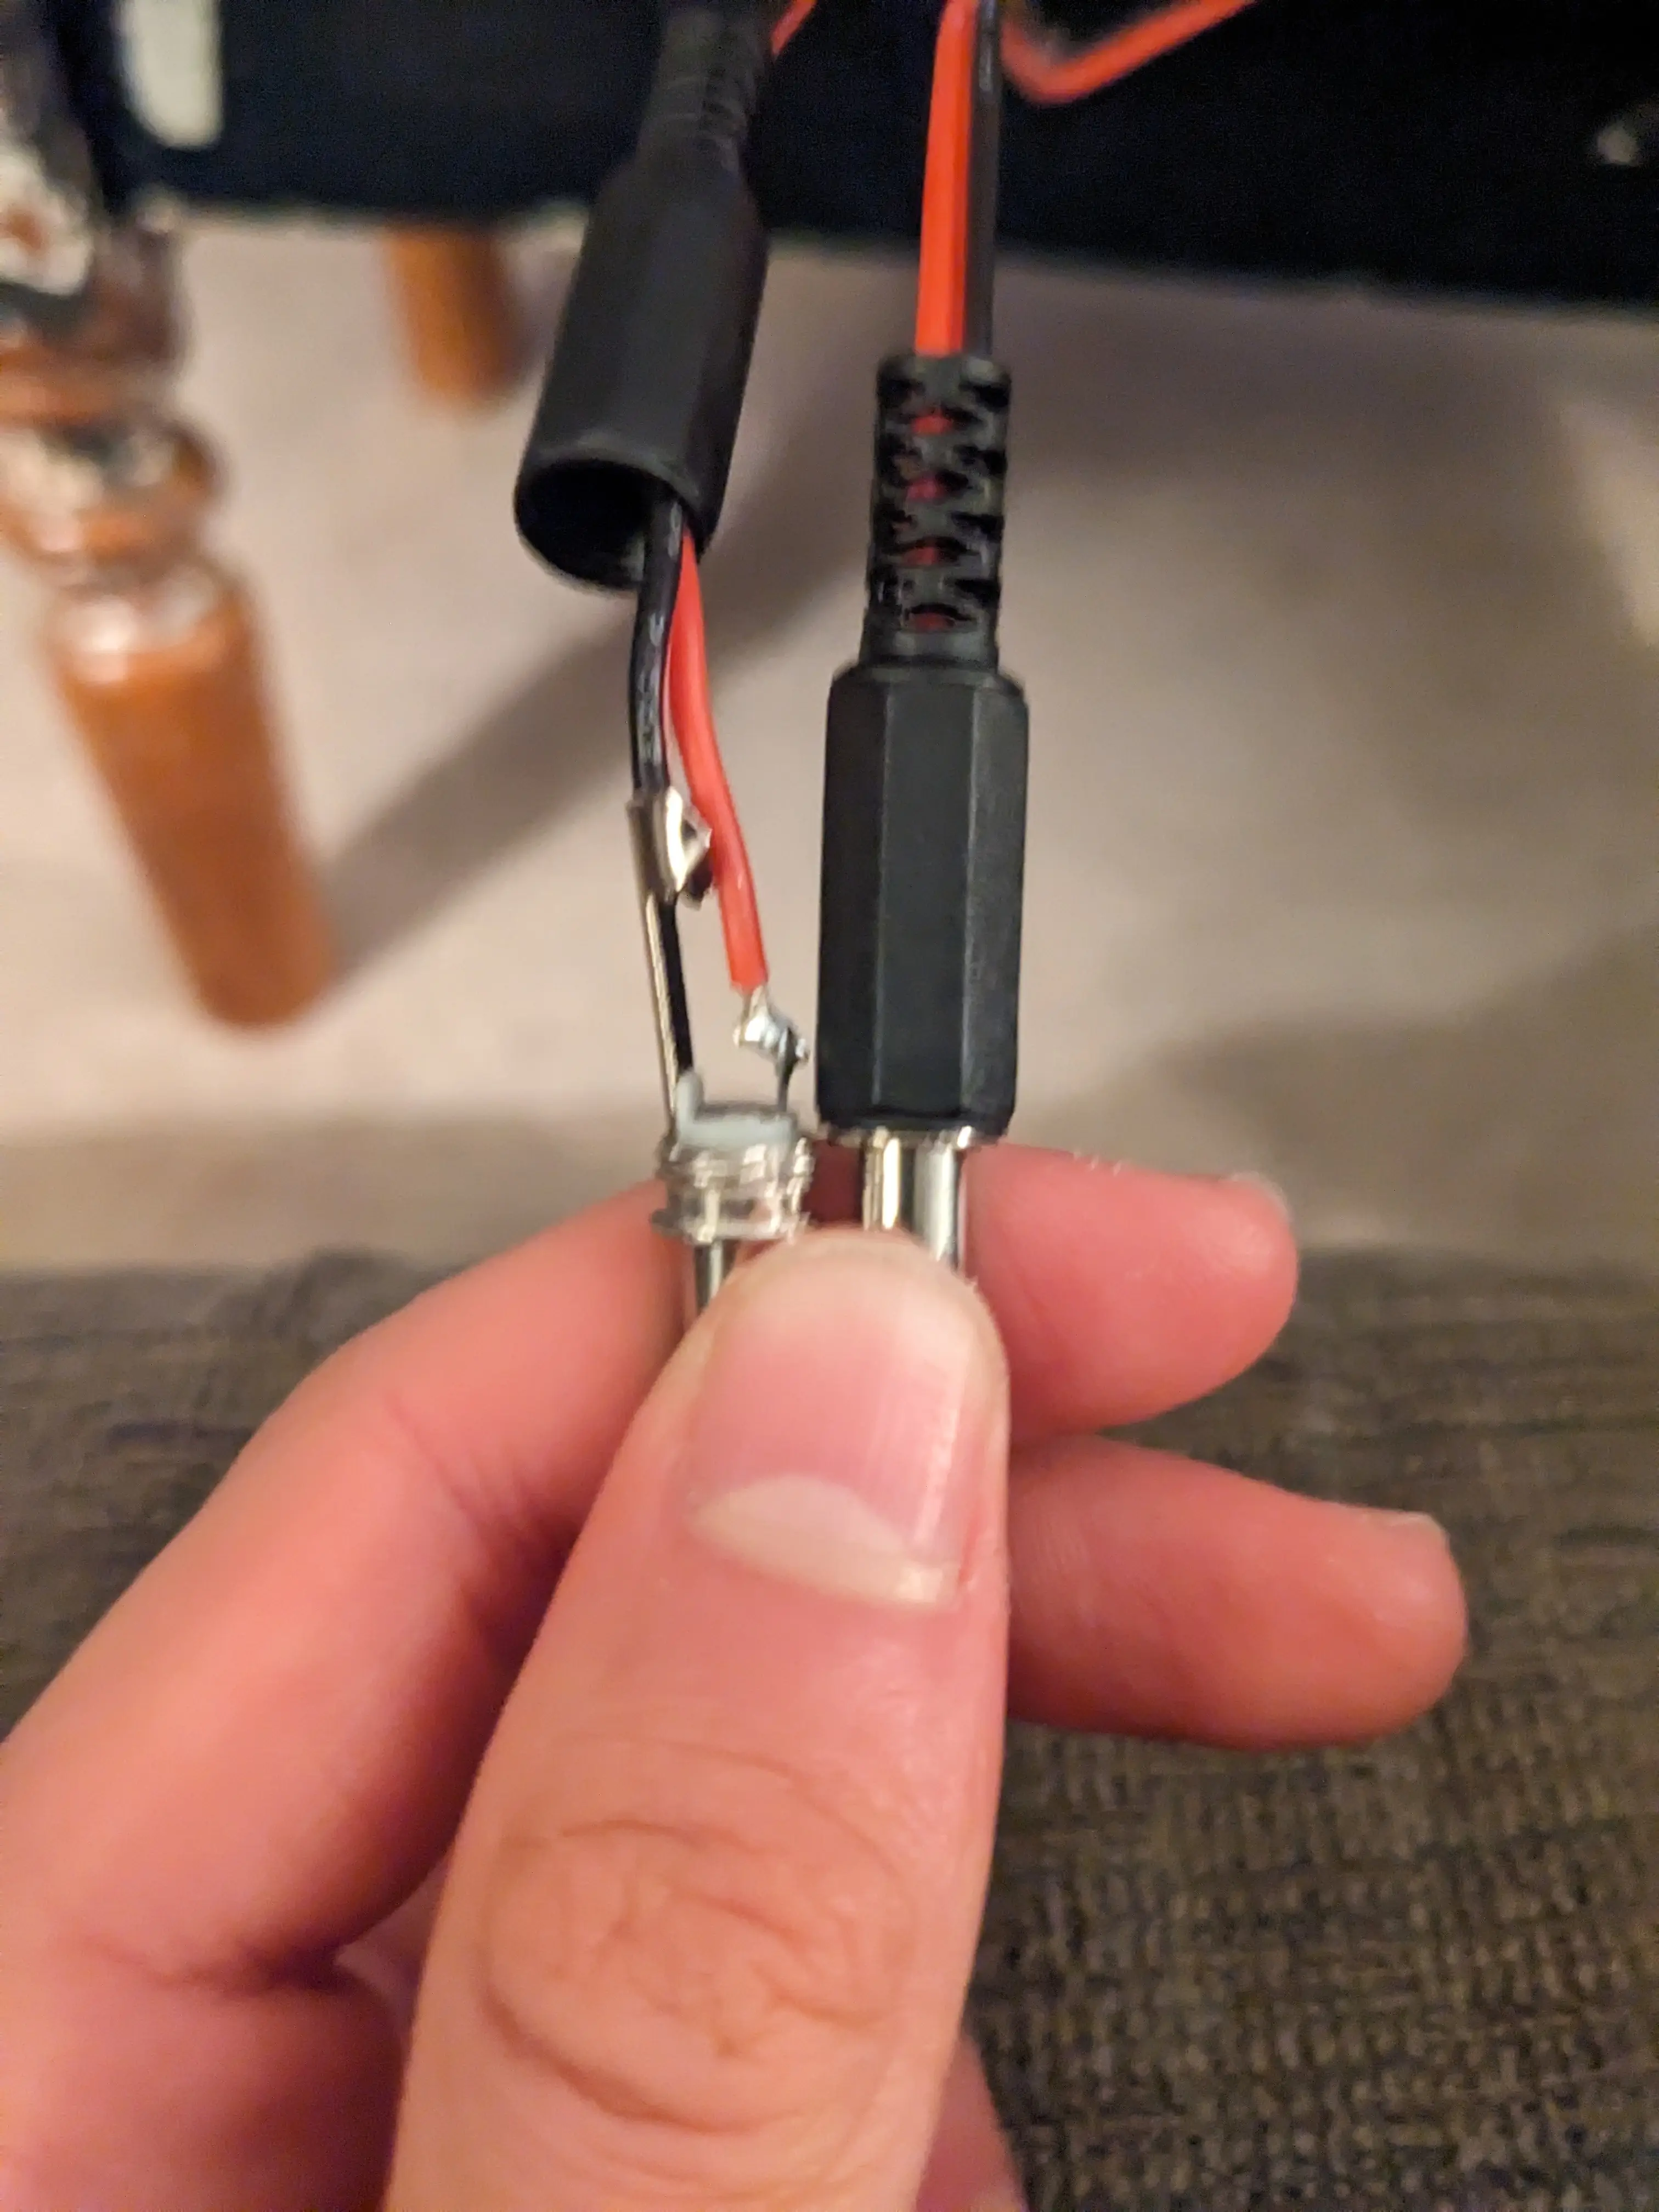
Both my USDX+ radio and the ATU-100 utilize rear mounted barrel jacks. They are pretty standard, but I needed to make sure that my power bank would be able to directly connect to them without needing sketchy cables or several adapters. I didn’t want the only connector on the power bank to be barrel jacks, so I decided to go with XT-60 connectors. I personally use these connectors a ton. They are reliable, rated for high current, and cheap. I then made a simple adapter to split the XT-60 connector into two barrel jacks for my radio and tuner.
Now, for the moment of truth, its time to slide the battery into the case… It didn’t quite fit on the first attempt, so I had to do some strategic sanding (both on the battery and the case). This was enough to shave off the fraction of a millimeter that was holding it up from going in smoothly. After this, I began to wire everything together inside. The connections were pretty simple.
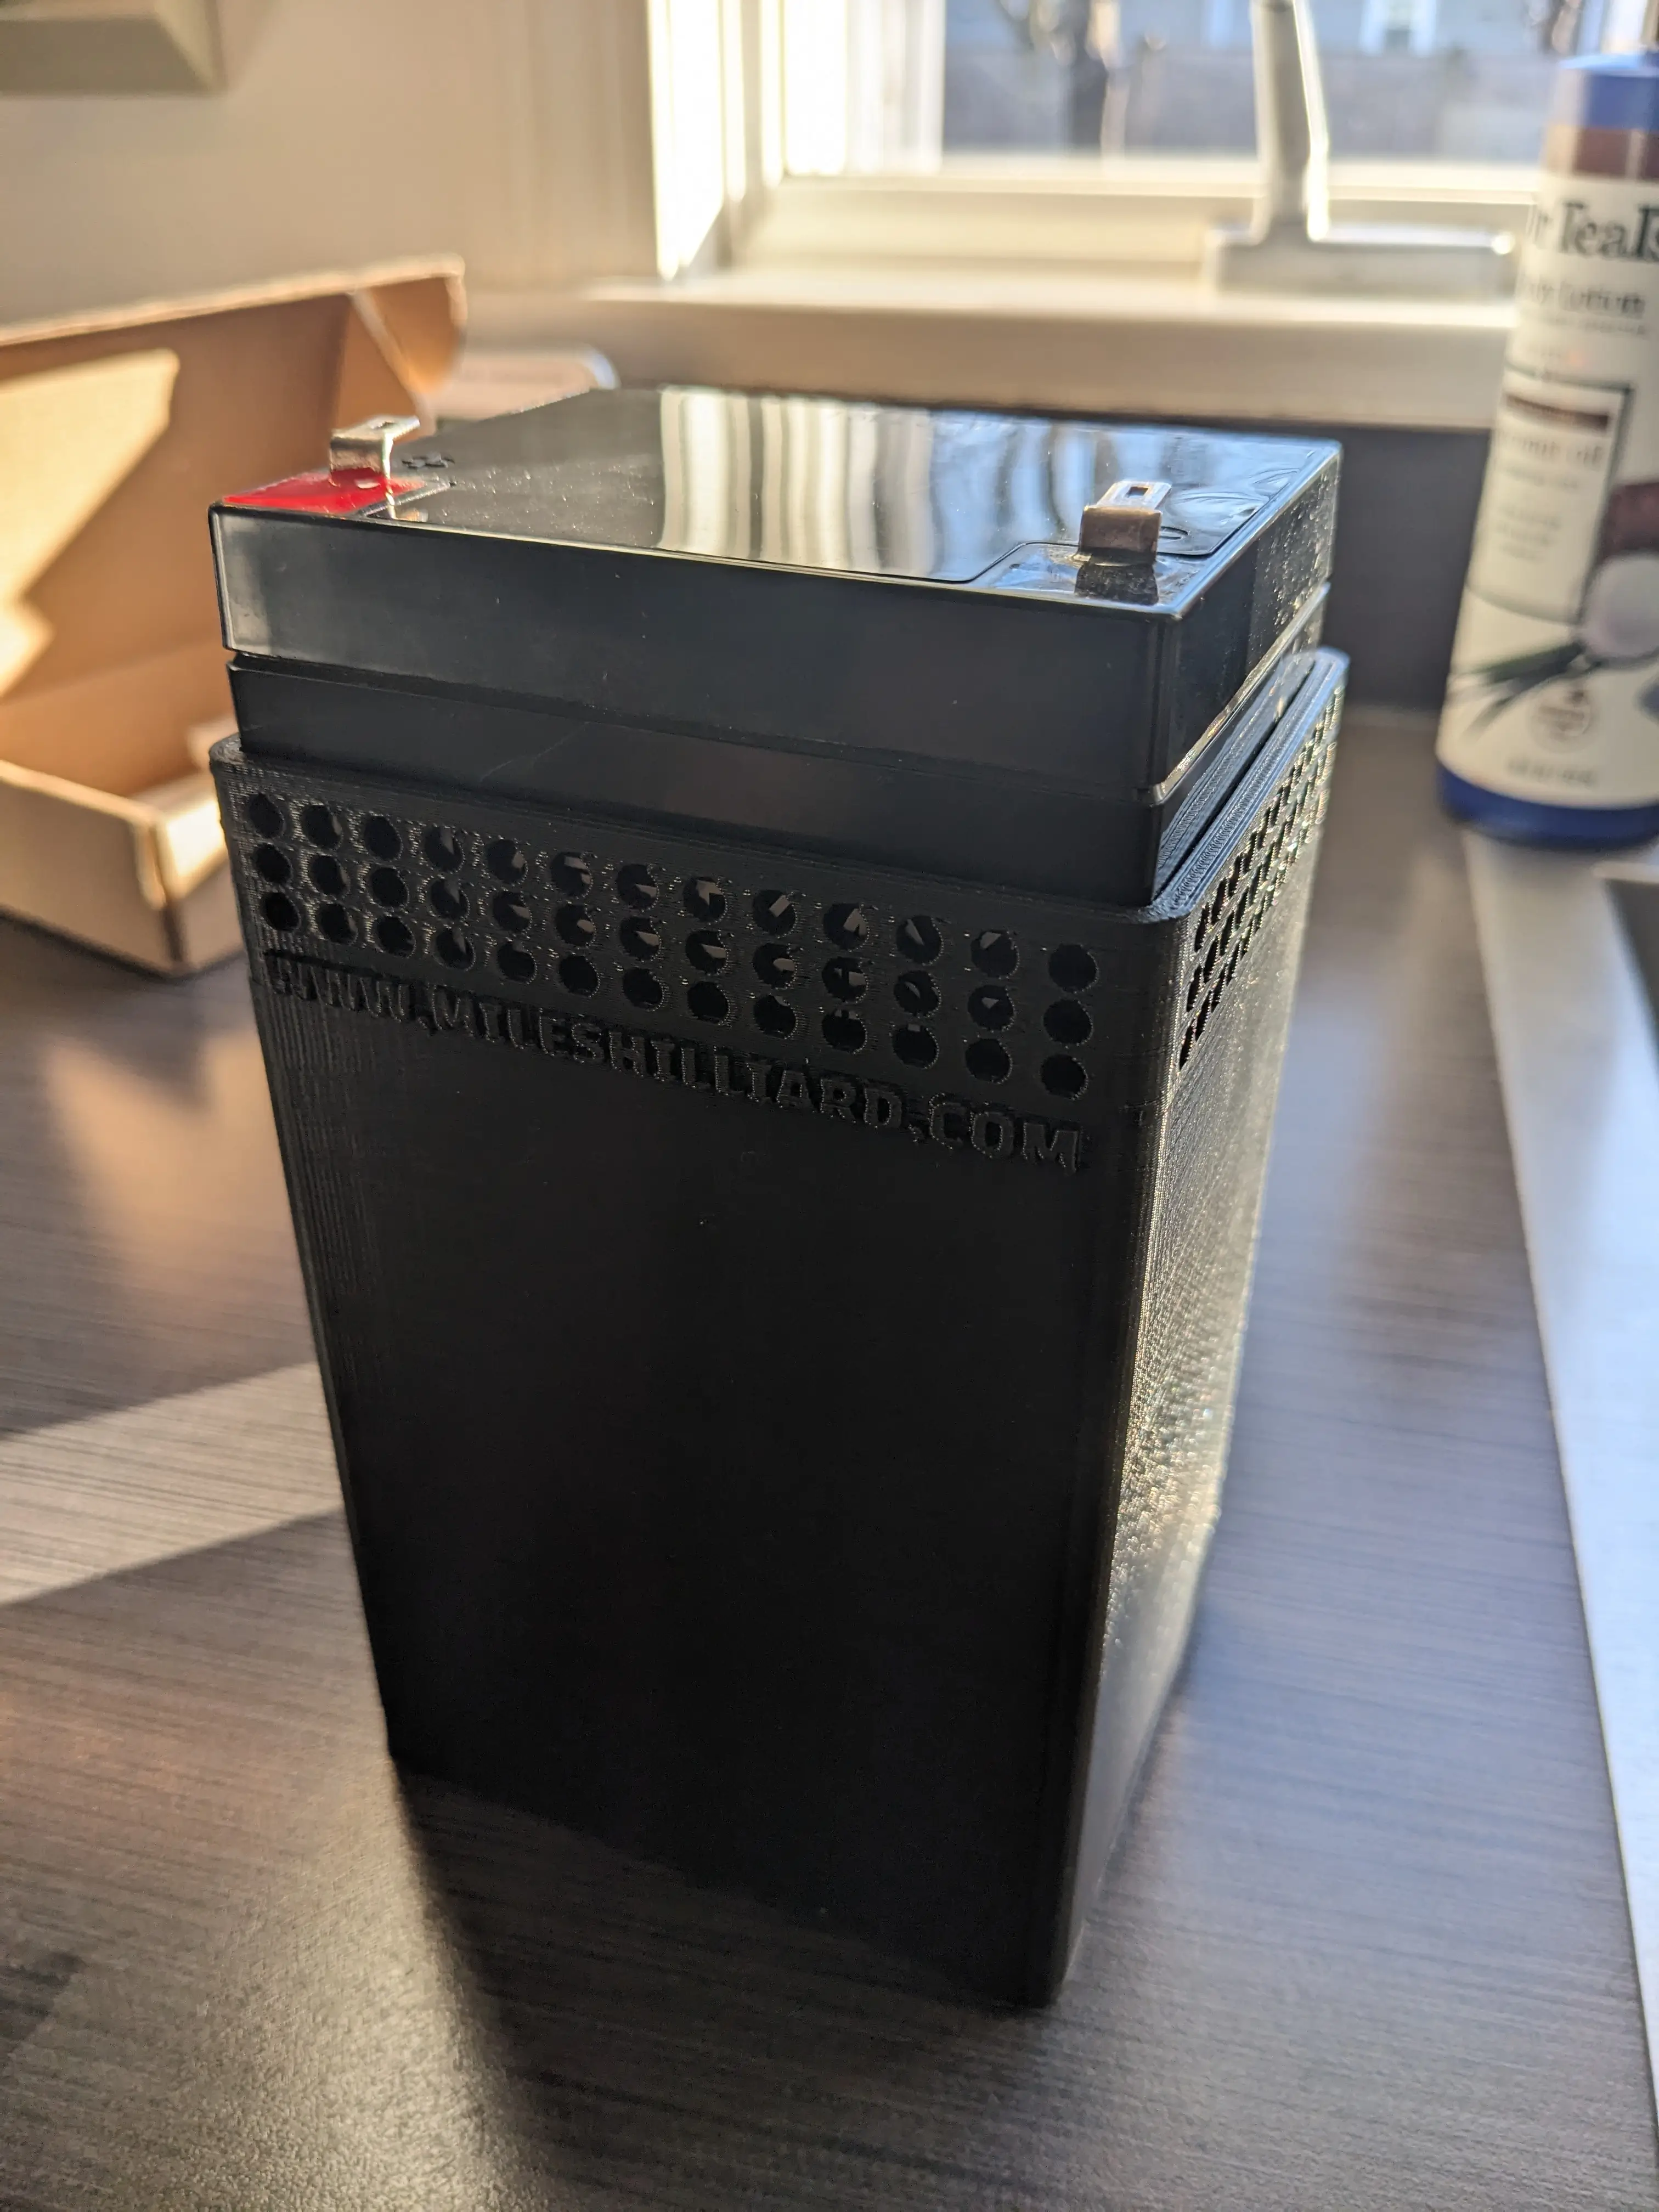
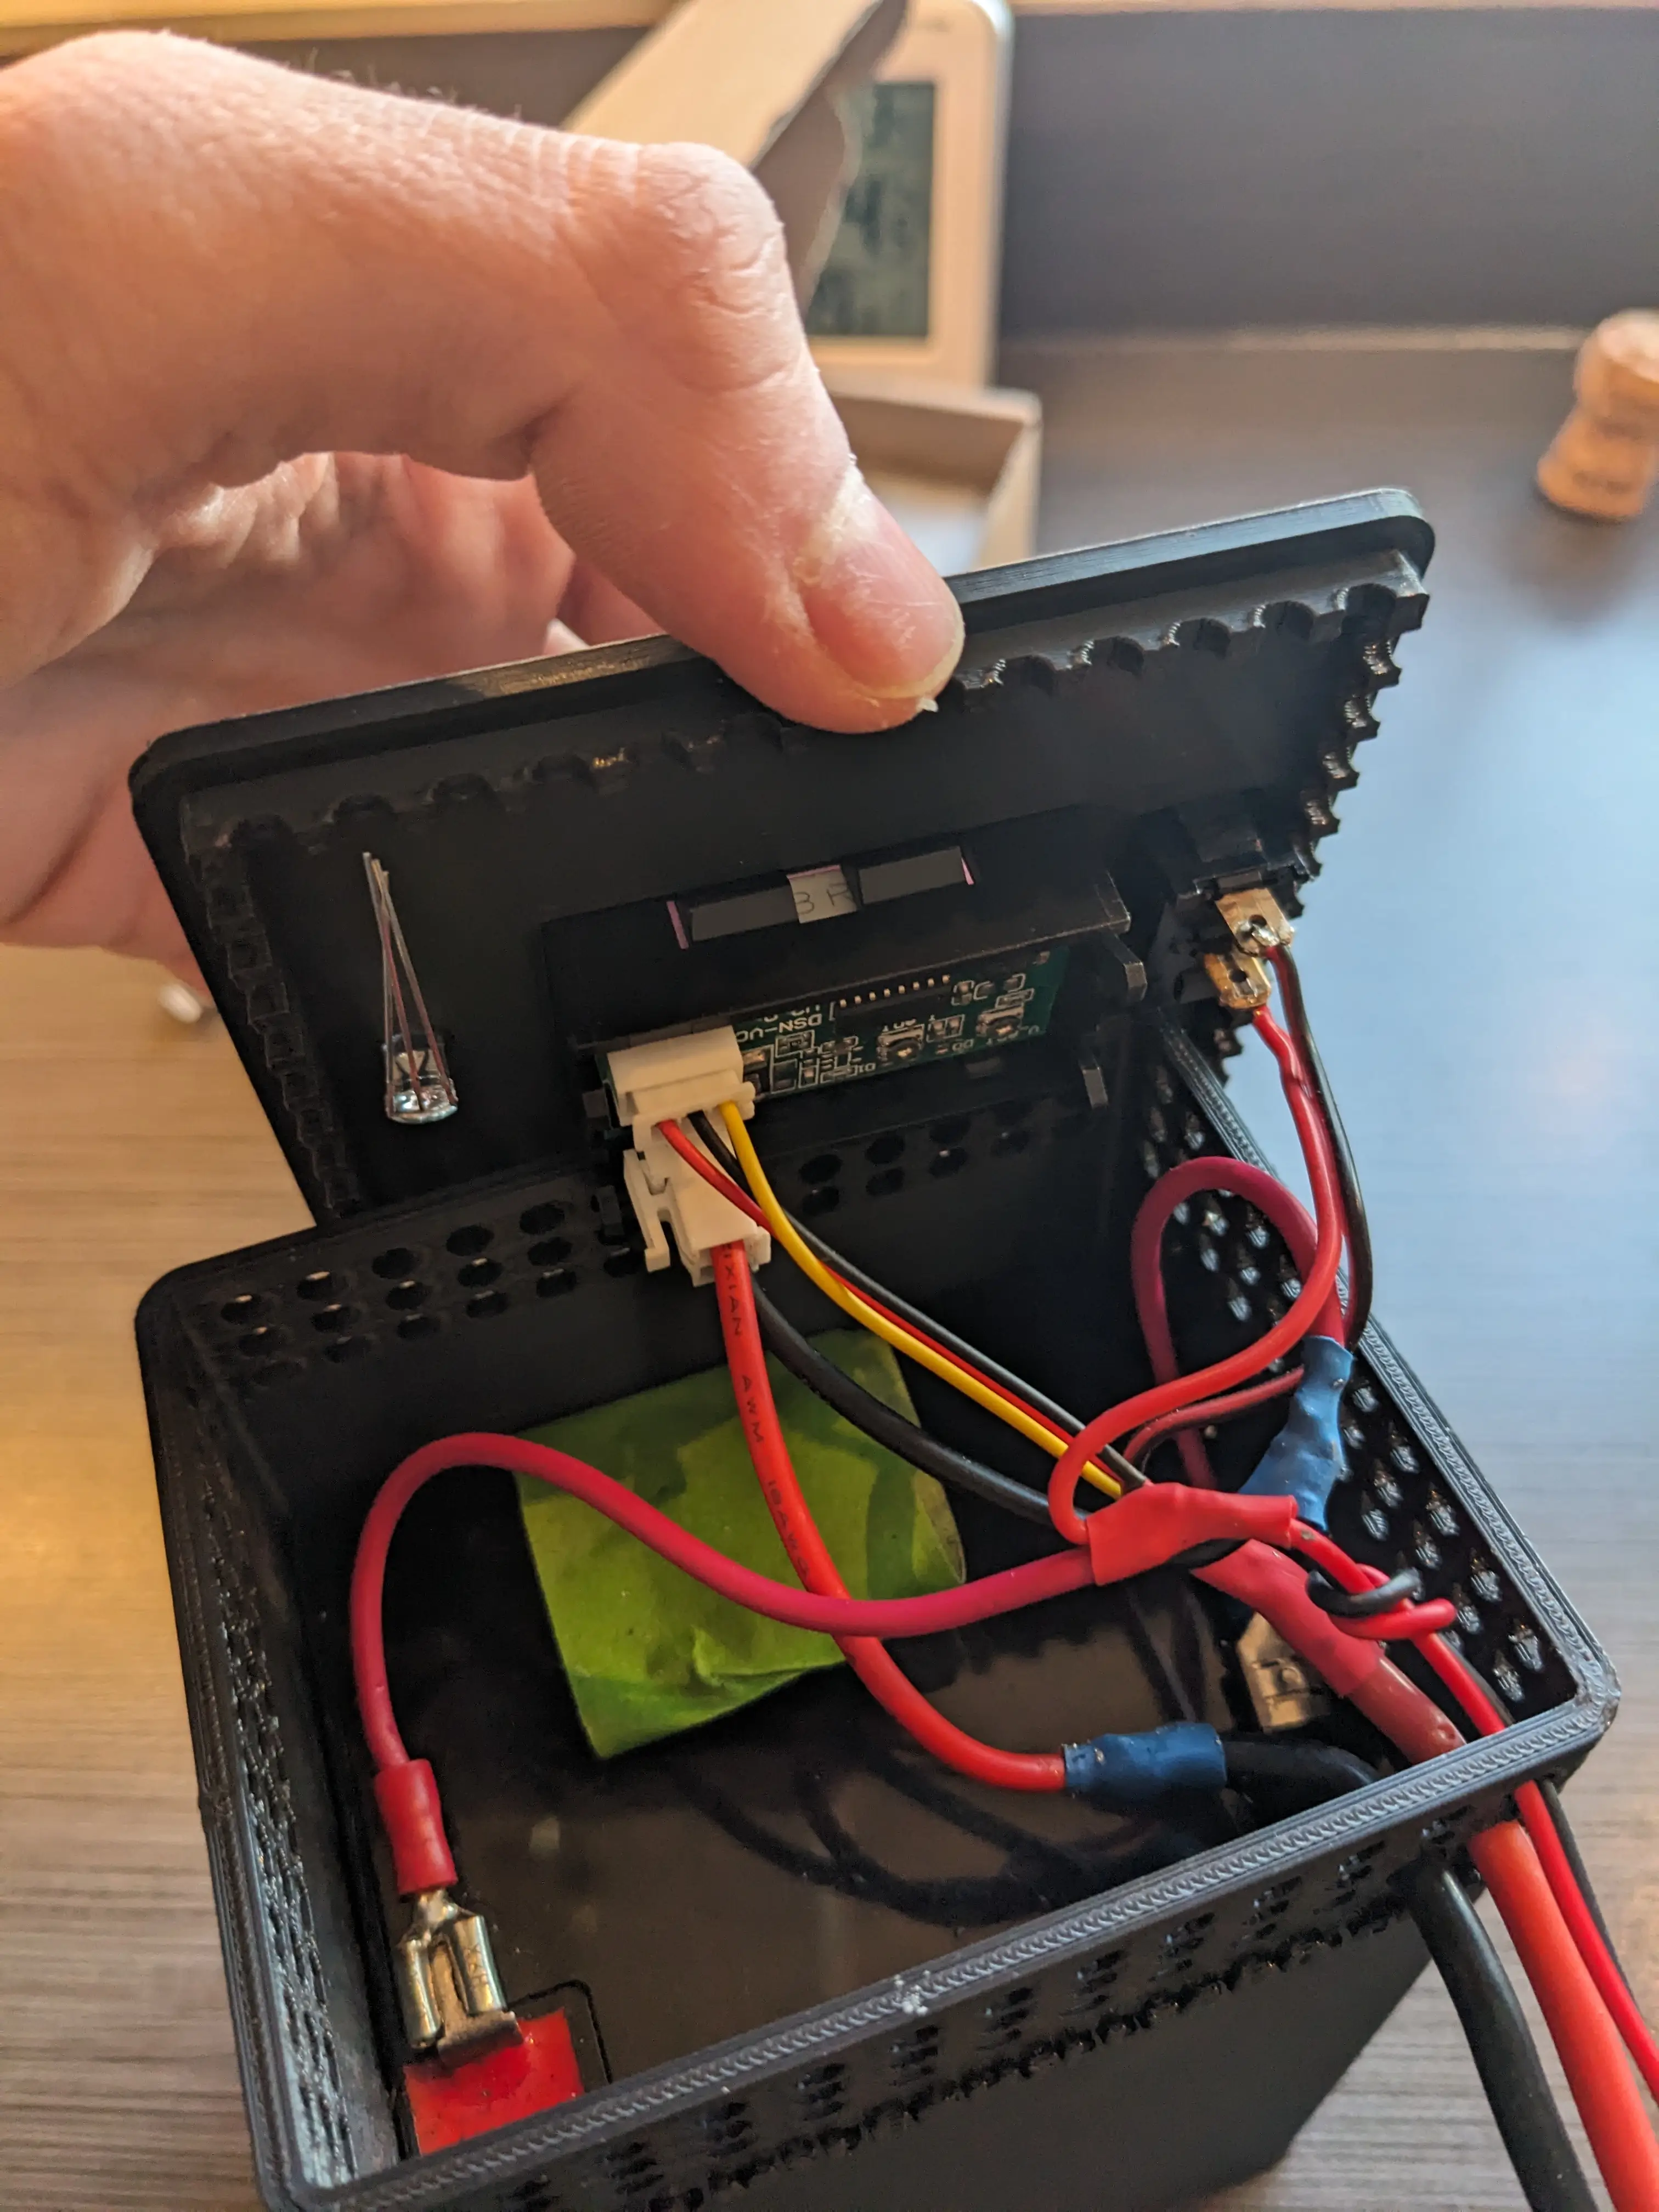
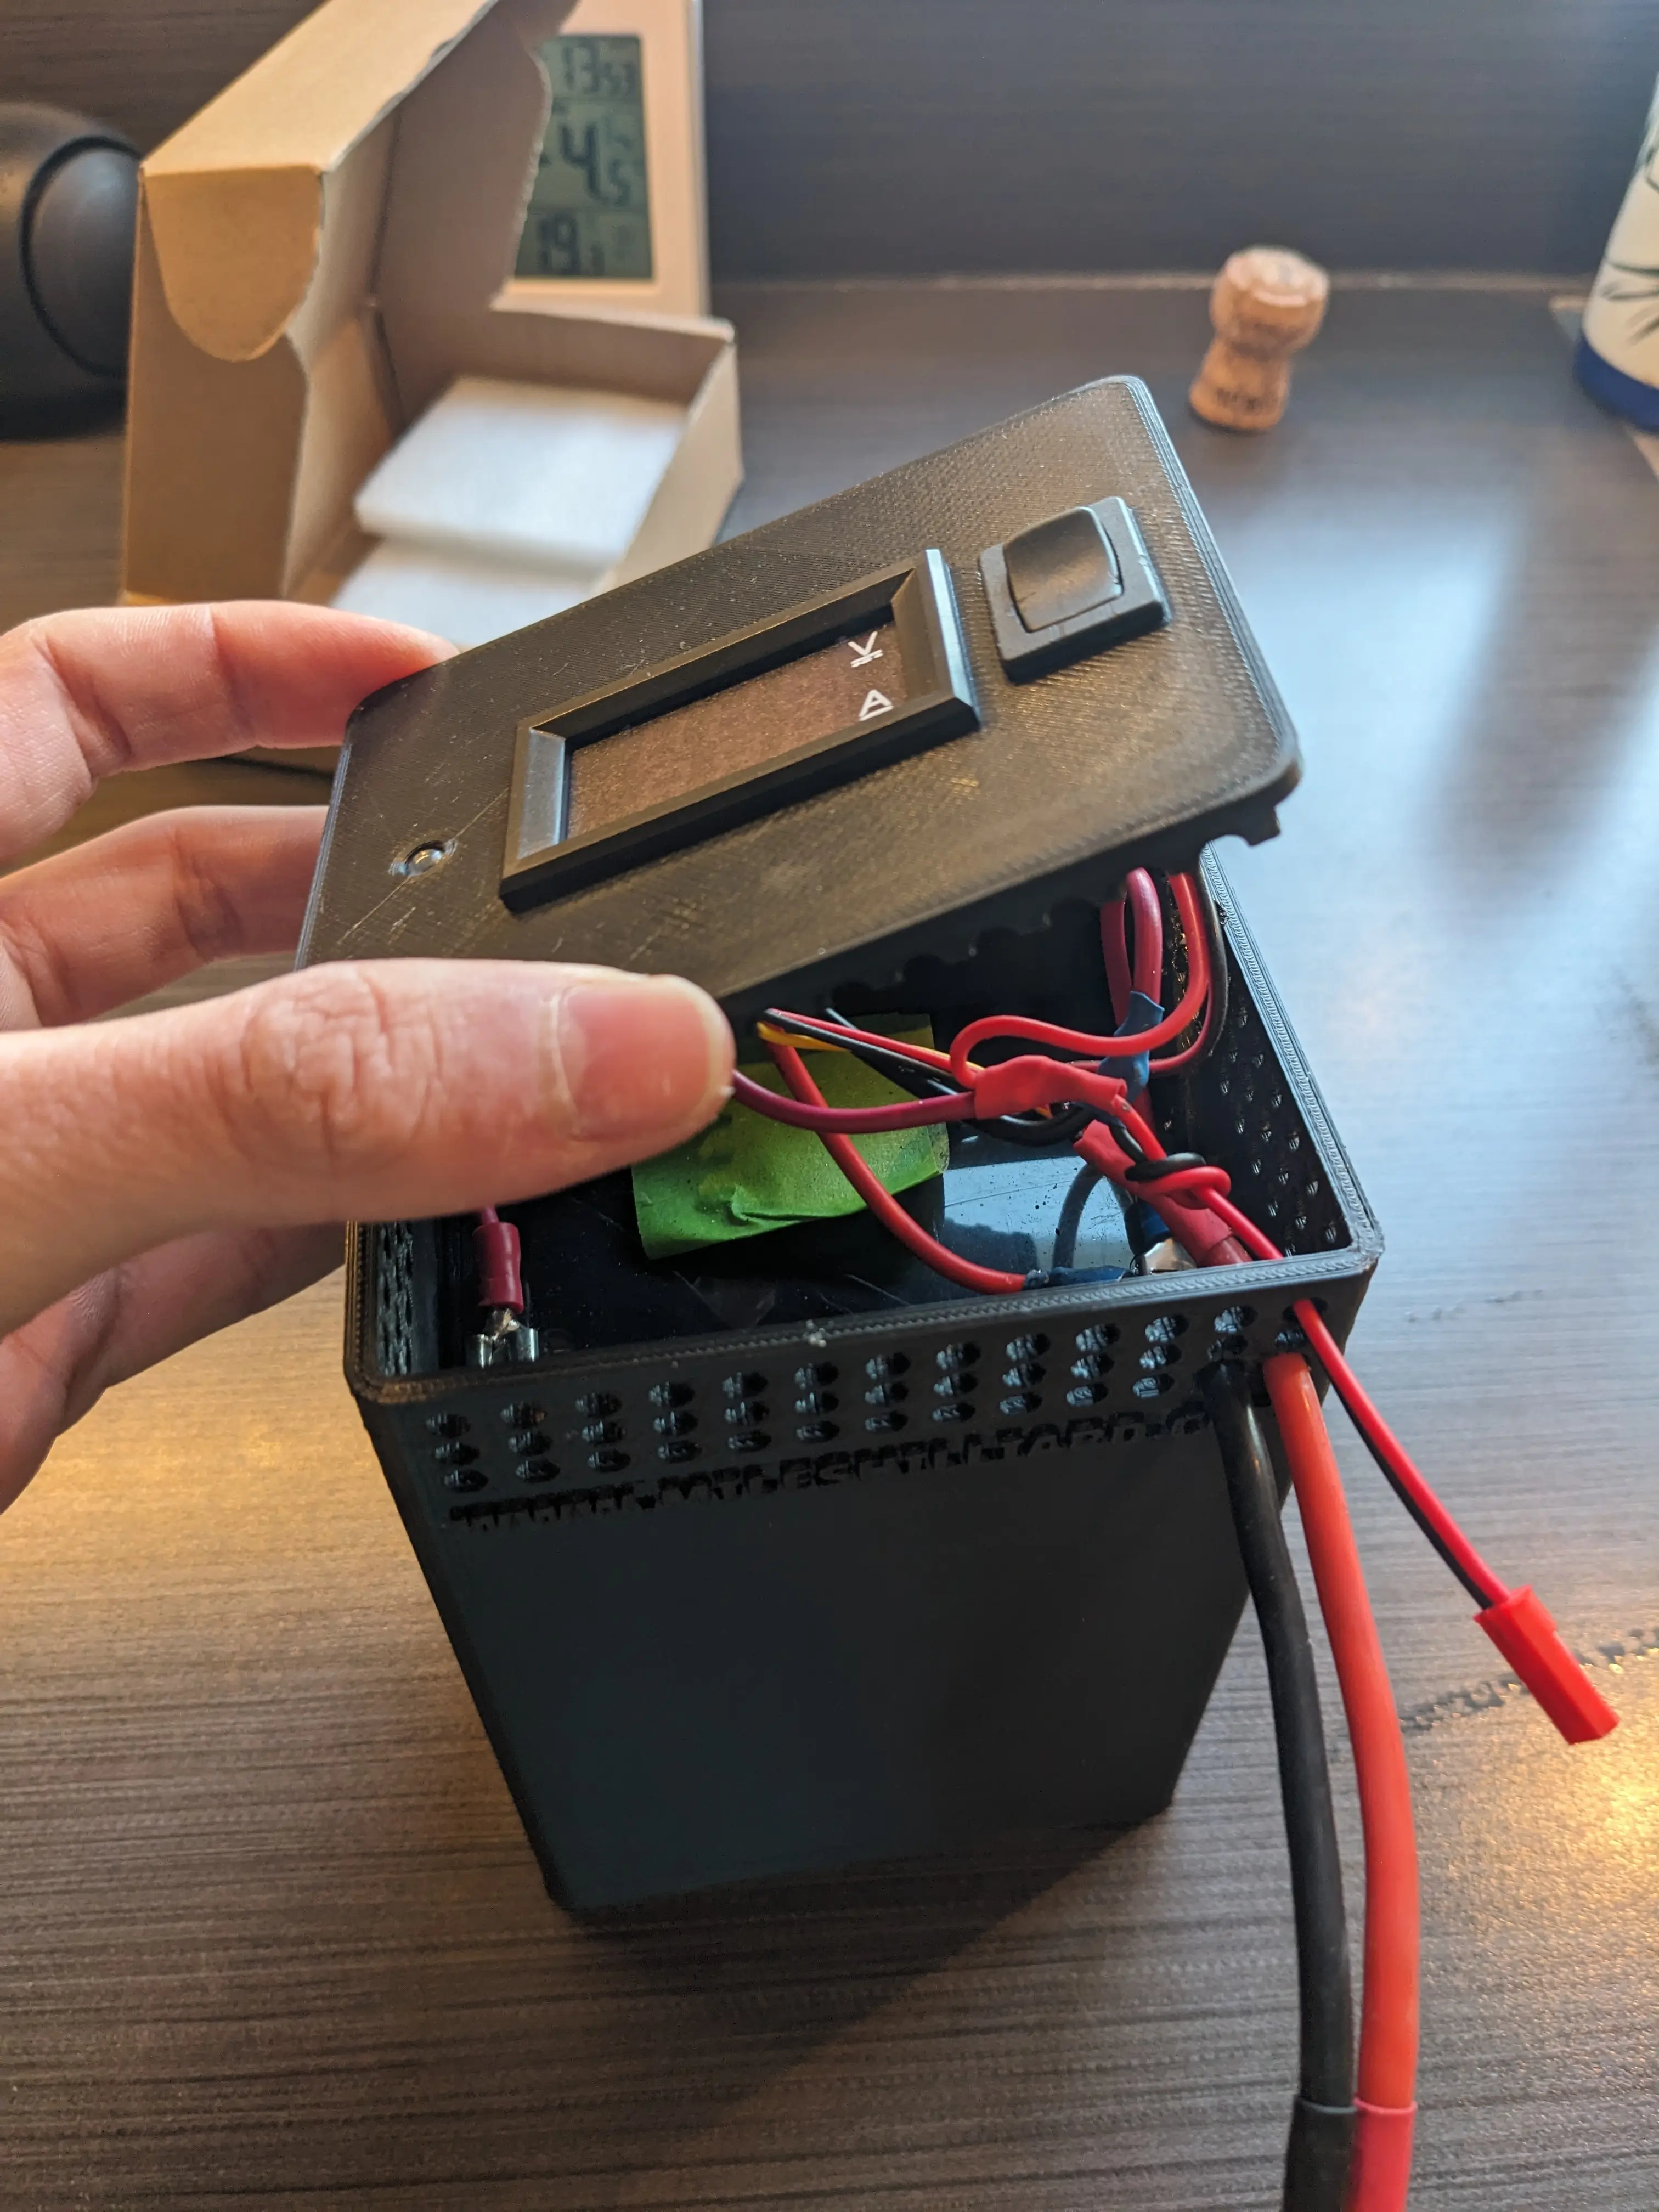
With a little bit of pressure, everything fit together! No reprints needed.
0
Views