")
Ham Radio Antenna Mount (Diamond x50)
I figured today, which was a day off from school due to local voting, would be a great time to re-do my ham radio antenna setup and change my base station location. Honestly, I haven’t touched my radio very much lately, mainly because of the workload from school along with other projects I have been working on. The other issue is that the radio is located in my basement which is not the most enjoyable place to endure long QSOs.
The setup I’ve been using for the past year now was not intended to be a permanent setup, and it was already overdue for a fix. You can read about my initial setup in my original Diamond X50 antenna setup post.
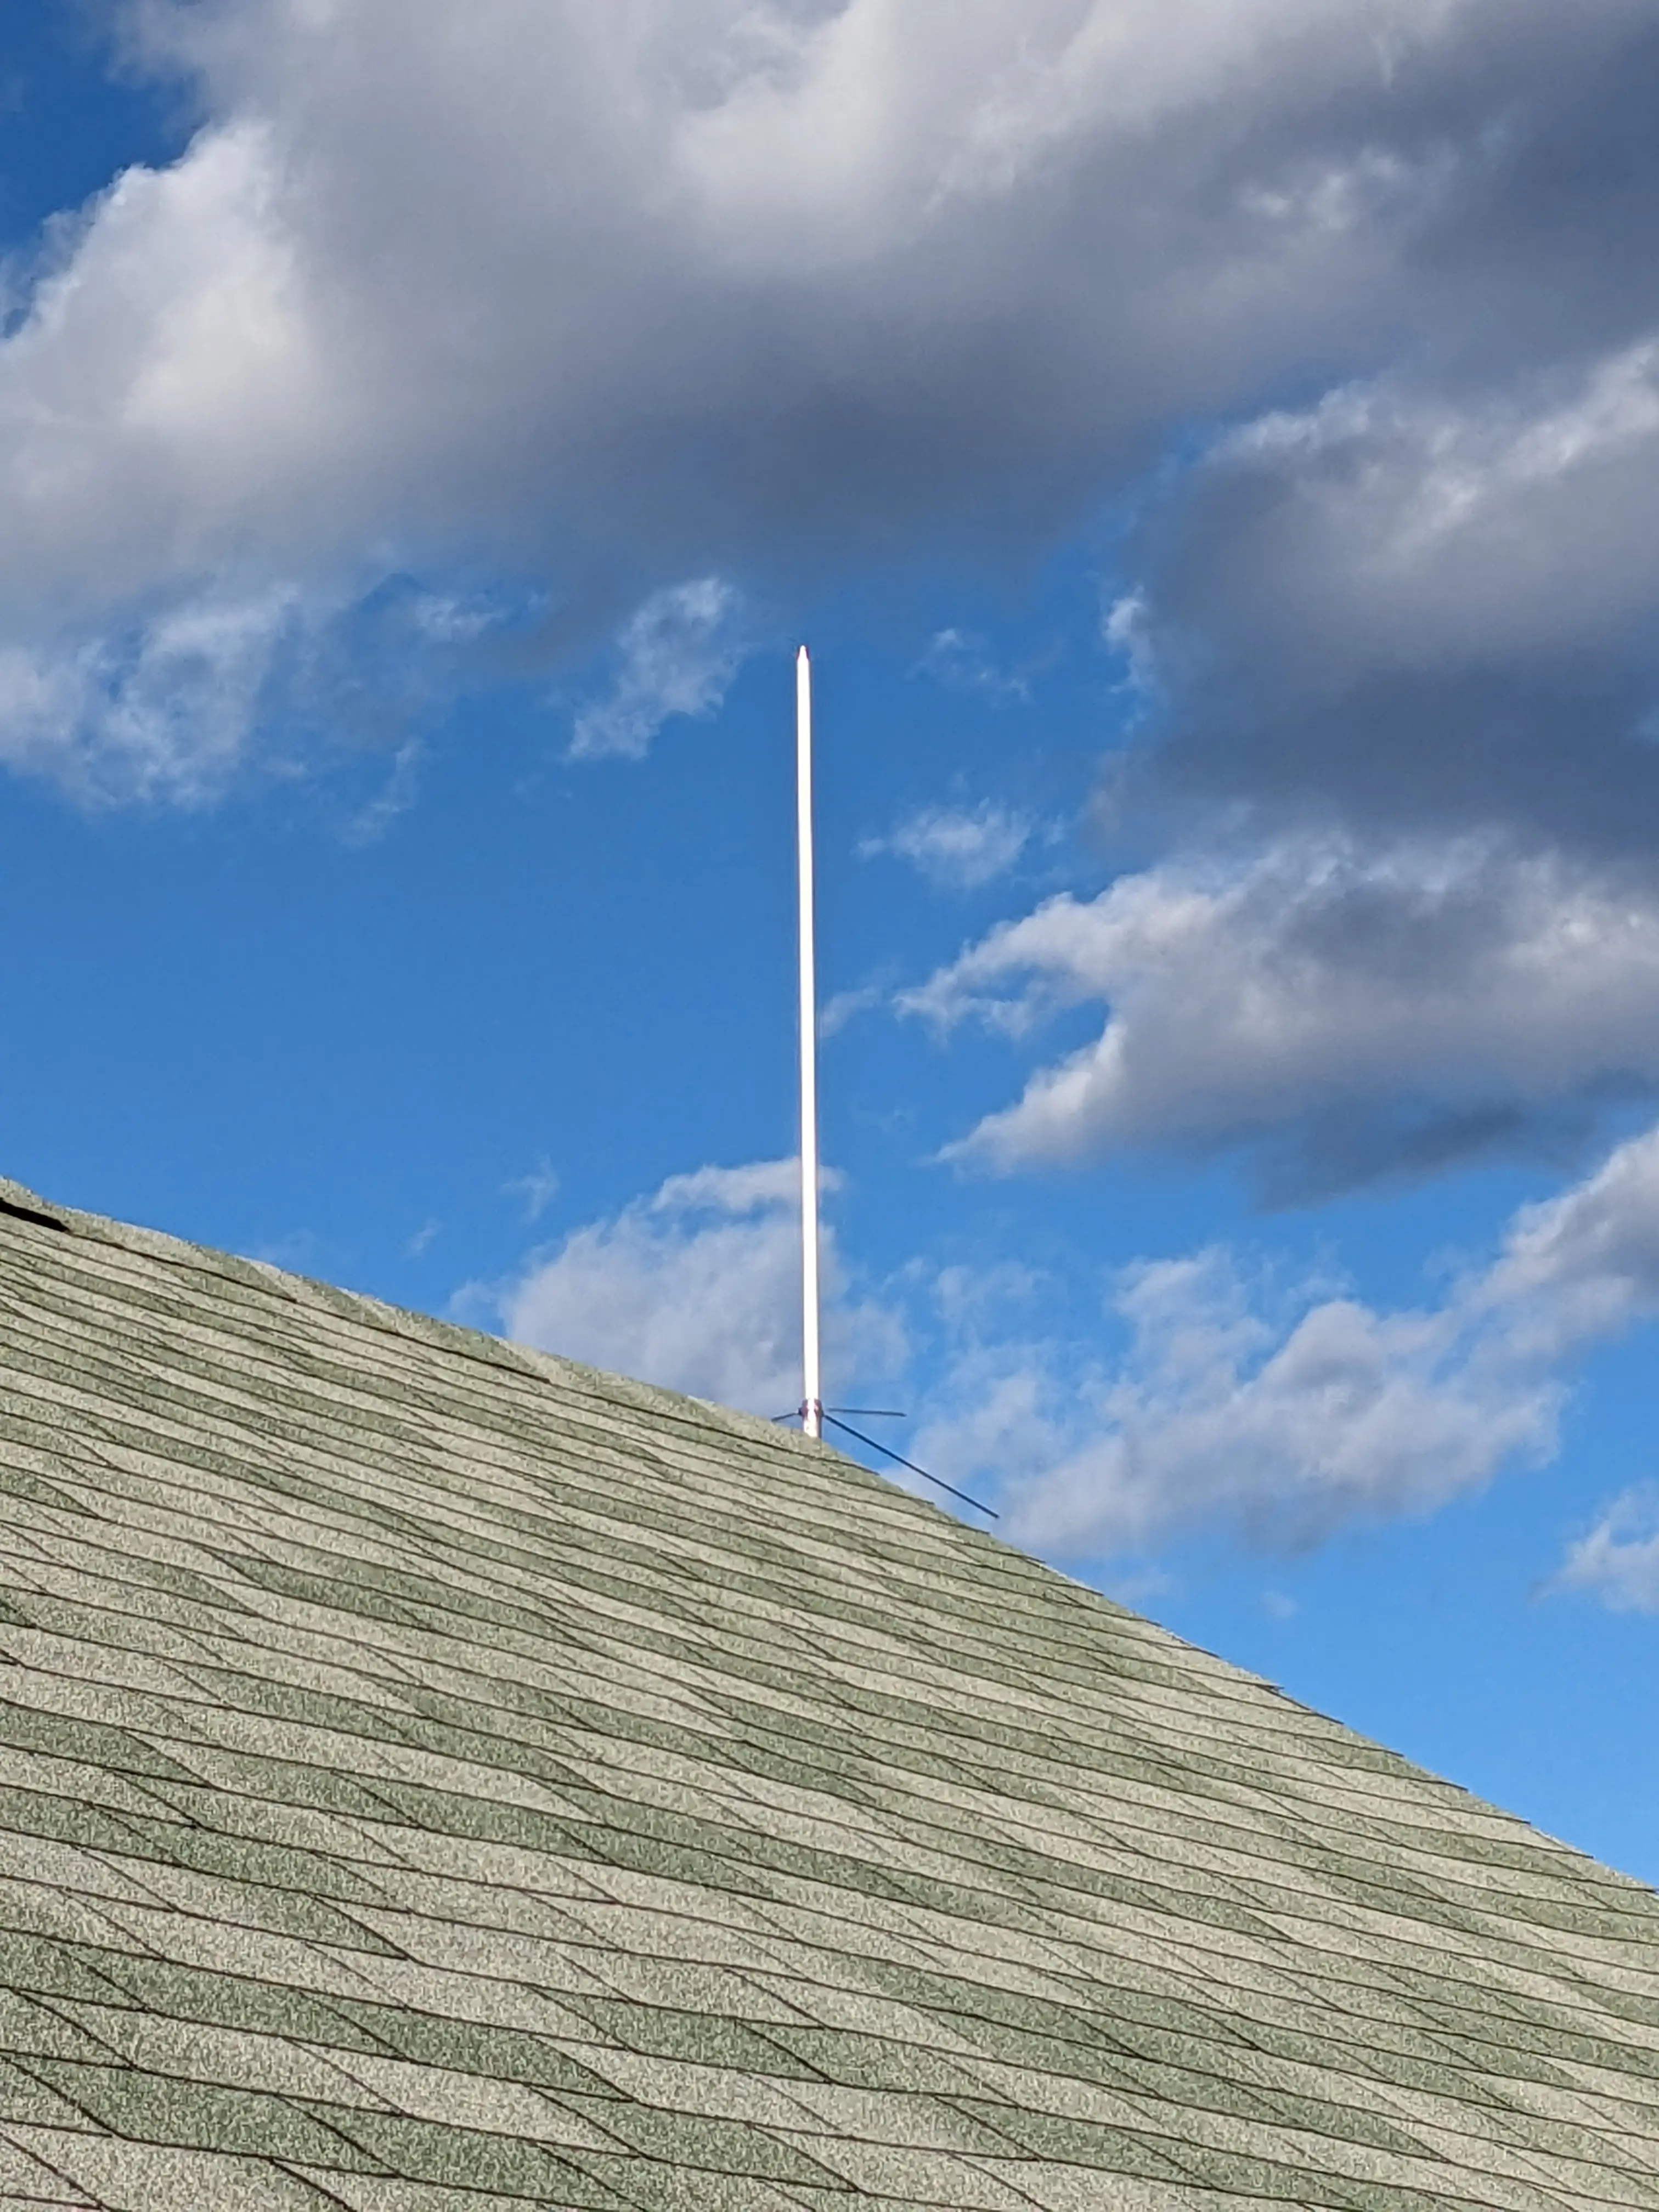
The new setup is designed to be mounted to the peak of my roof to get the absolute maximum elevation possible on my property. Although it is taller than the previous mast, I don’t expect it to drastically increase my radio’s range or abilities. We live in a valley and every direction is up pretty much.
To start, I took the old mast down and took the antenna bracket off. Afterward, I found some scrap wood and made a basic mock-up of how I might attach the antenna to the roof line.
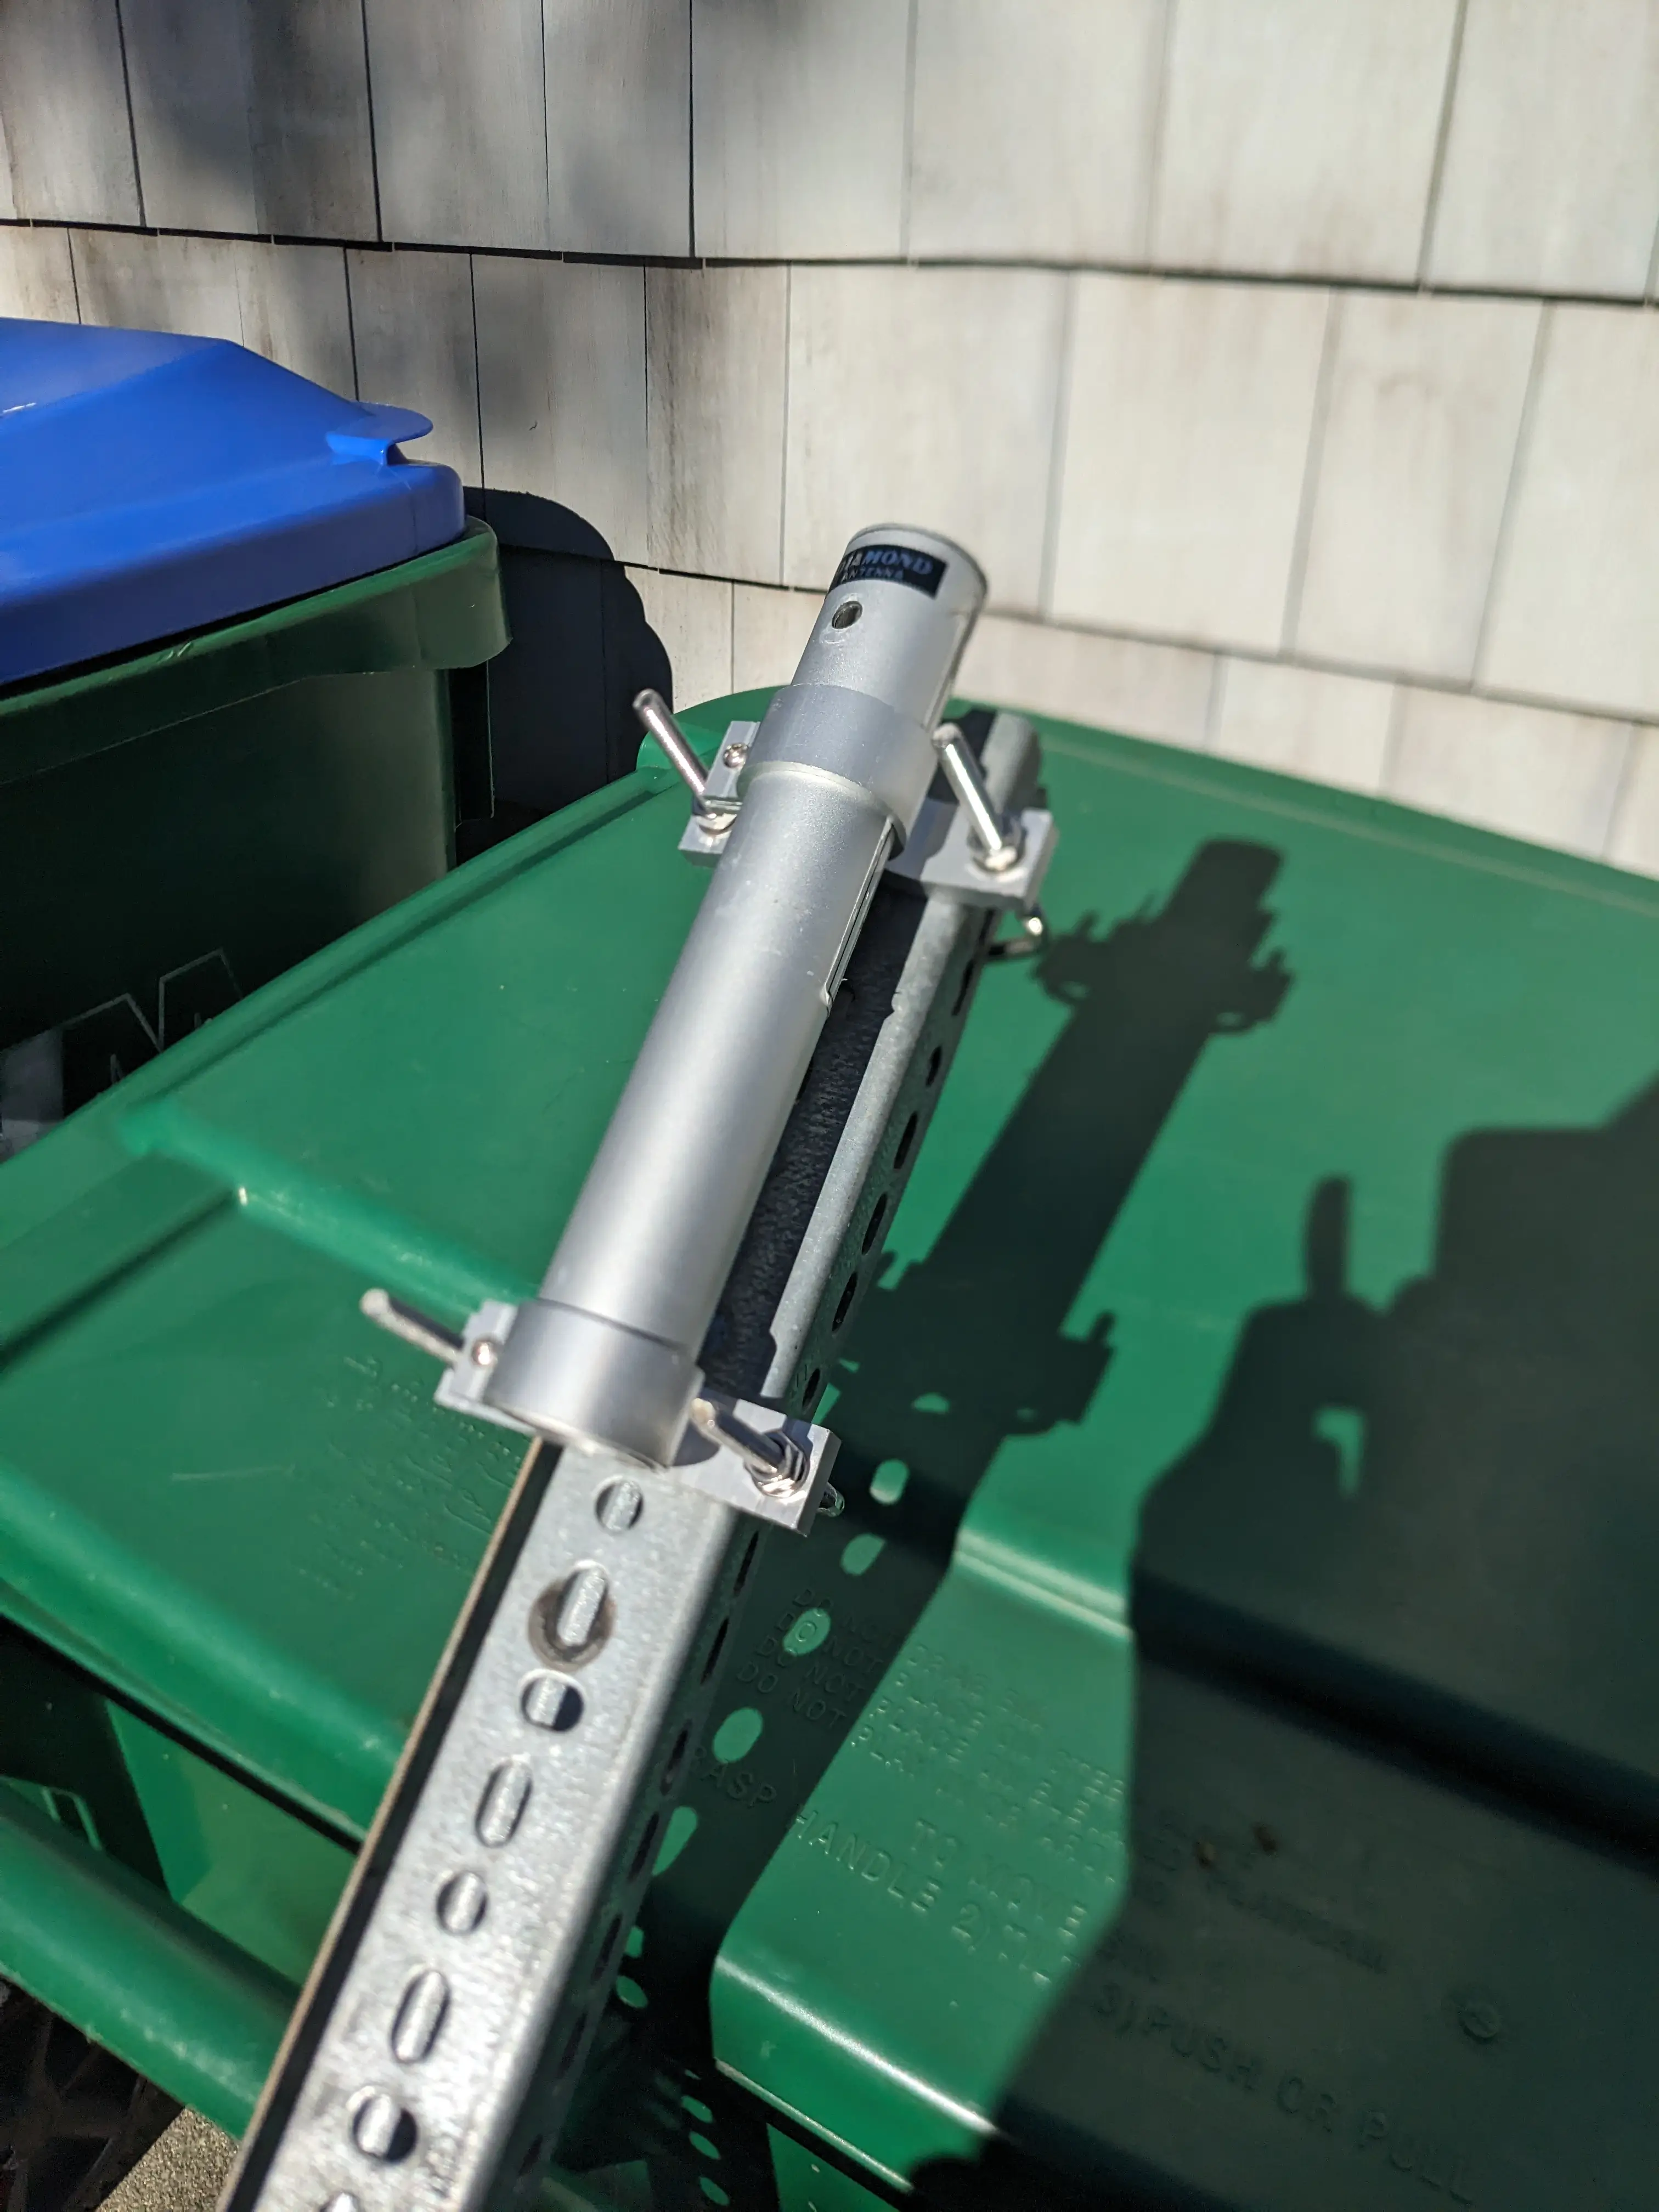
This all worked out pretty well, and I had a pretty solid plan in my head which ultimately worked out well.
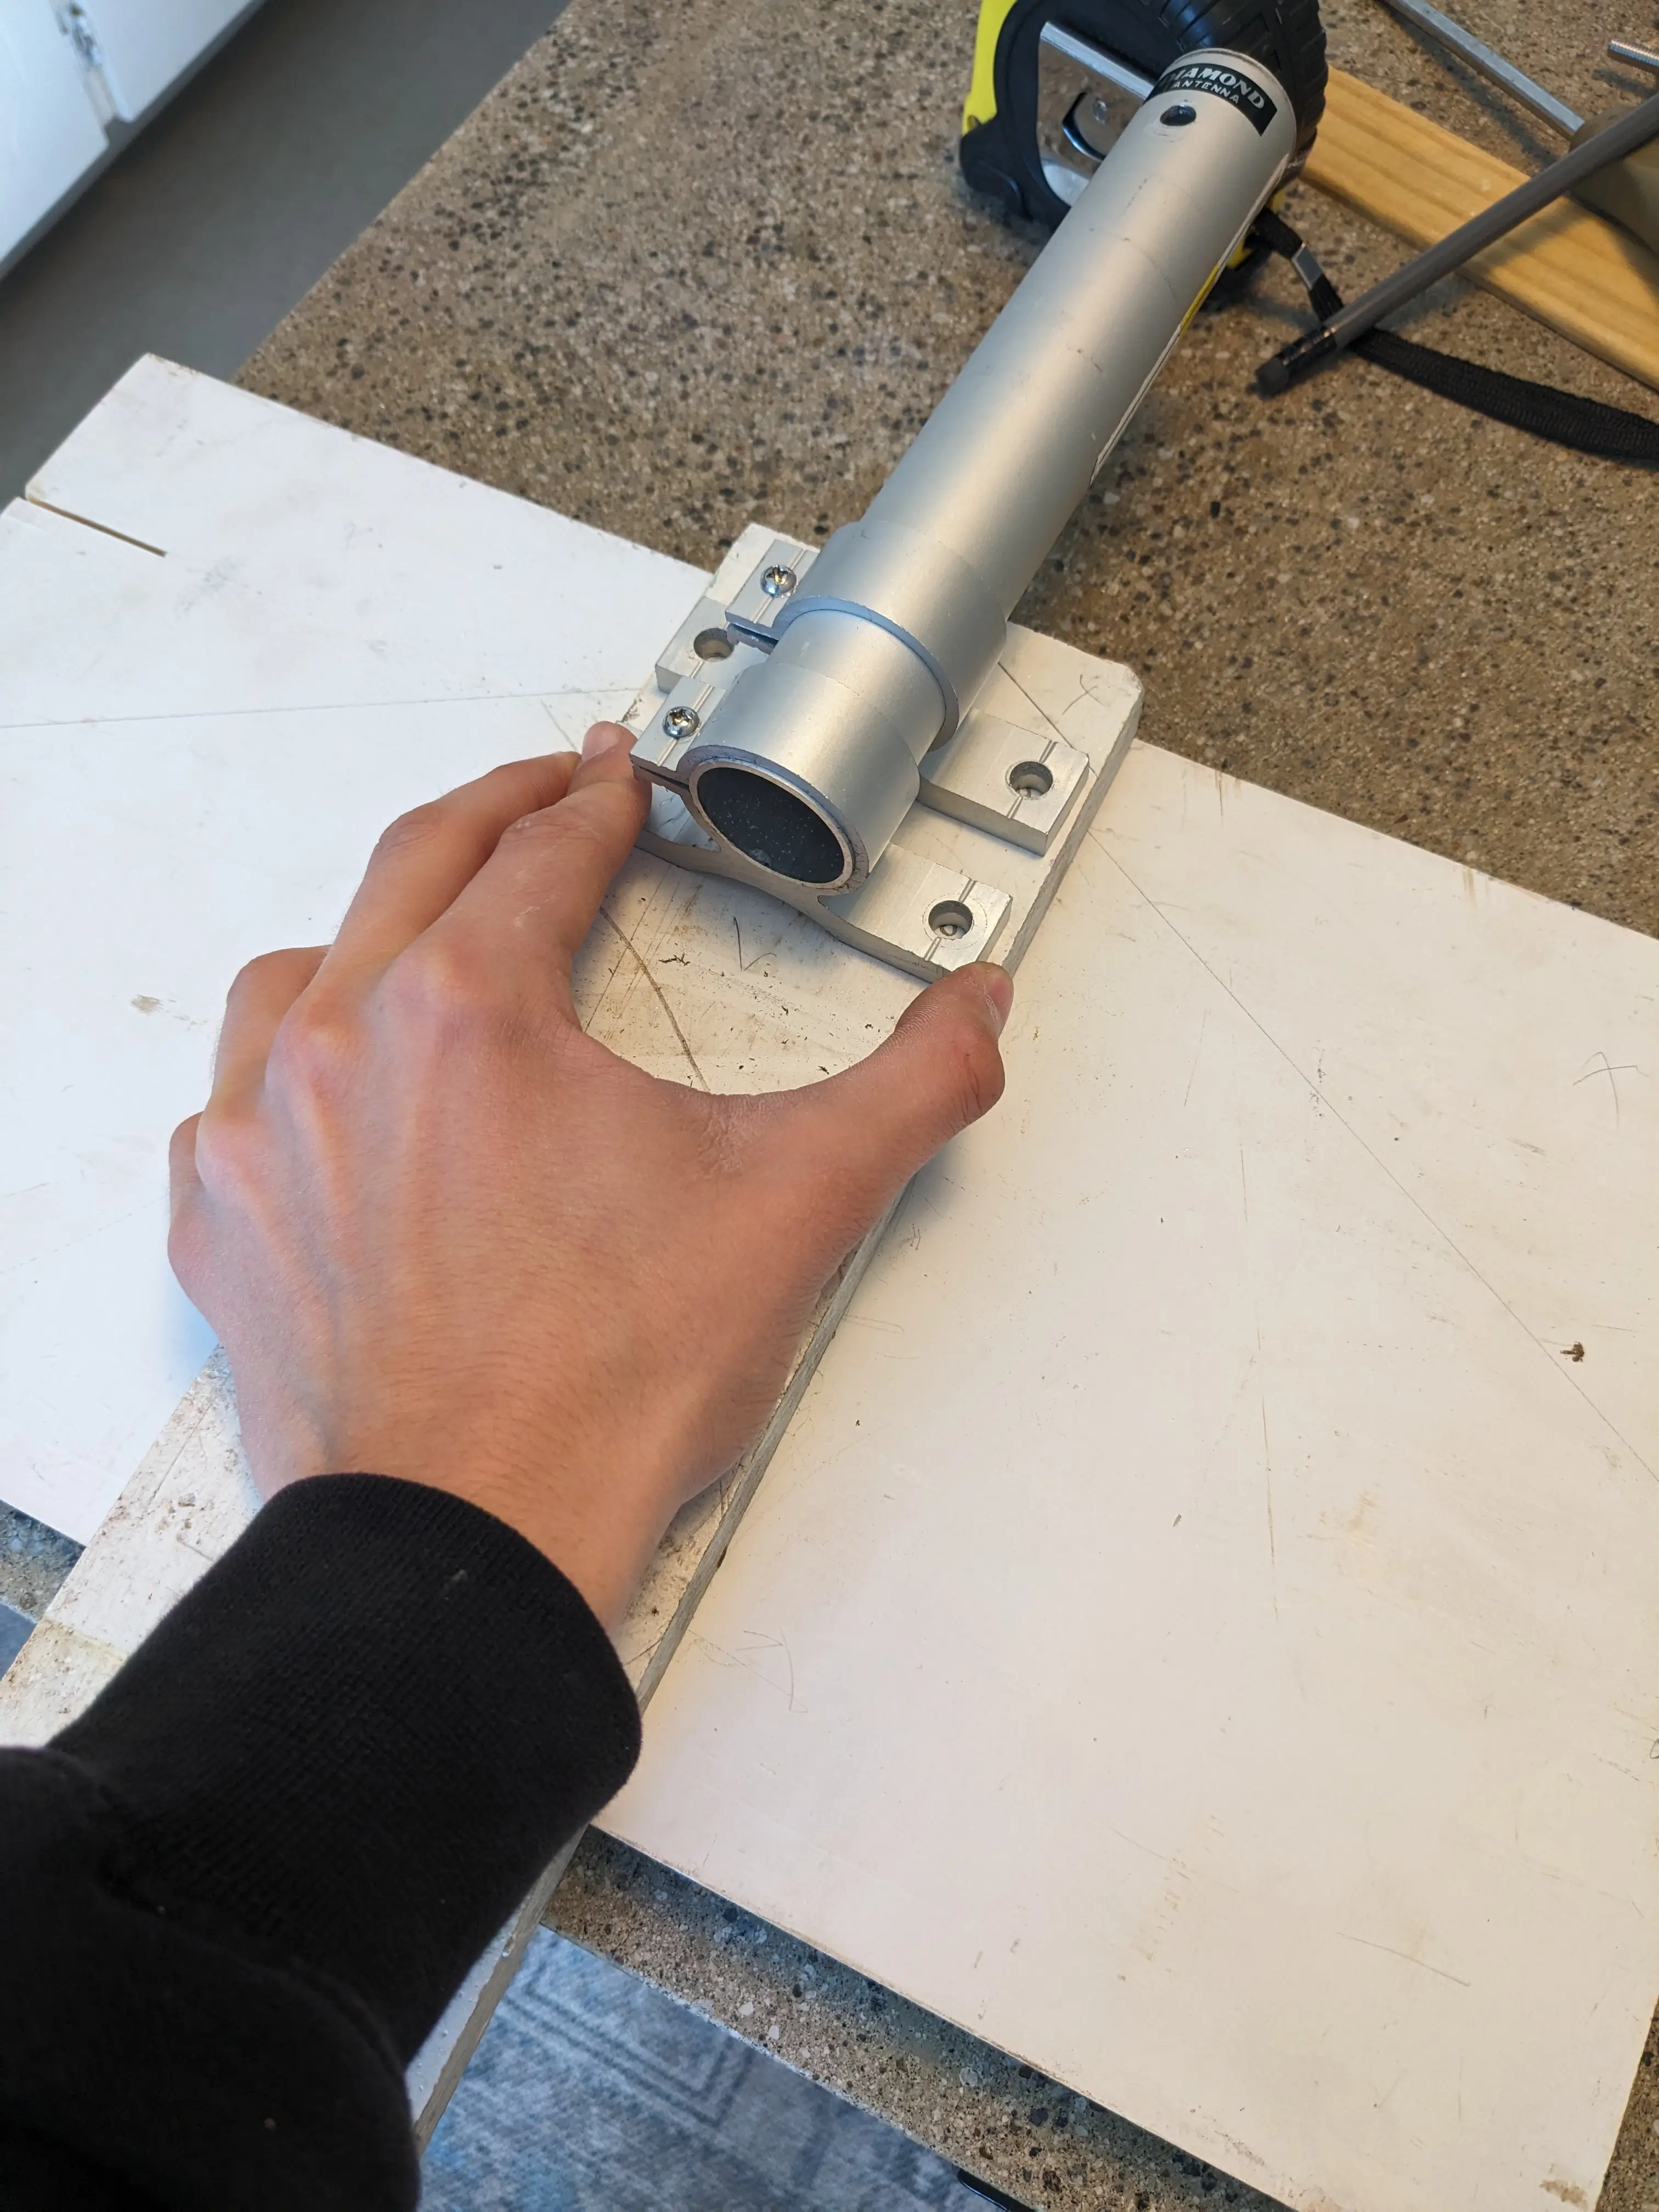
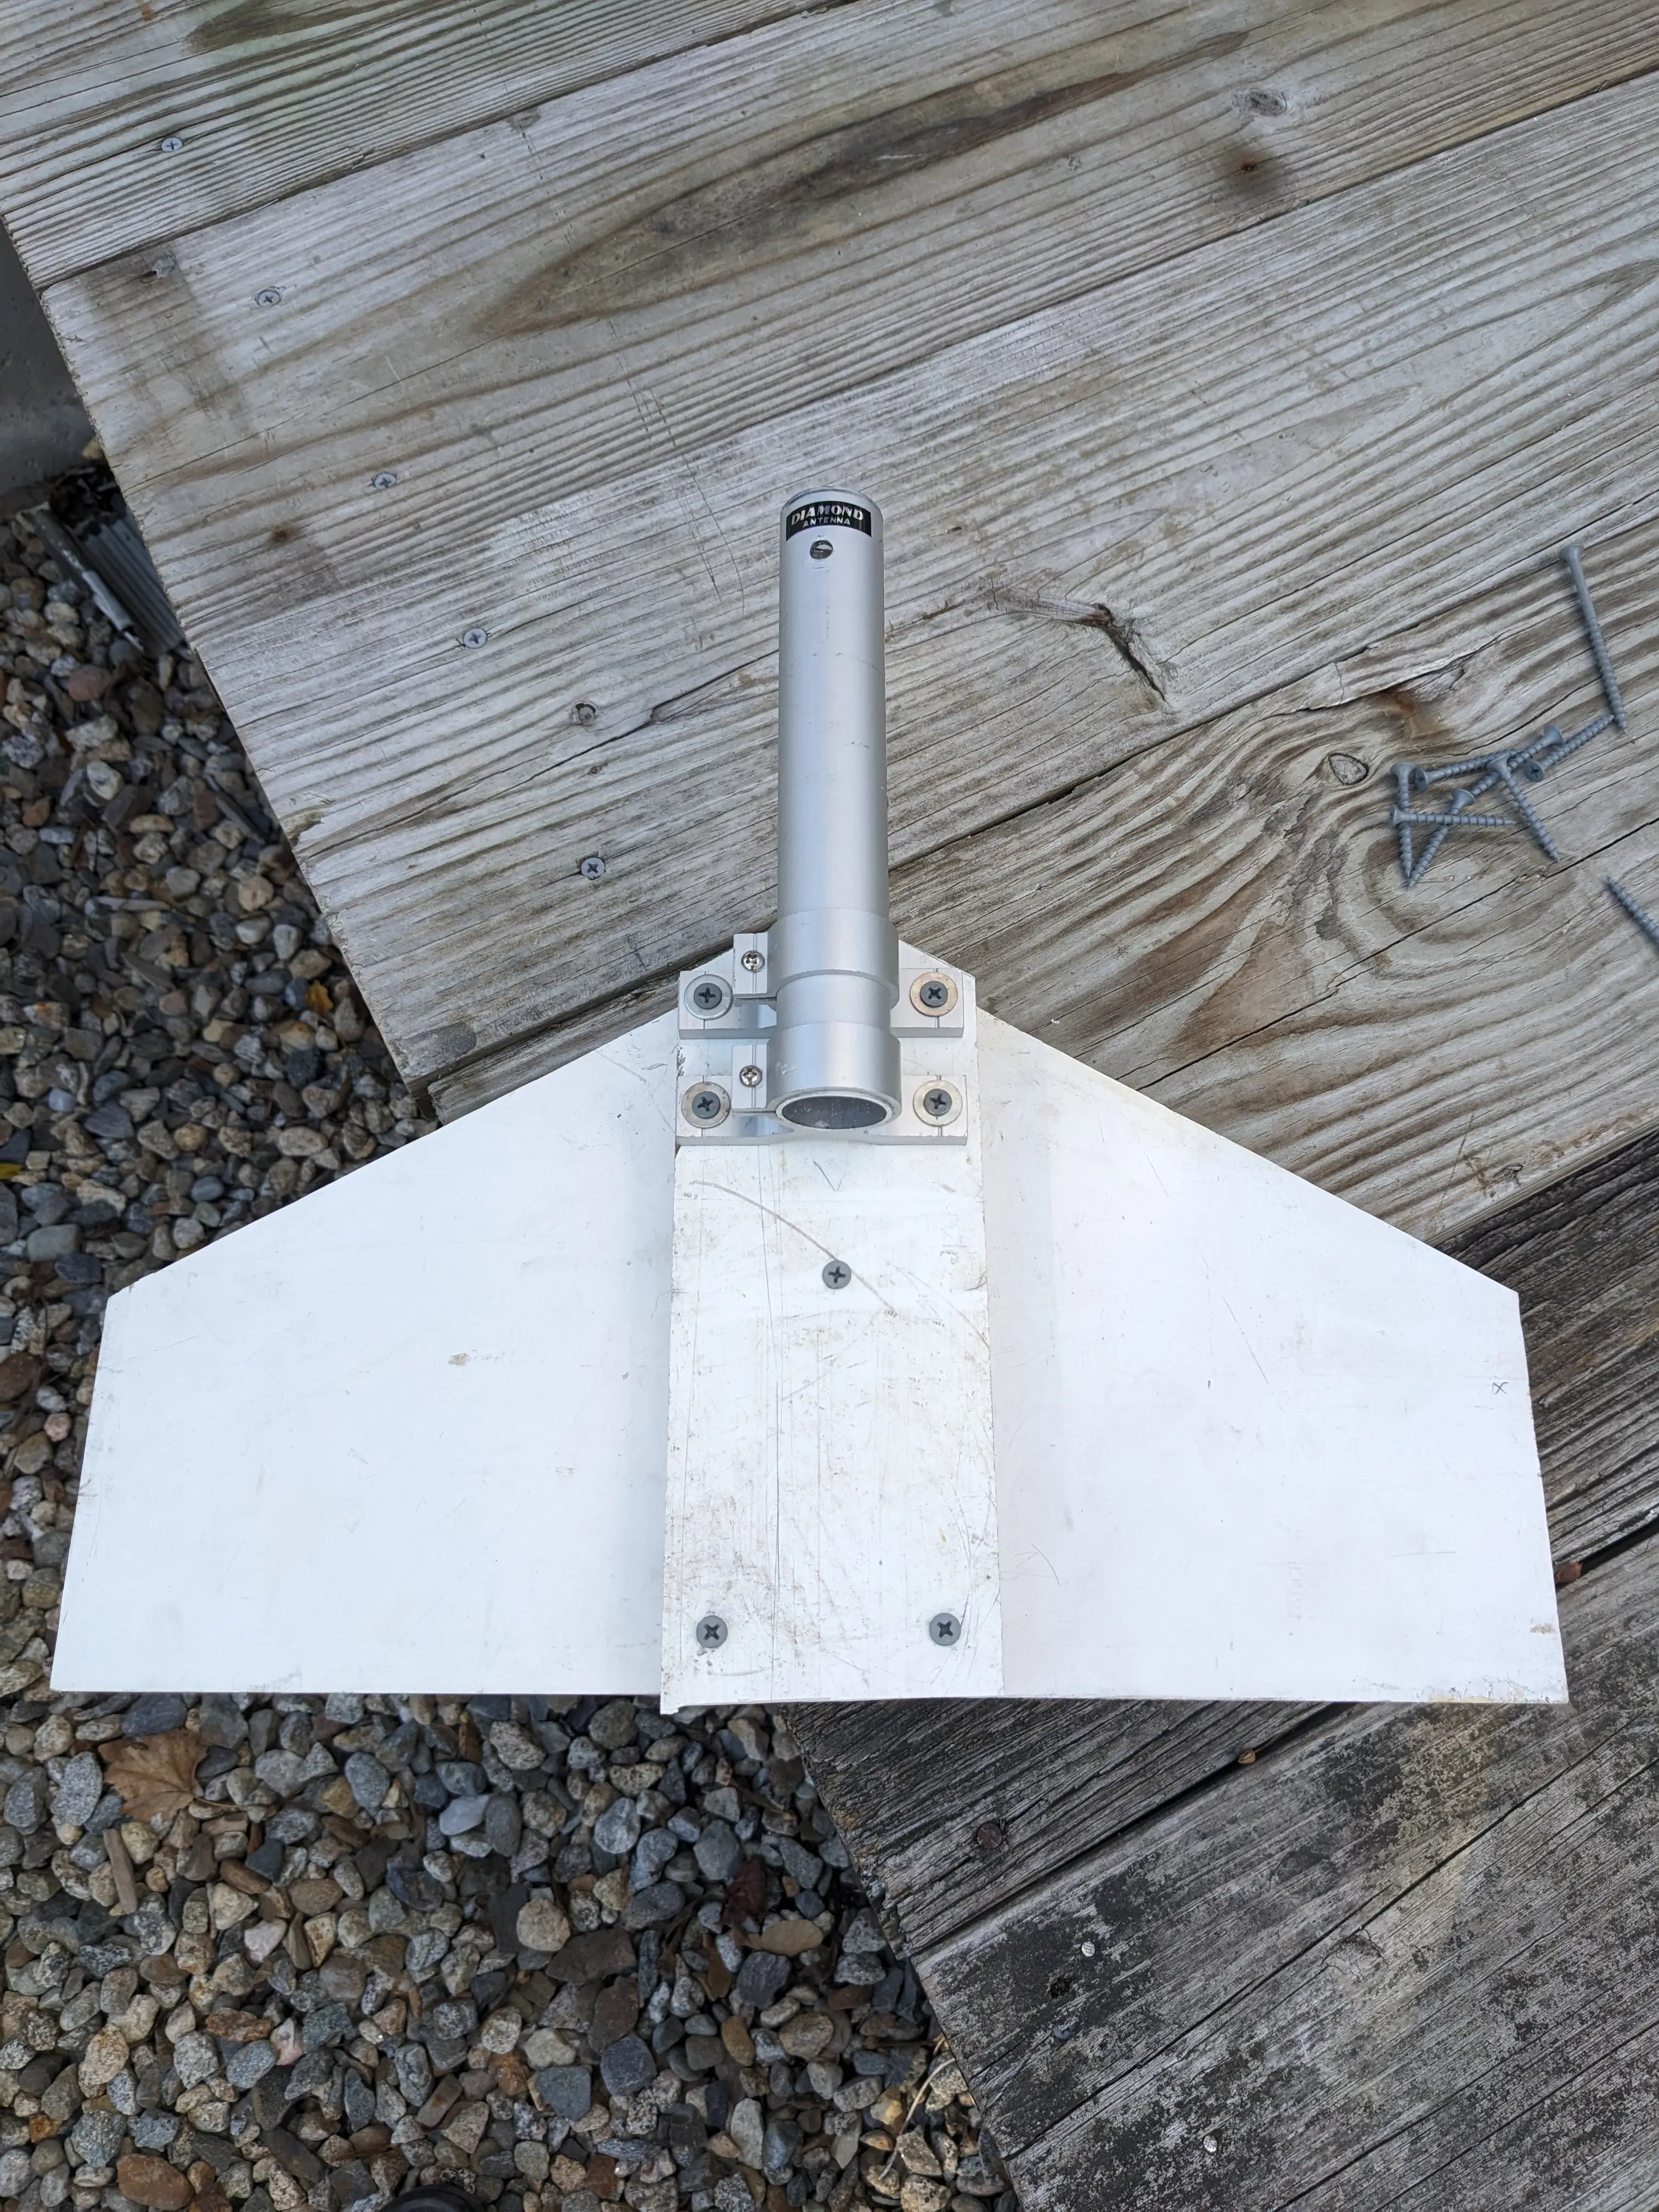
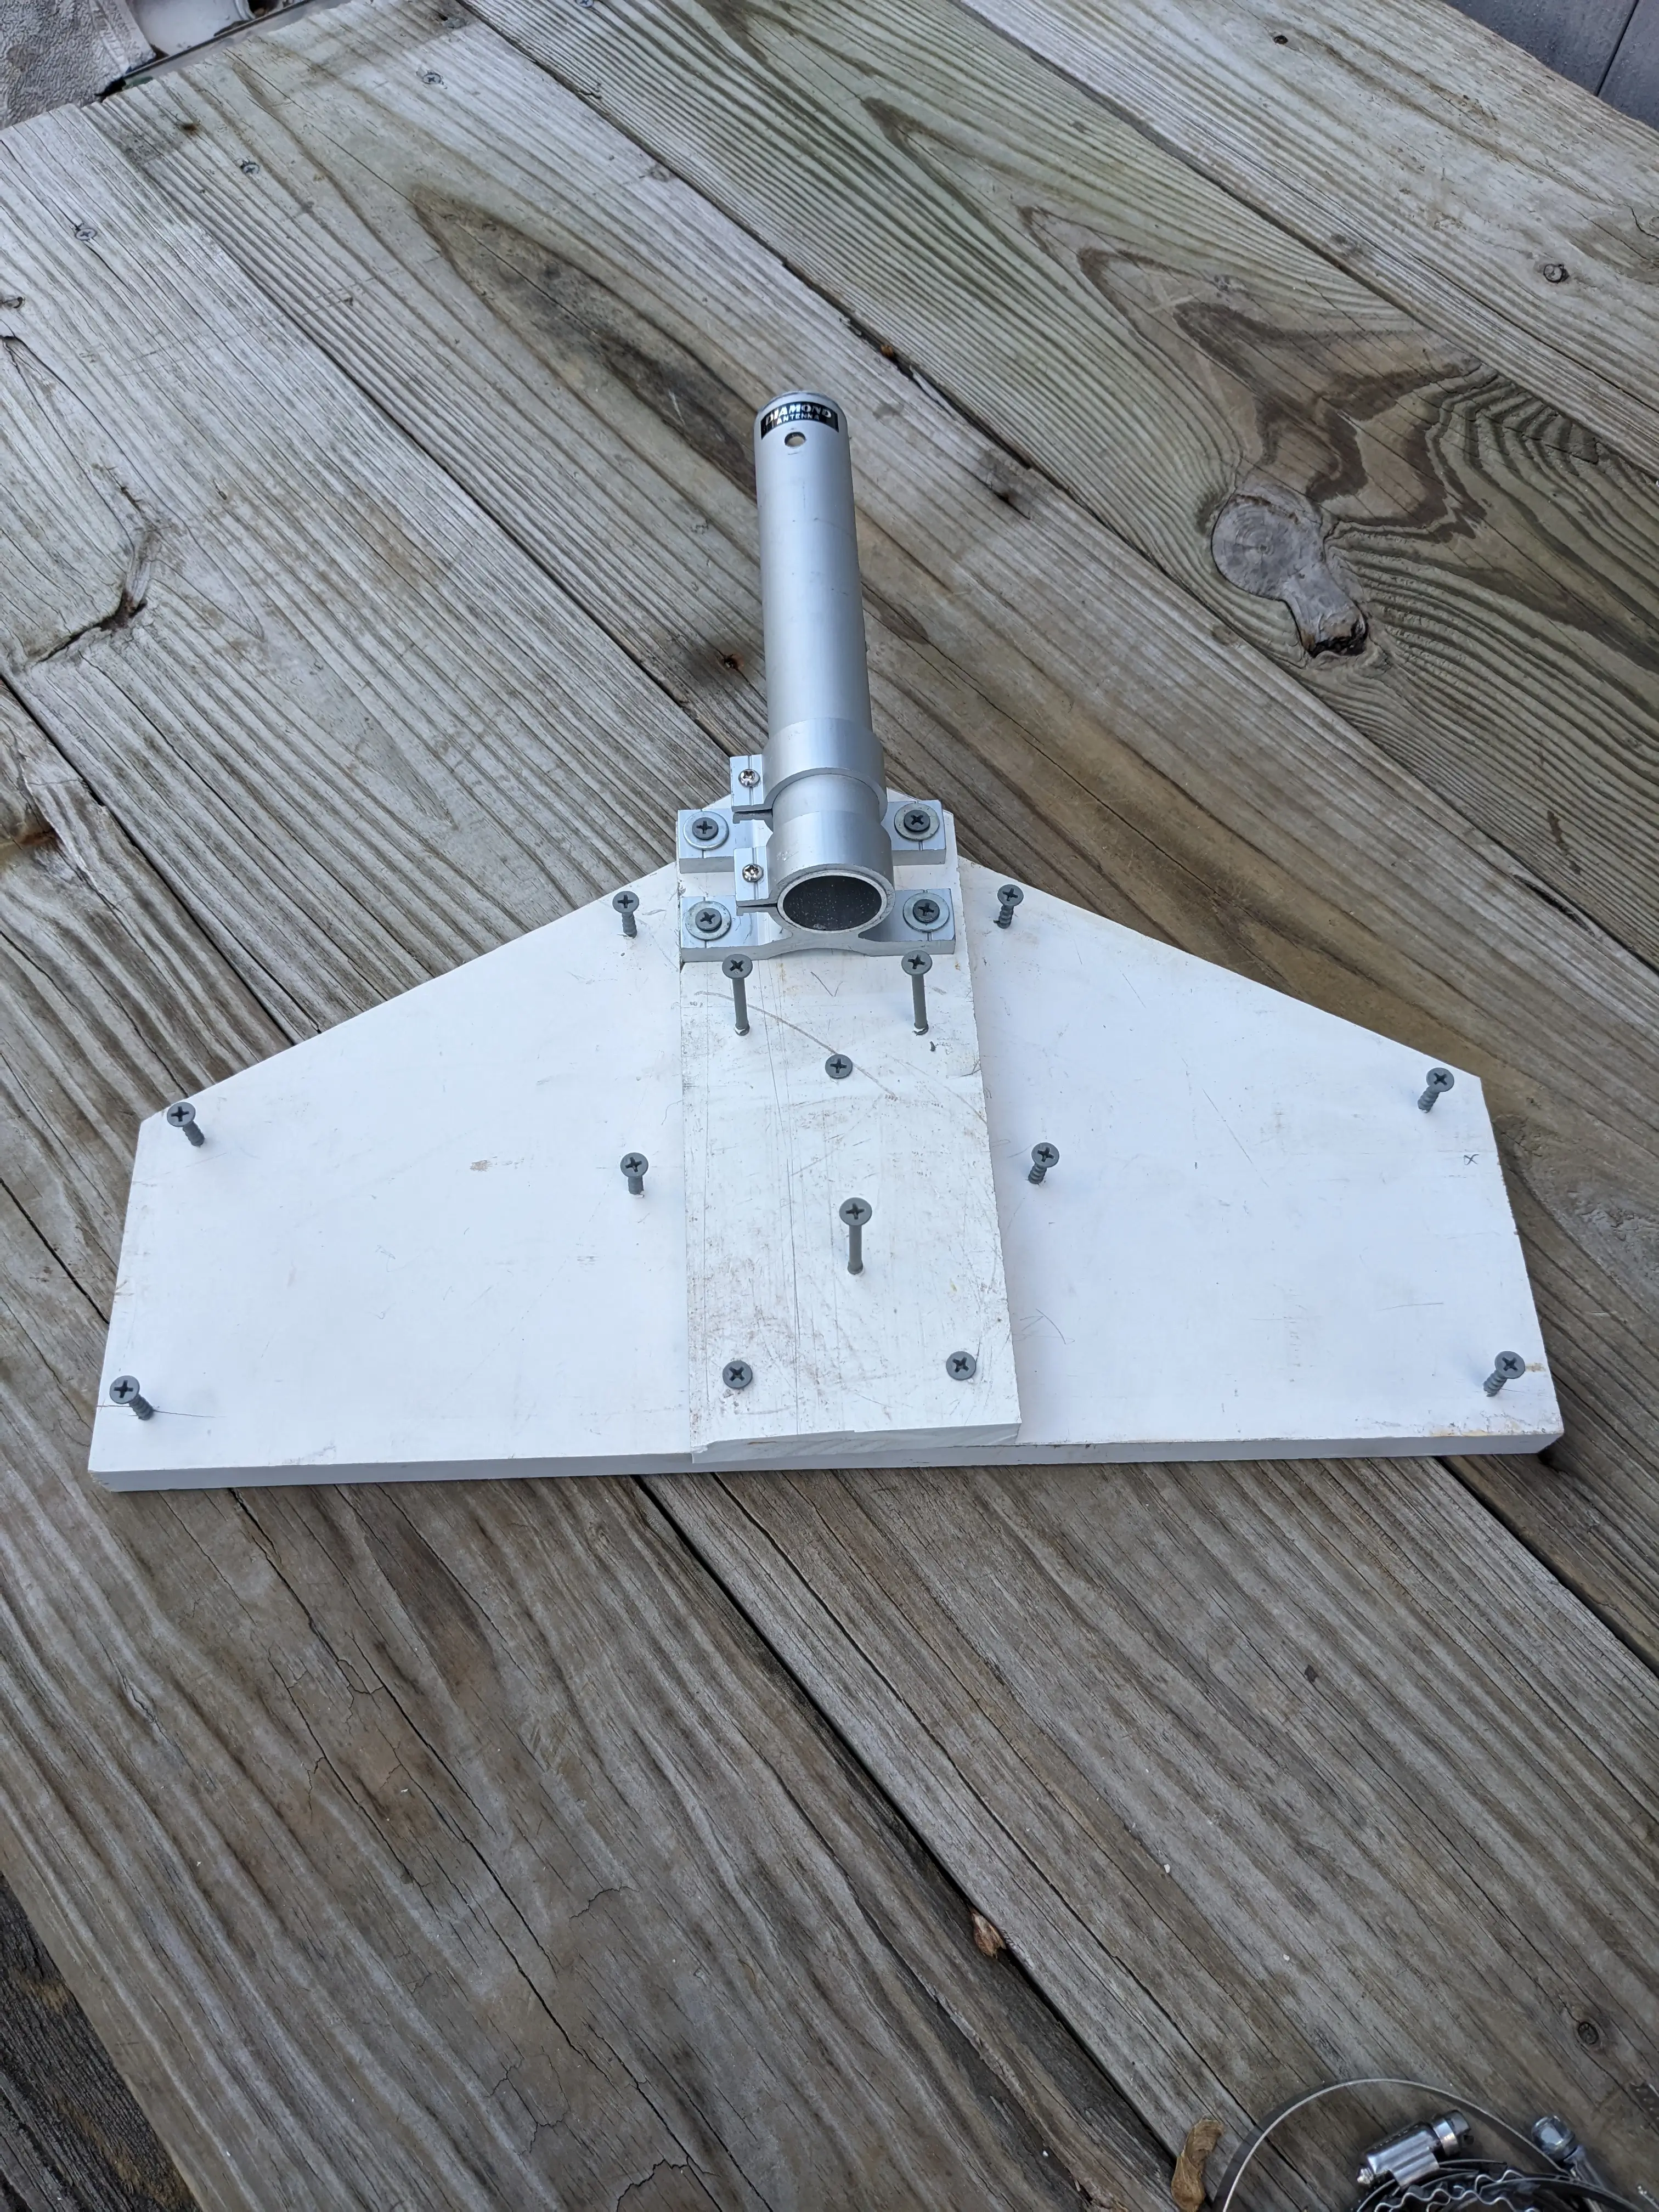
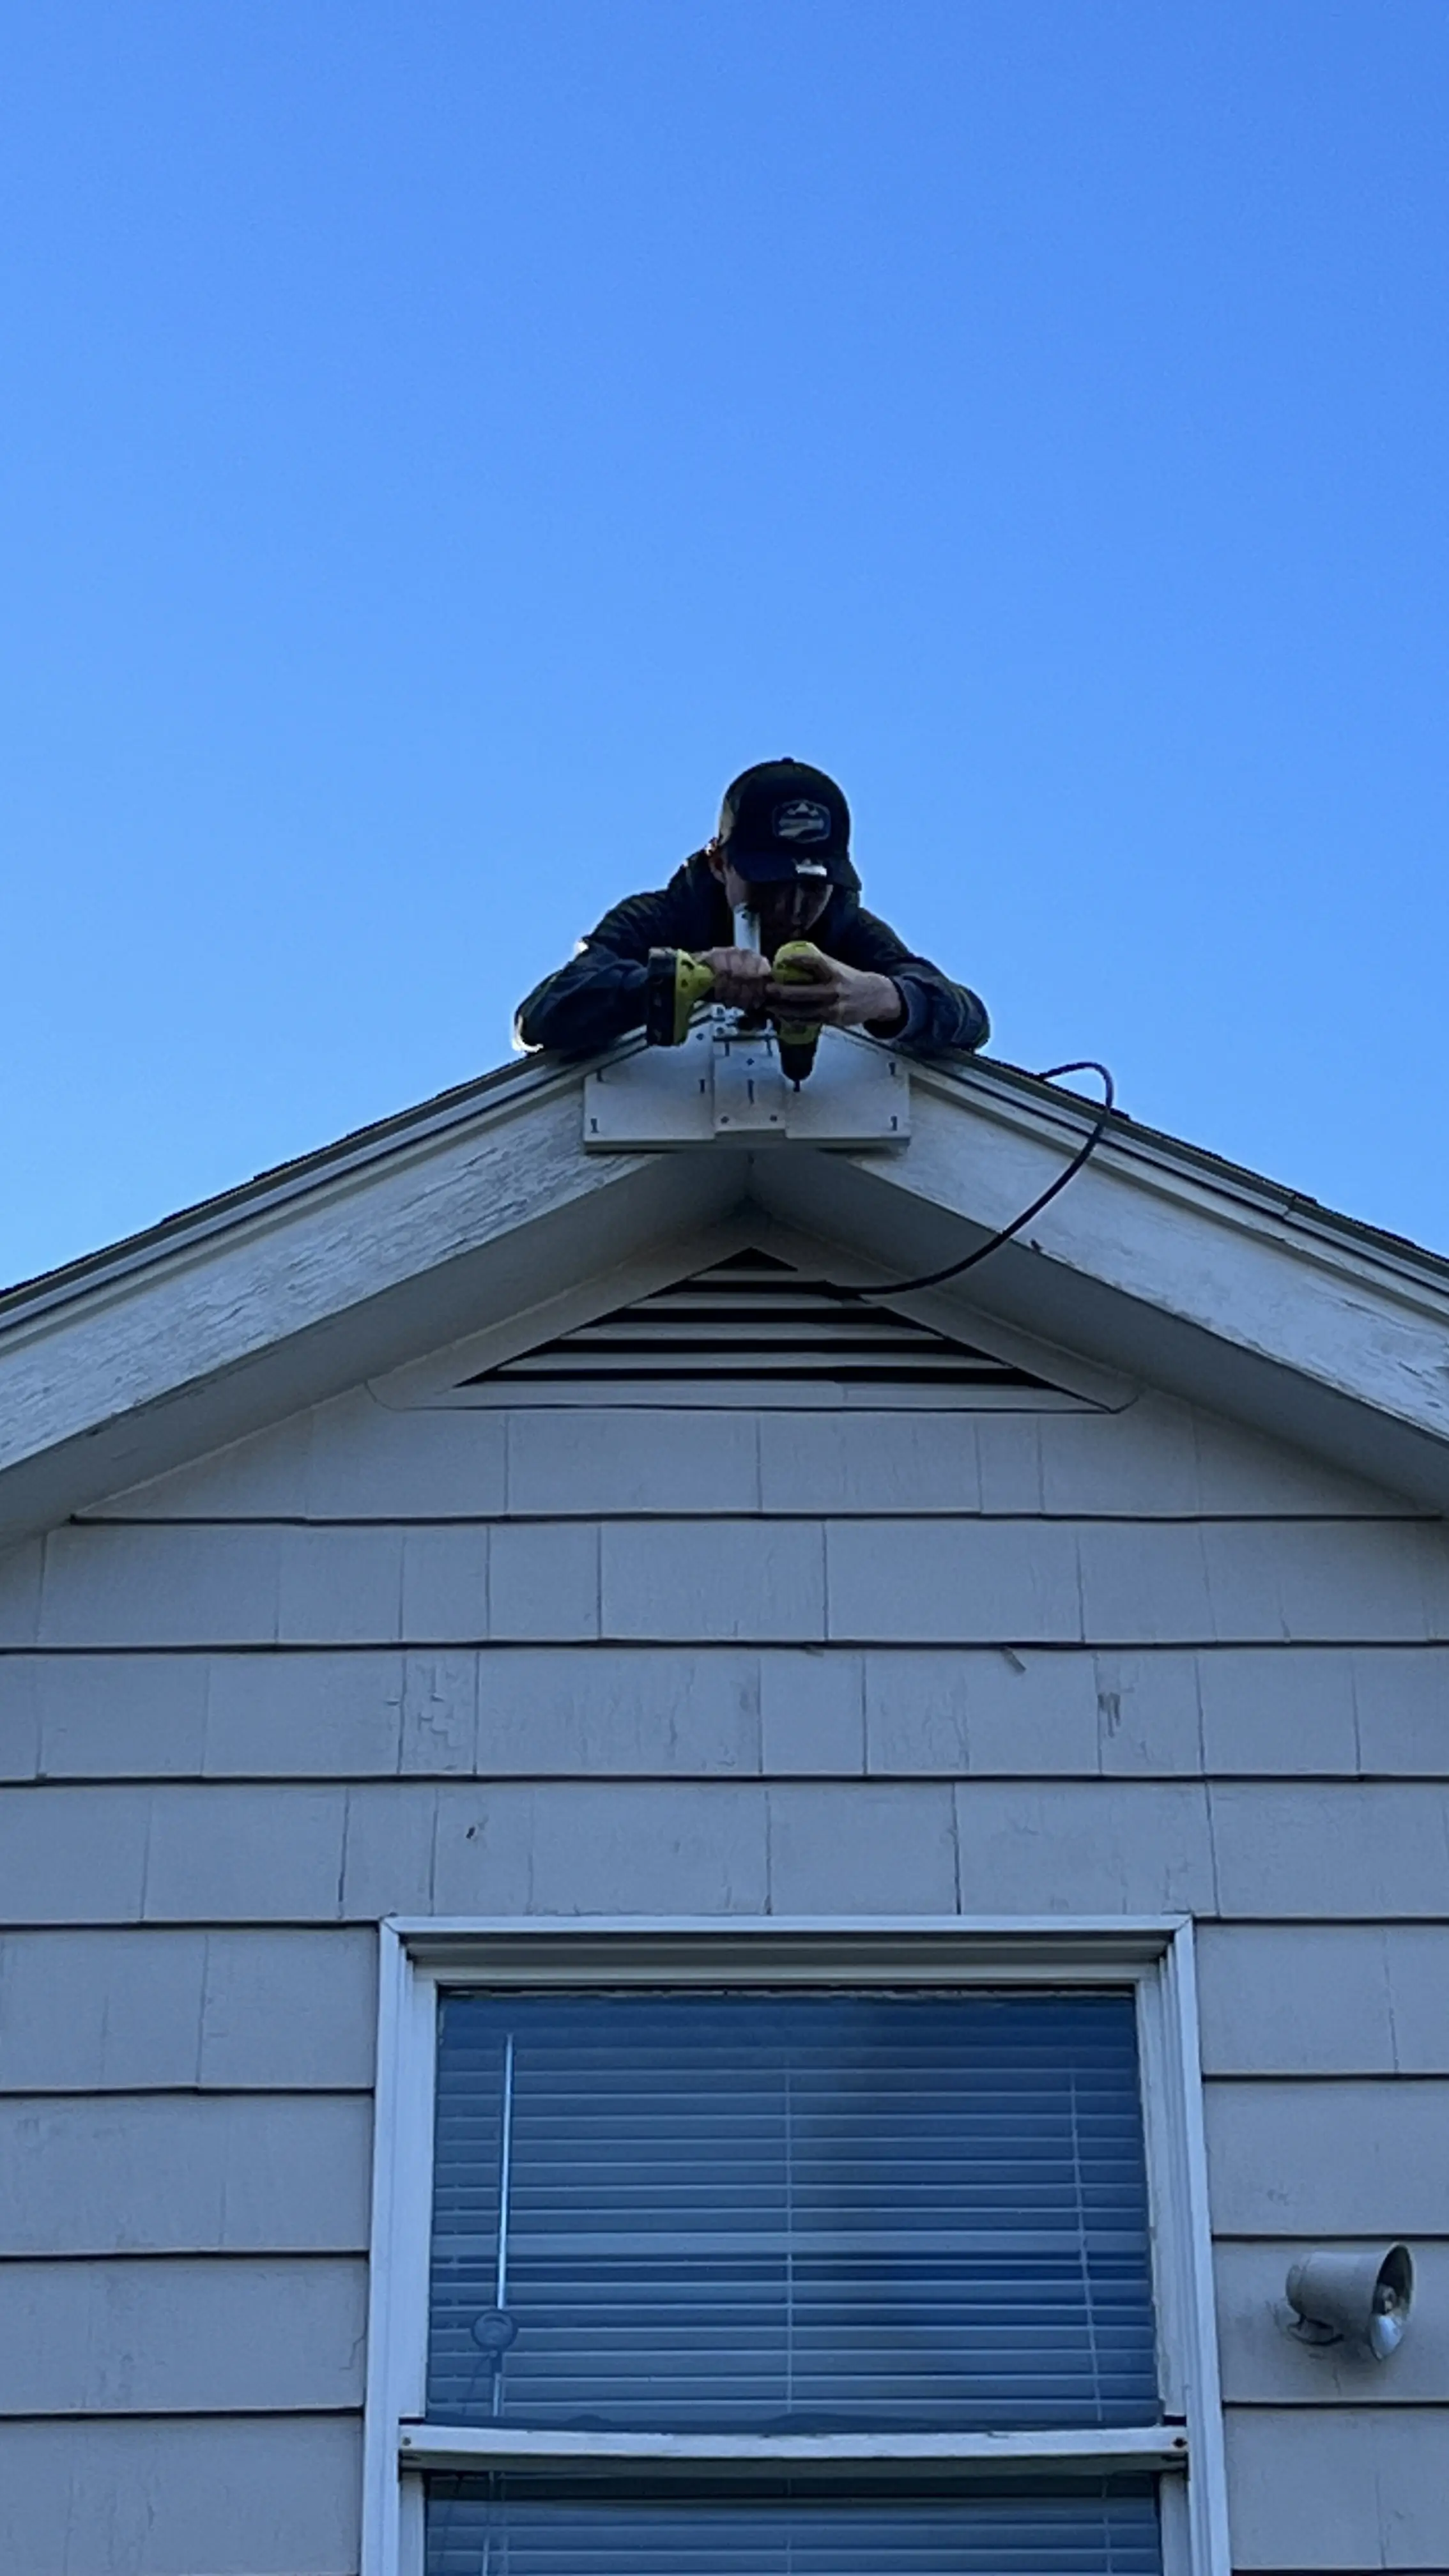
Due to previous construction on my house, I had a perfect angle of our roof line which I conveniently utilized to make the appropriate markings on my wood piece. After marking it the pieces, I cut them to size and screwed the two pieces together.
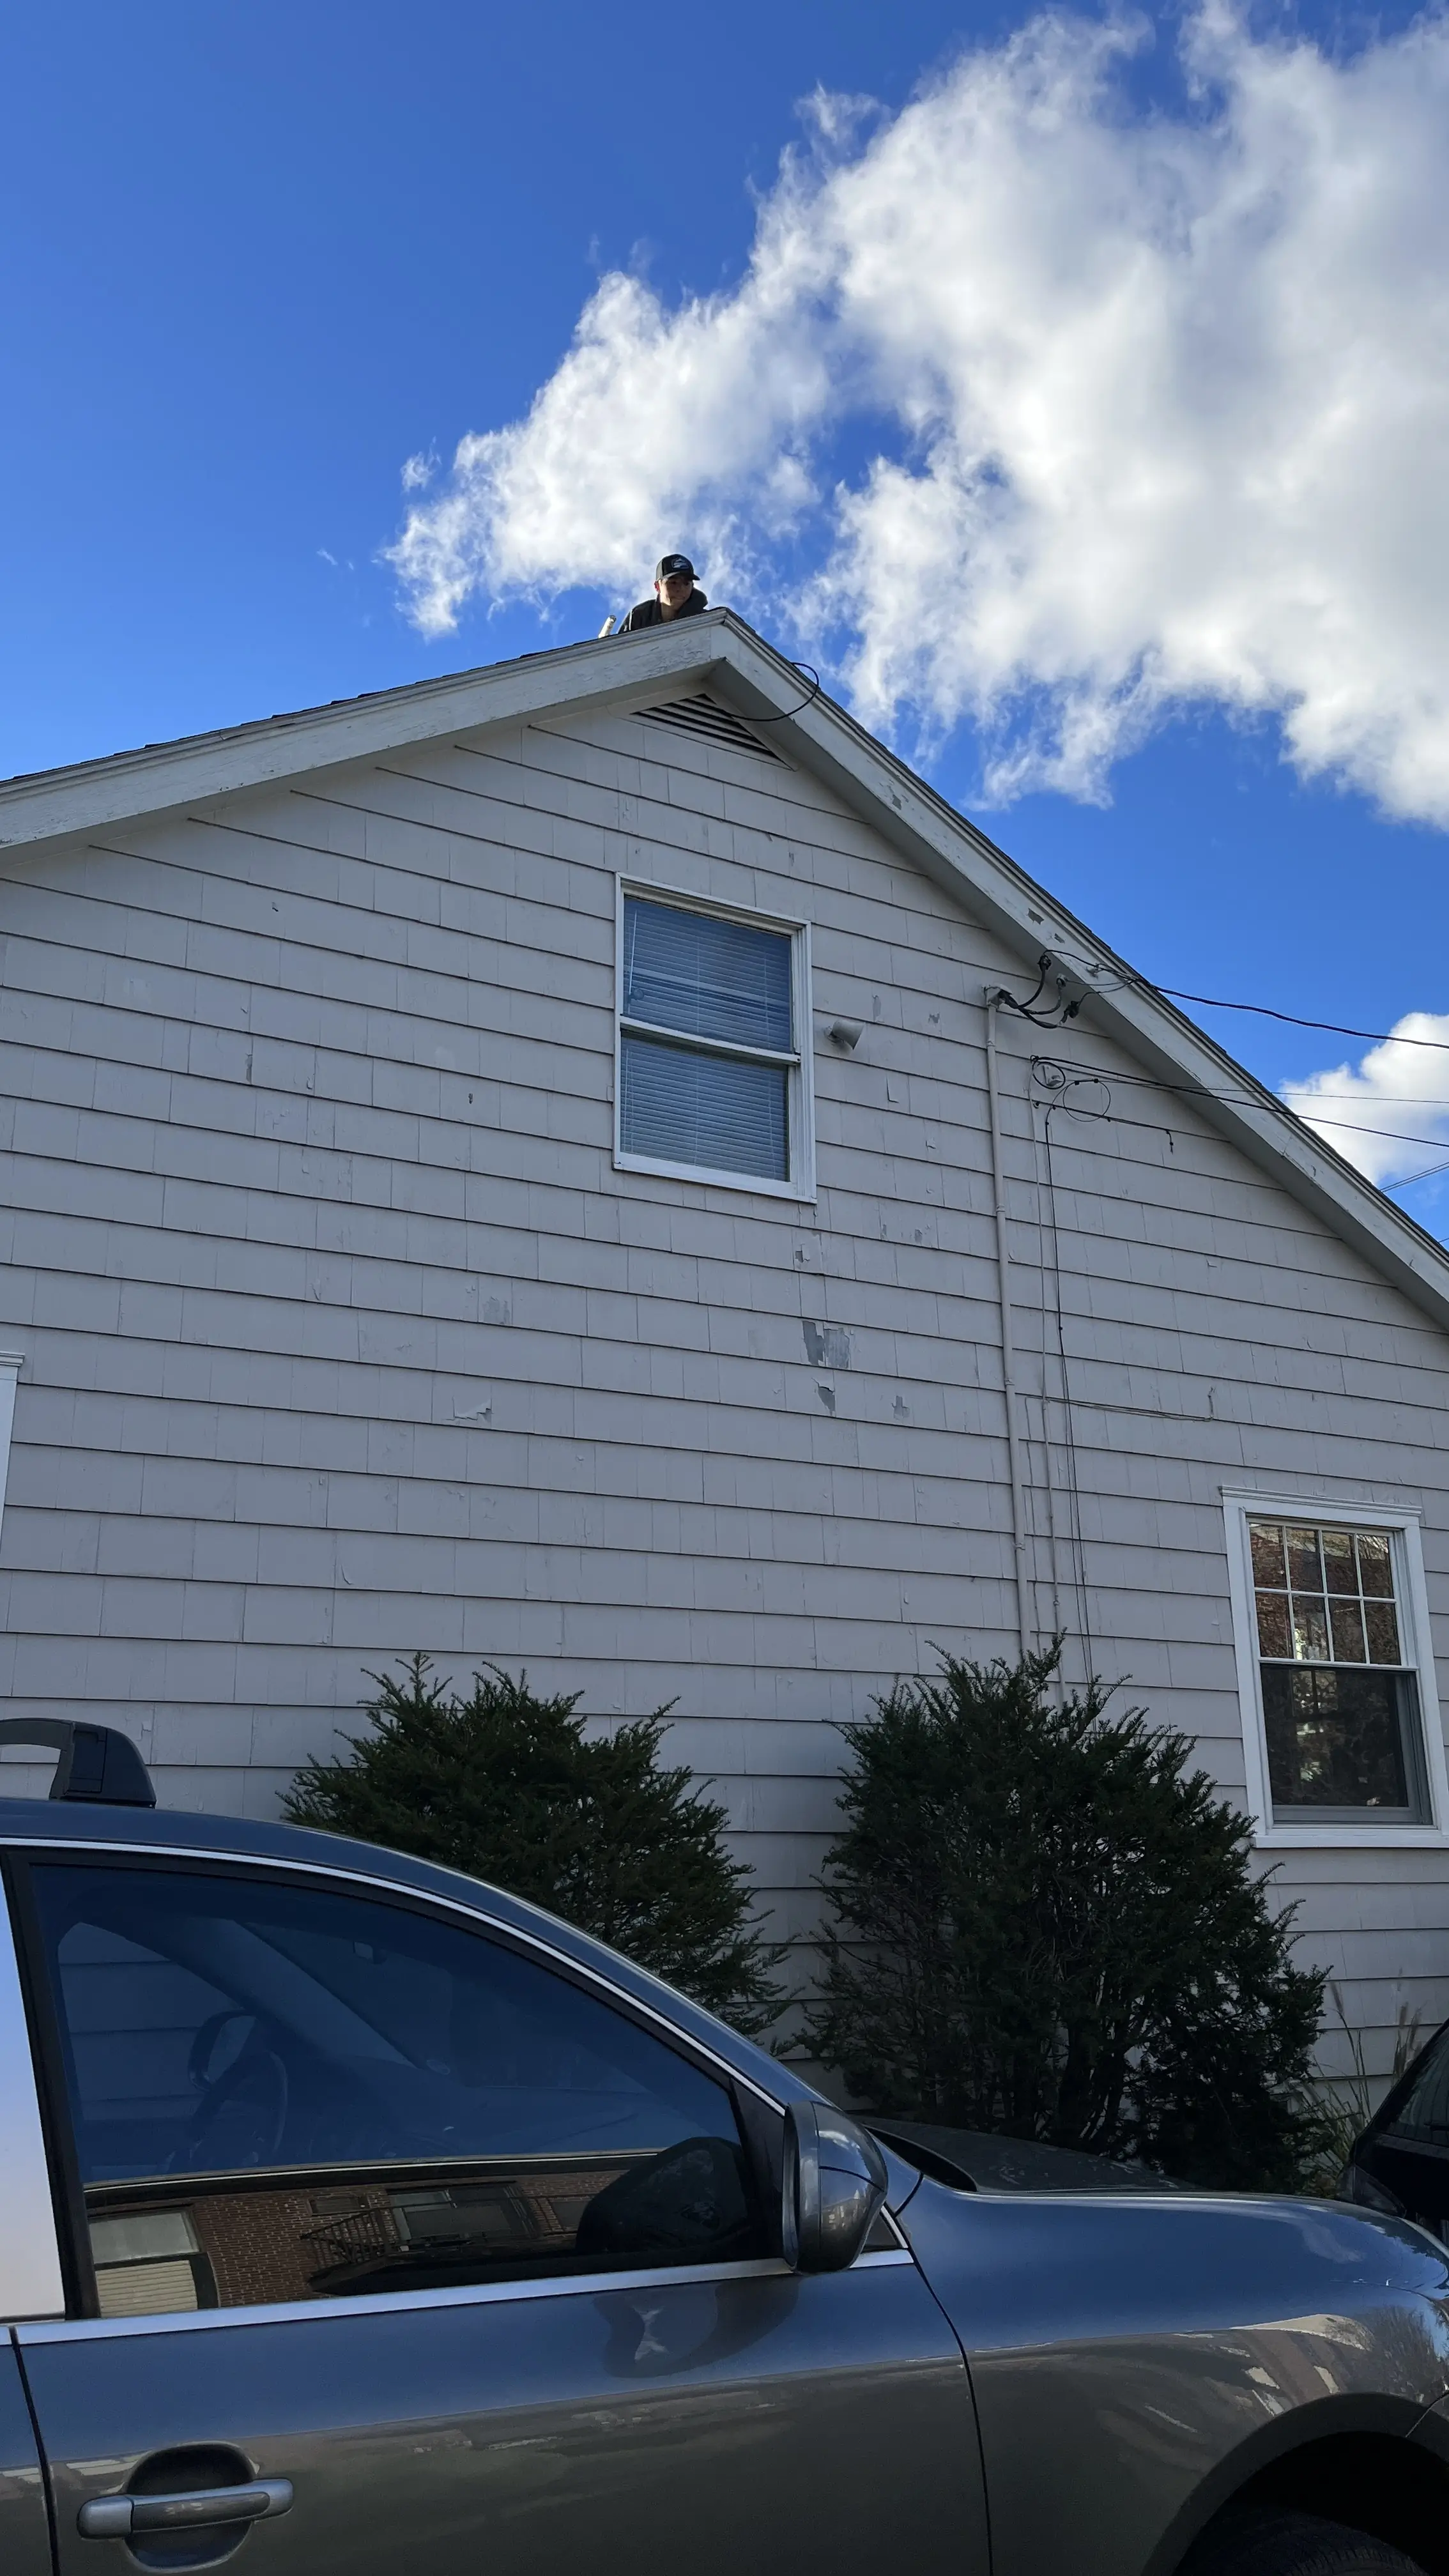
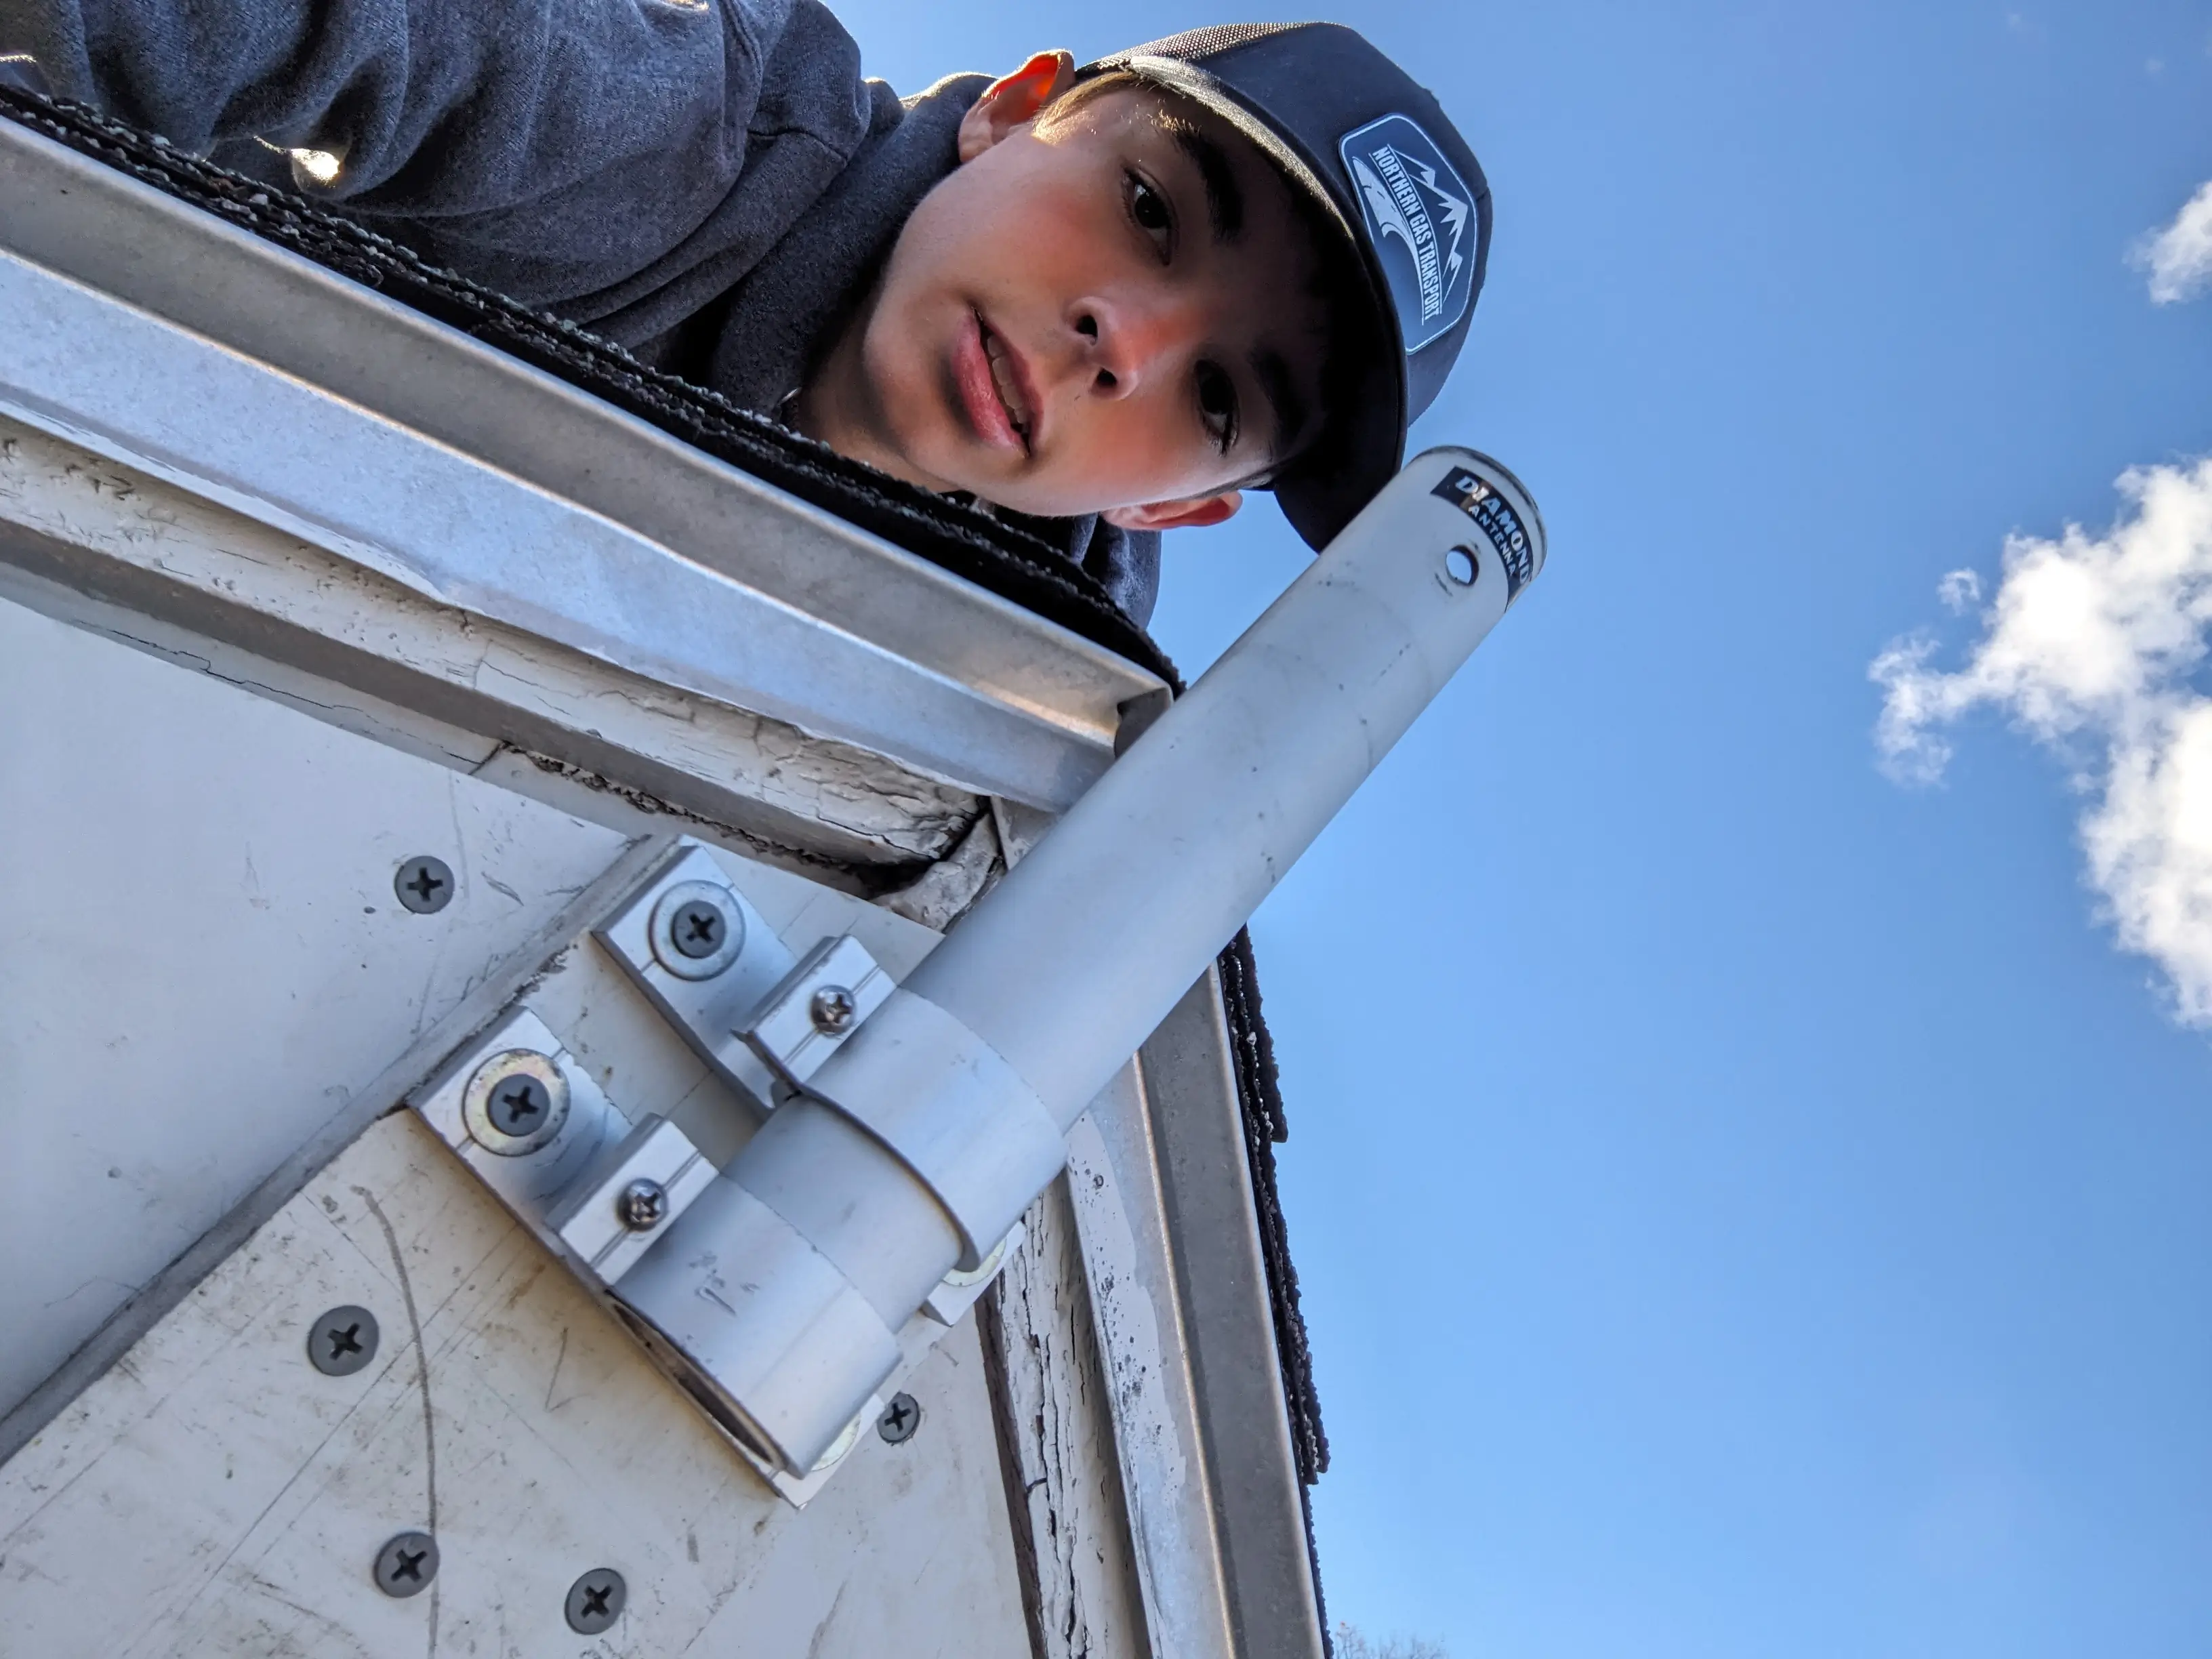
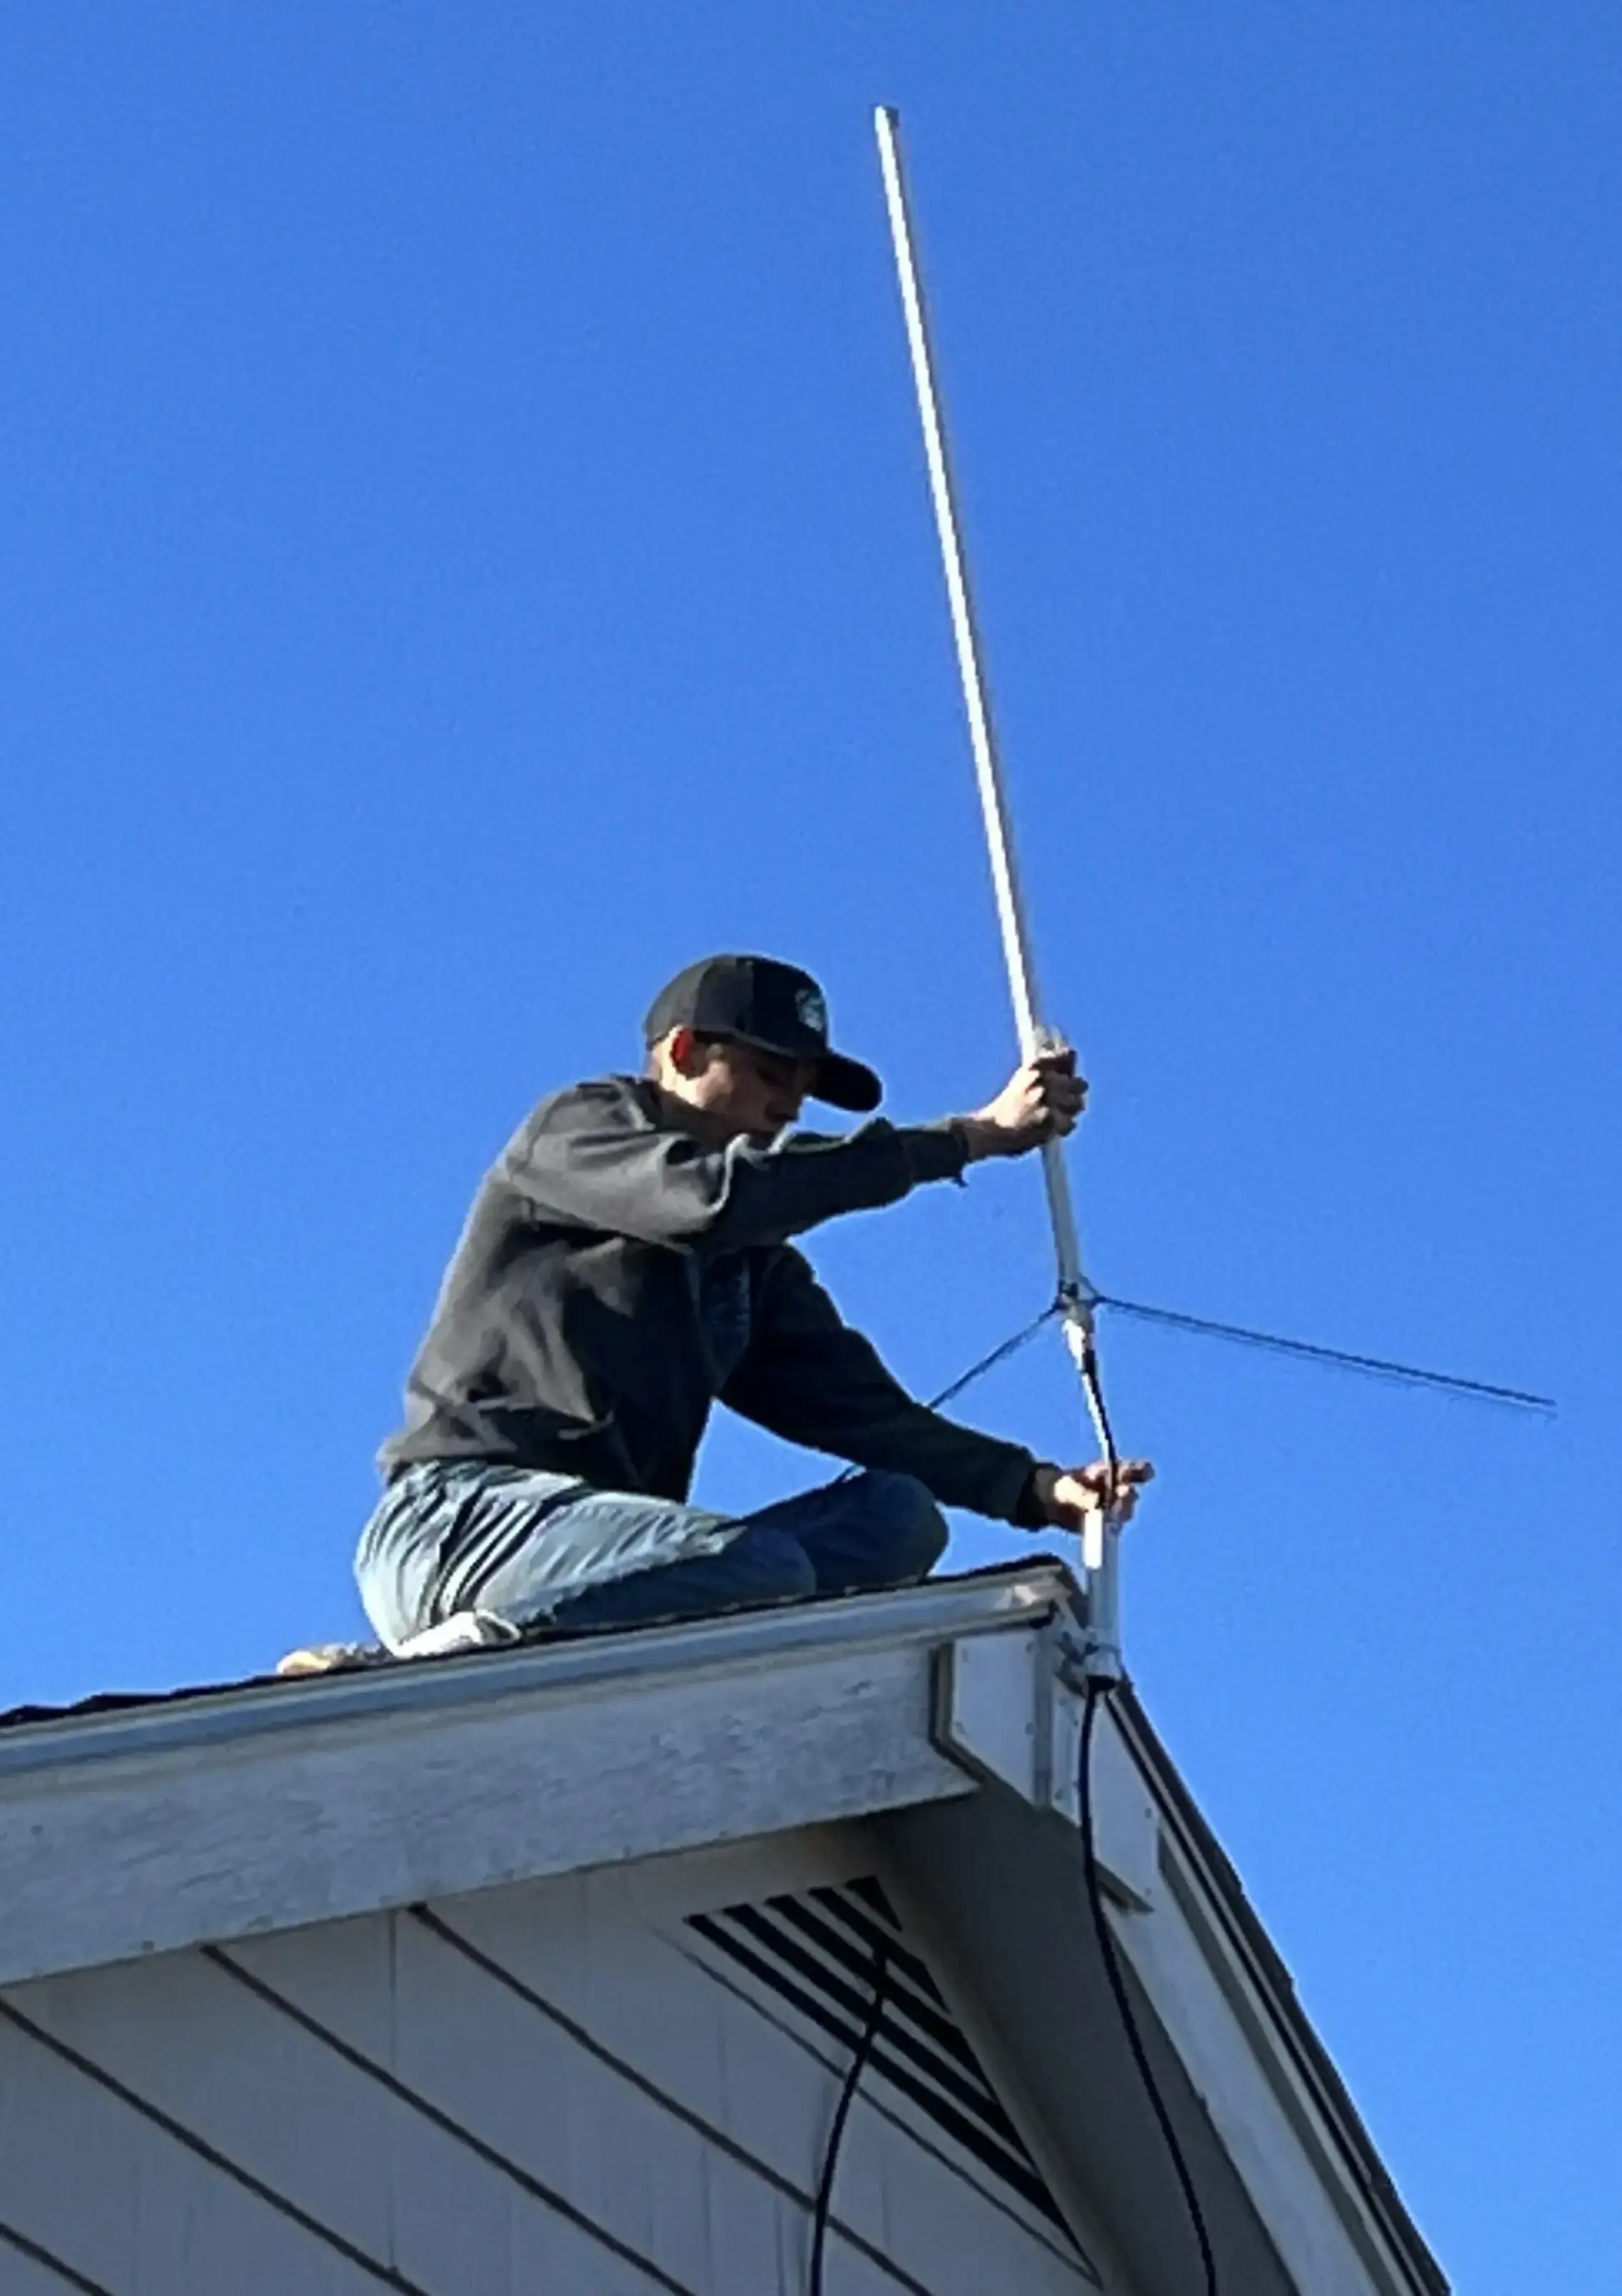
I also then added some screws that would be used to attach the bracket to the fascia board of my house. Because I don’t have a ladder tall enough to get all the way up to the peak of my roof, I would have to climb onto my roof and do it looking down. Less than ideal.
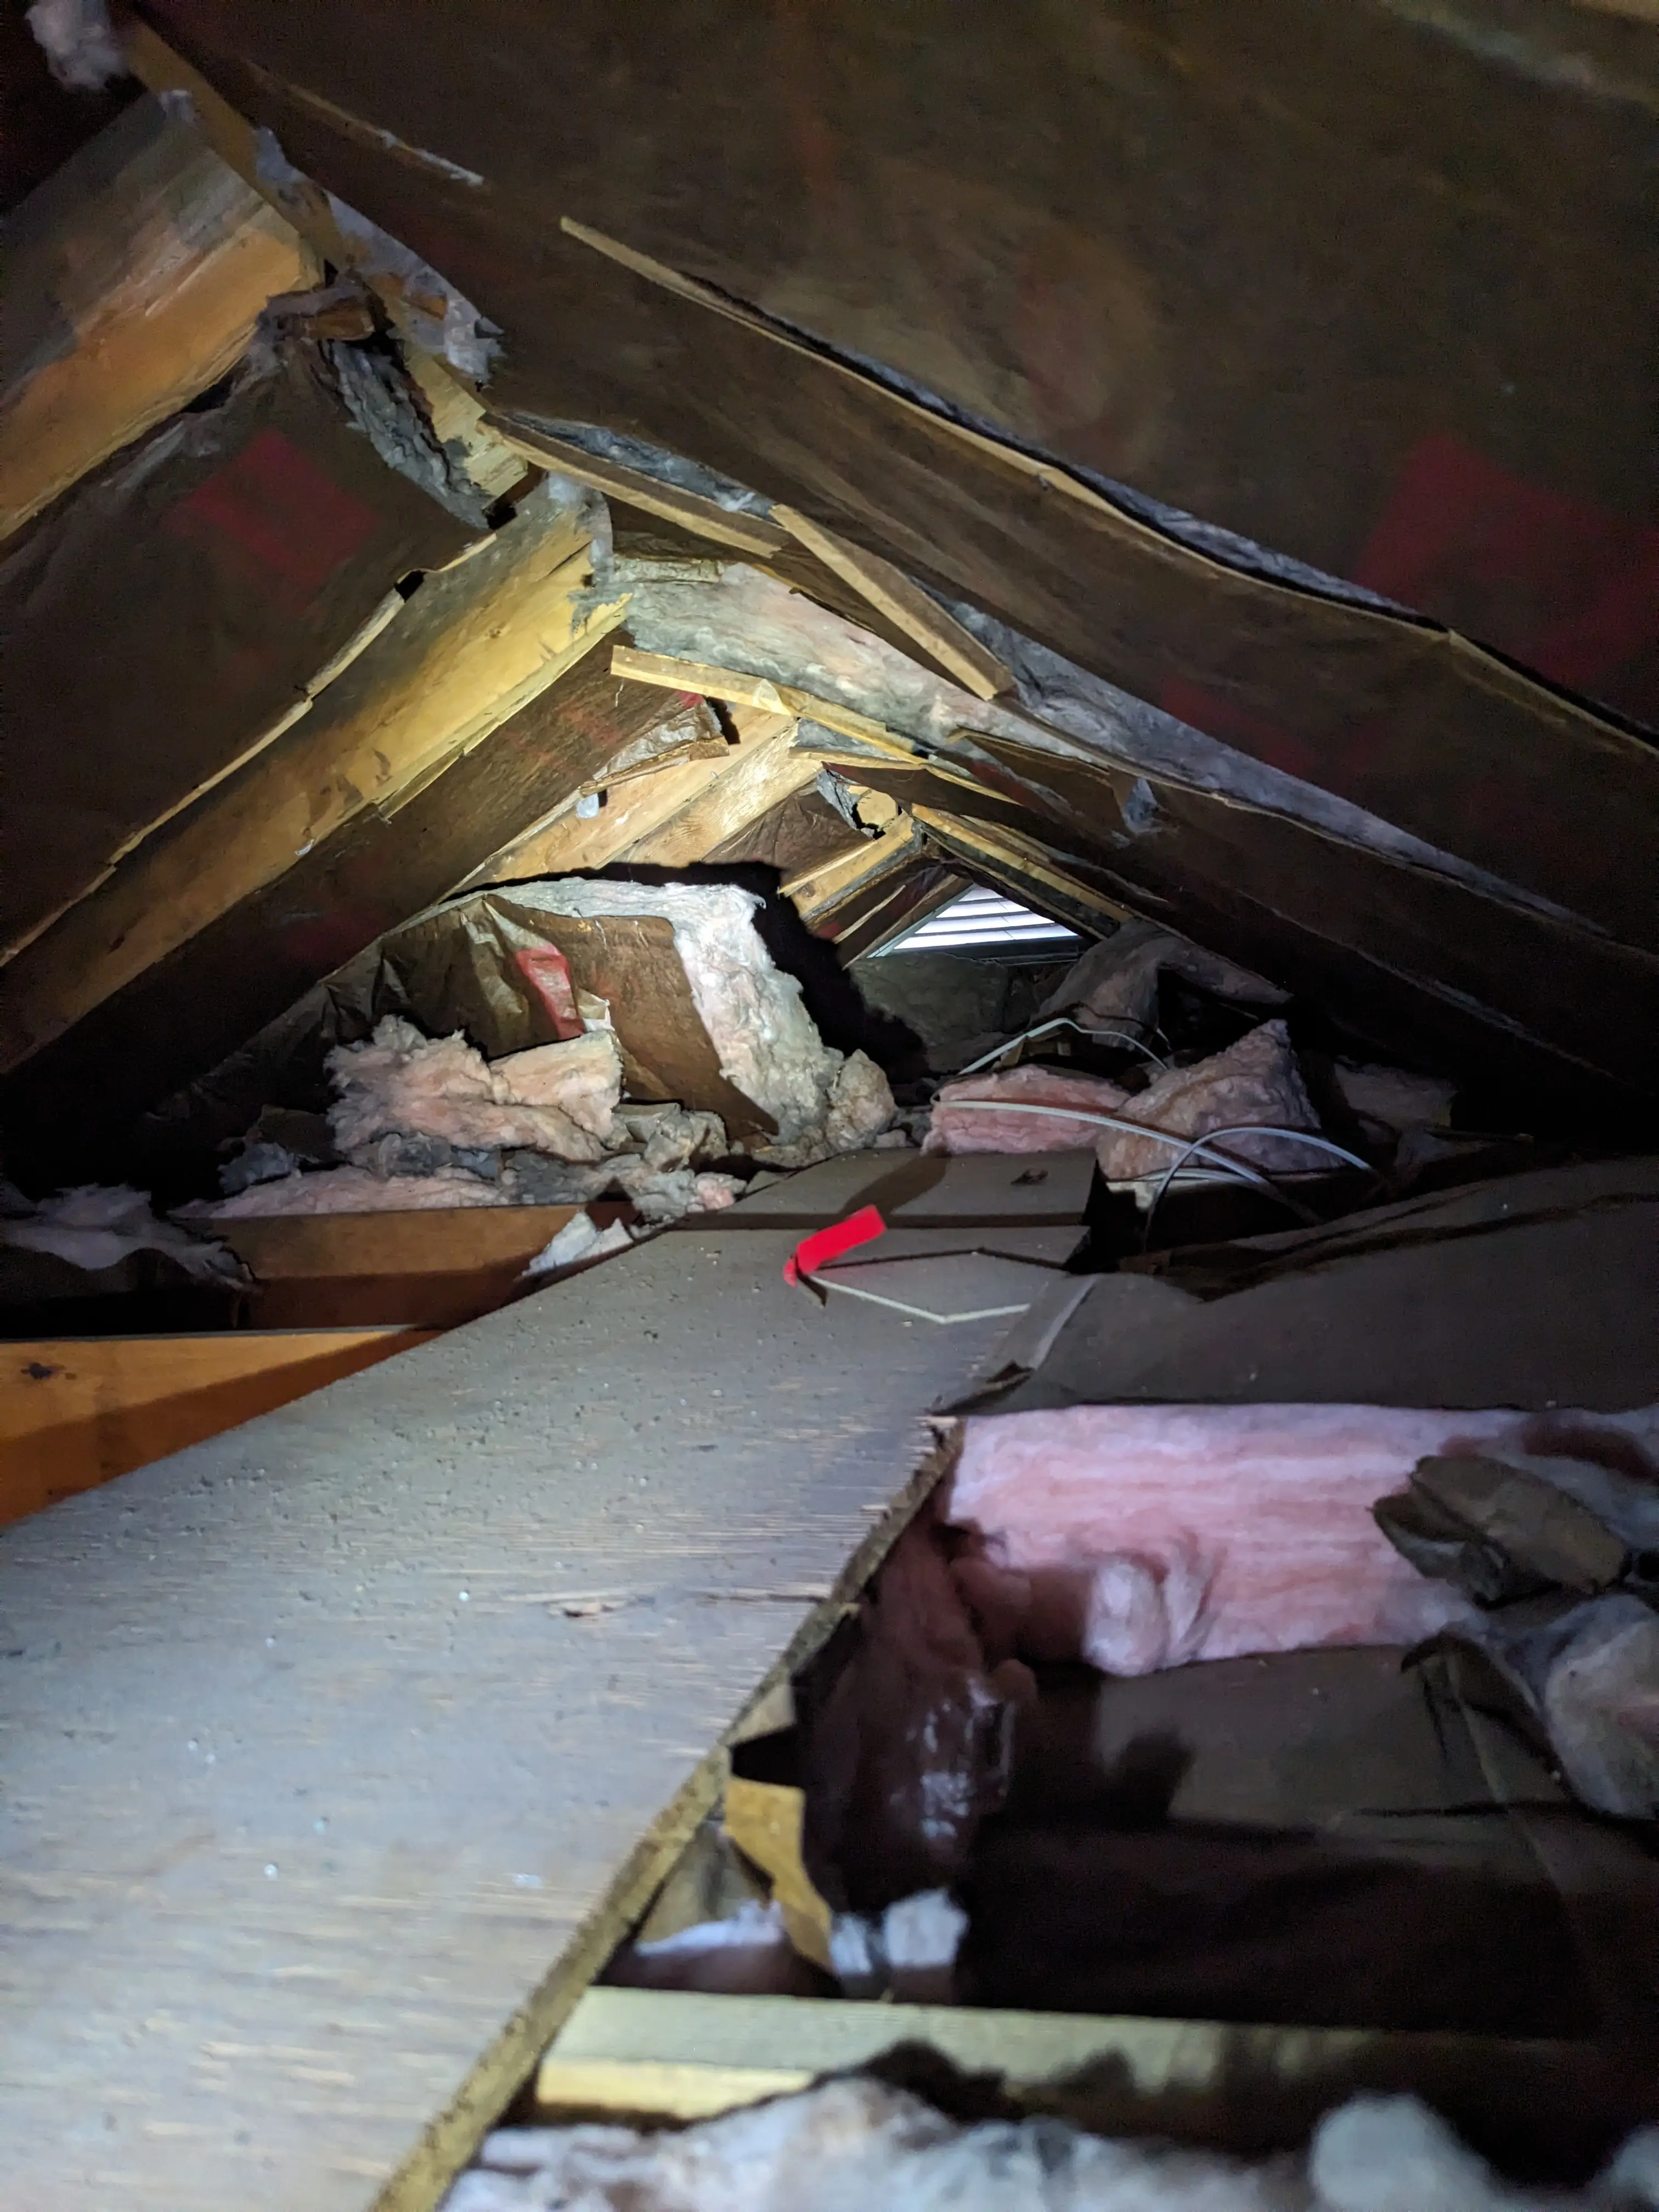
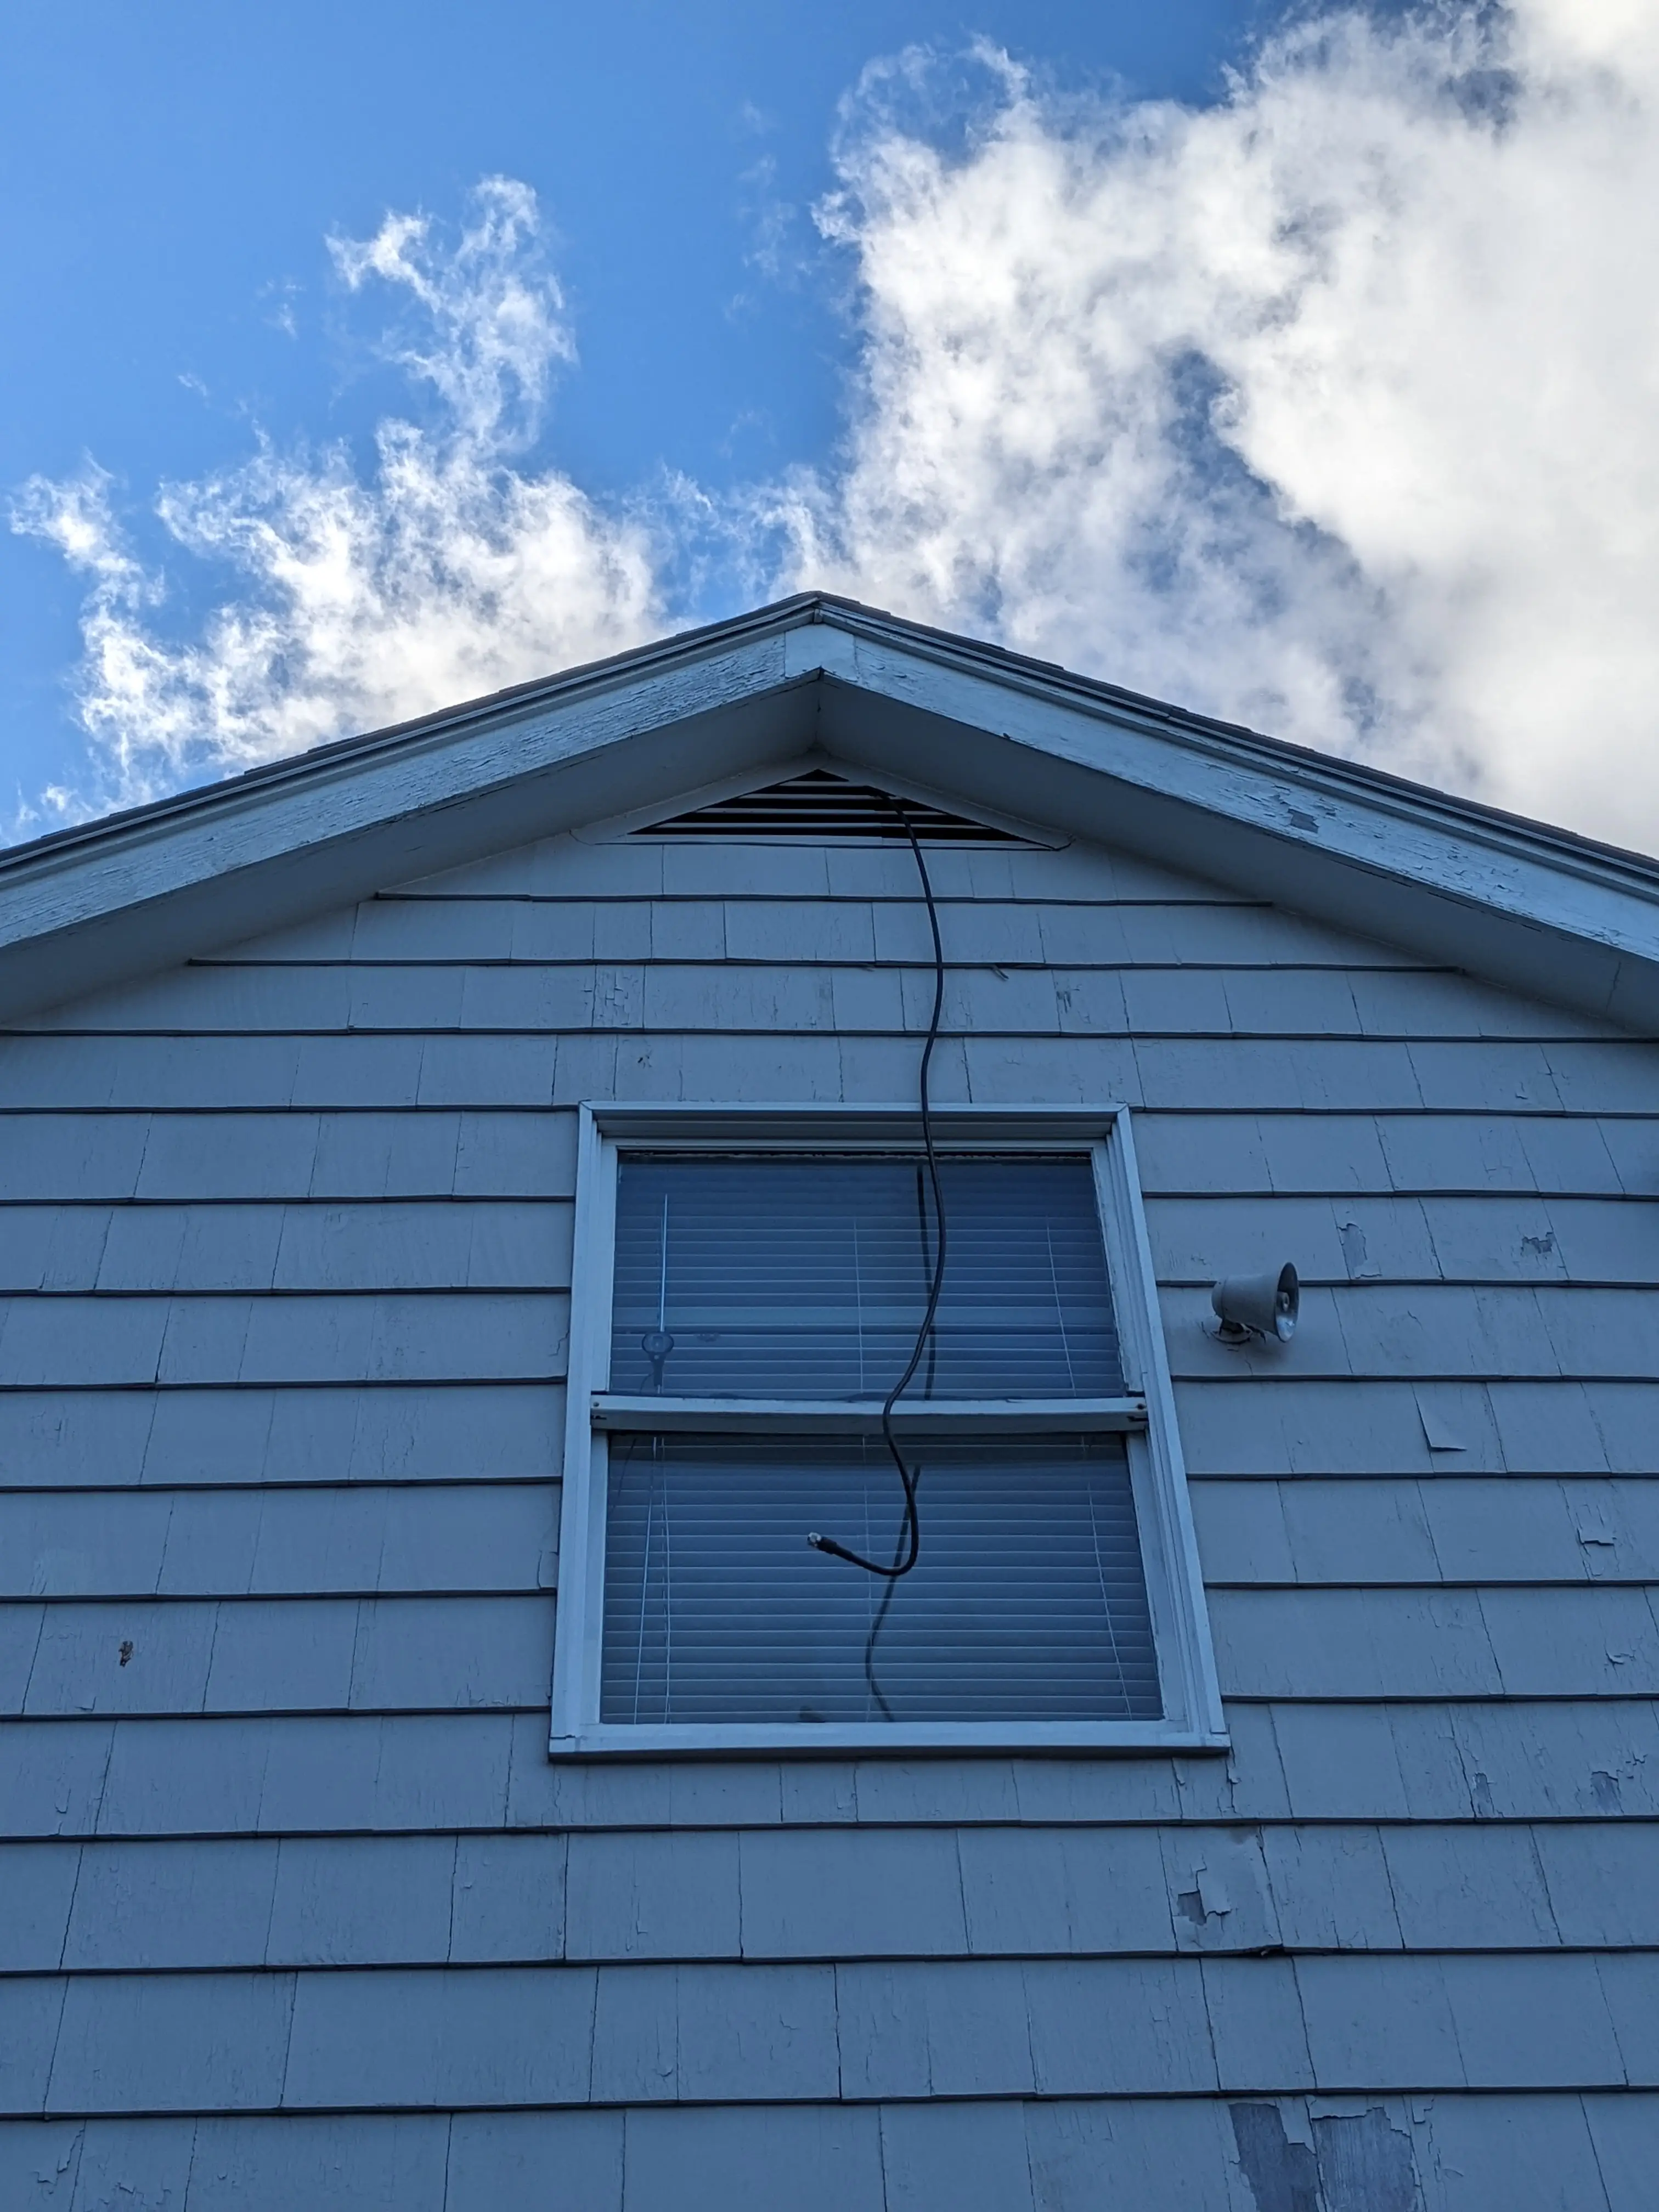
Now, I wanted to have the coax cable for the antenna to already be ready to go by the time I got up onto the roof to install the bracket. This meant somehow routing the wire from my family’s office upstairs, through the attic, through the exterior vent, and to the roof. This task ended up being more complex than I originally thought.
I had to get on top of our office in this crawl-space that had so much fiberglass insulation it made it painful to breathe normally. However, I pushed forwards and brought the coax to be routed. There are a lot of details I won’t cover here, but this took a few hours!
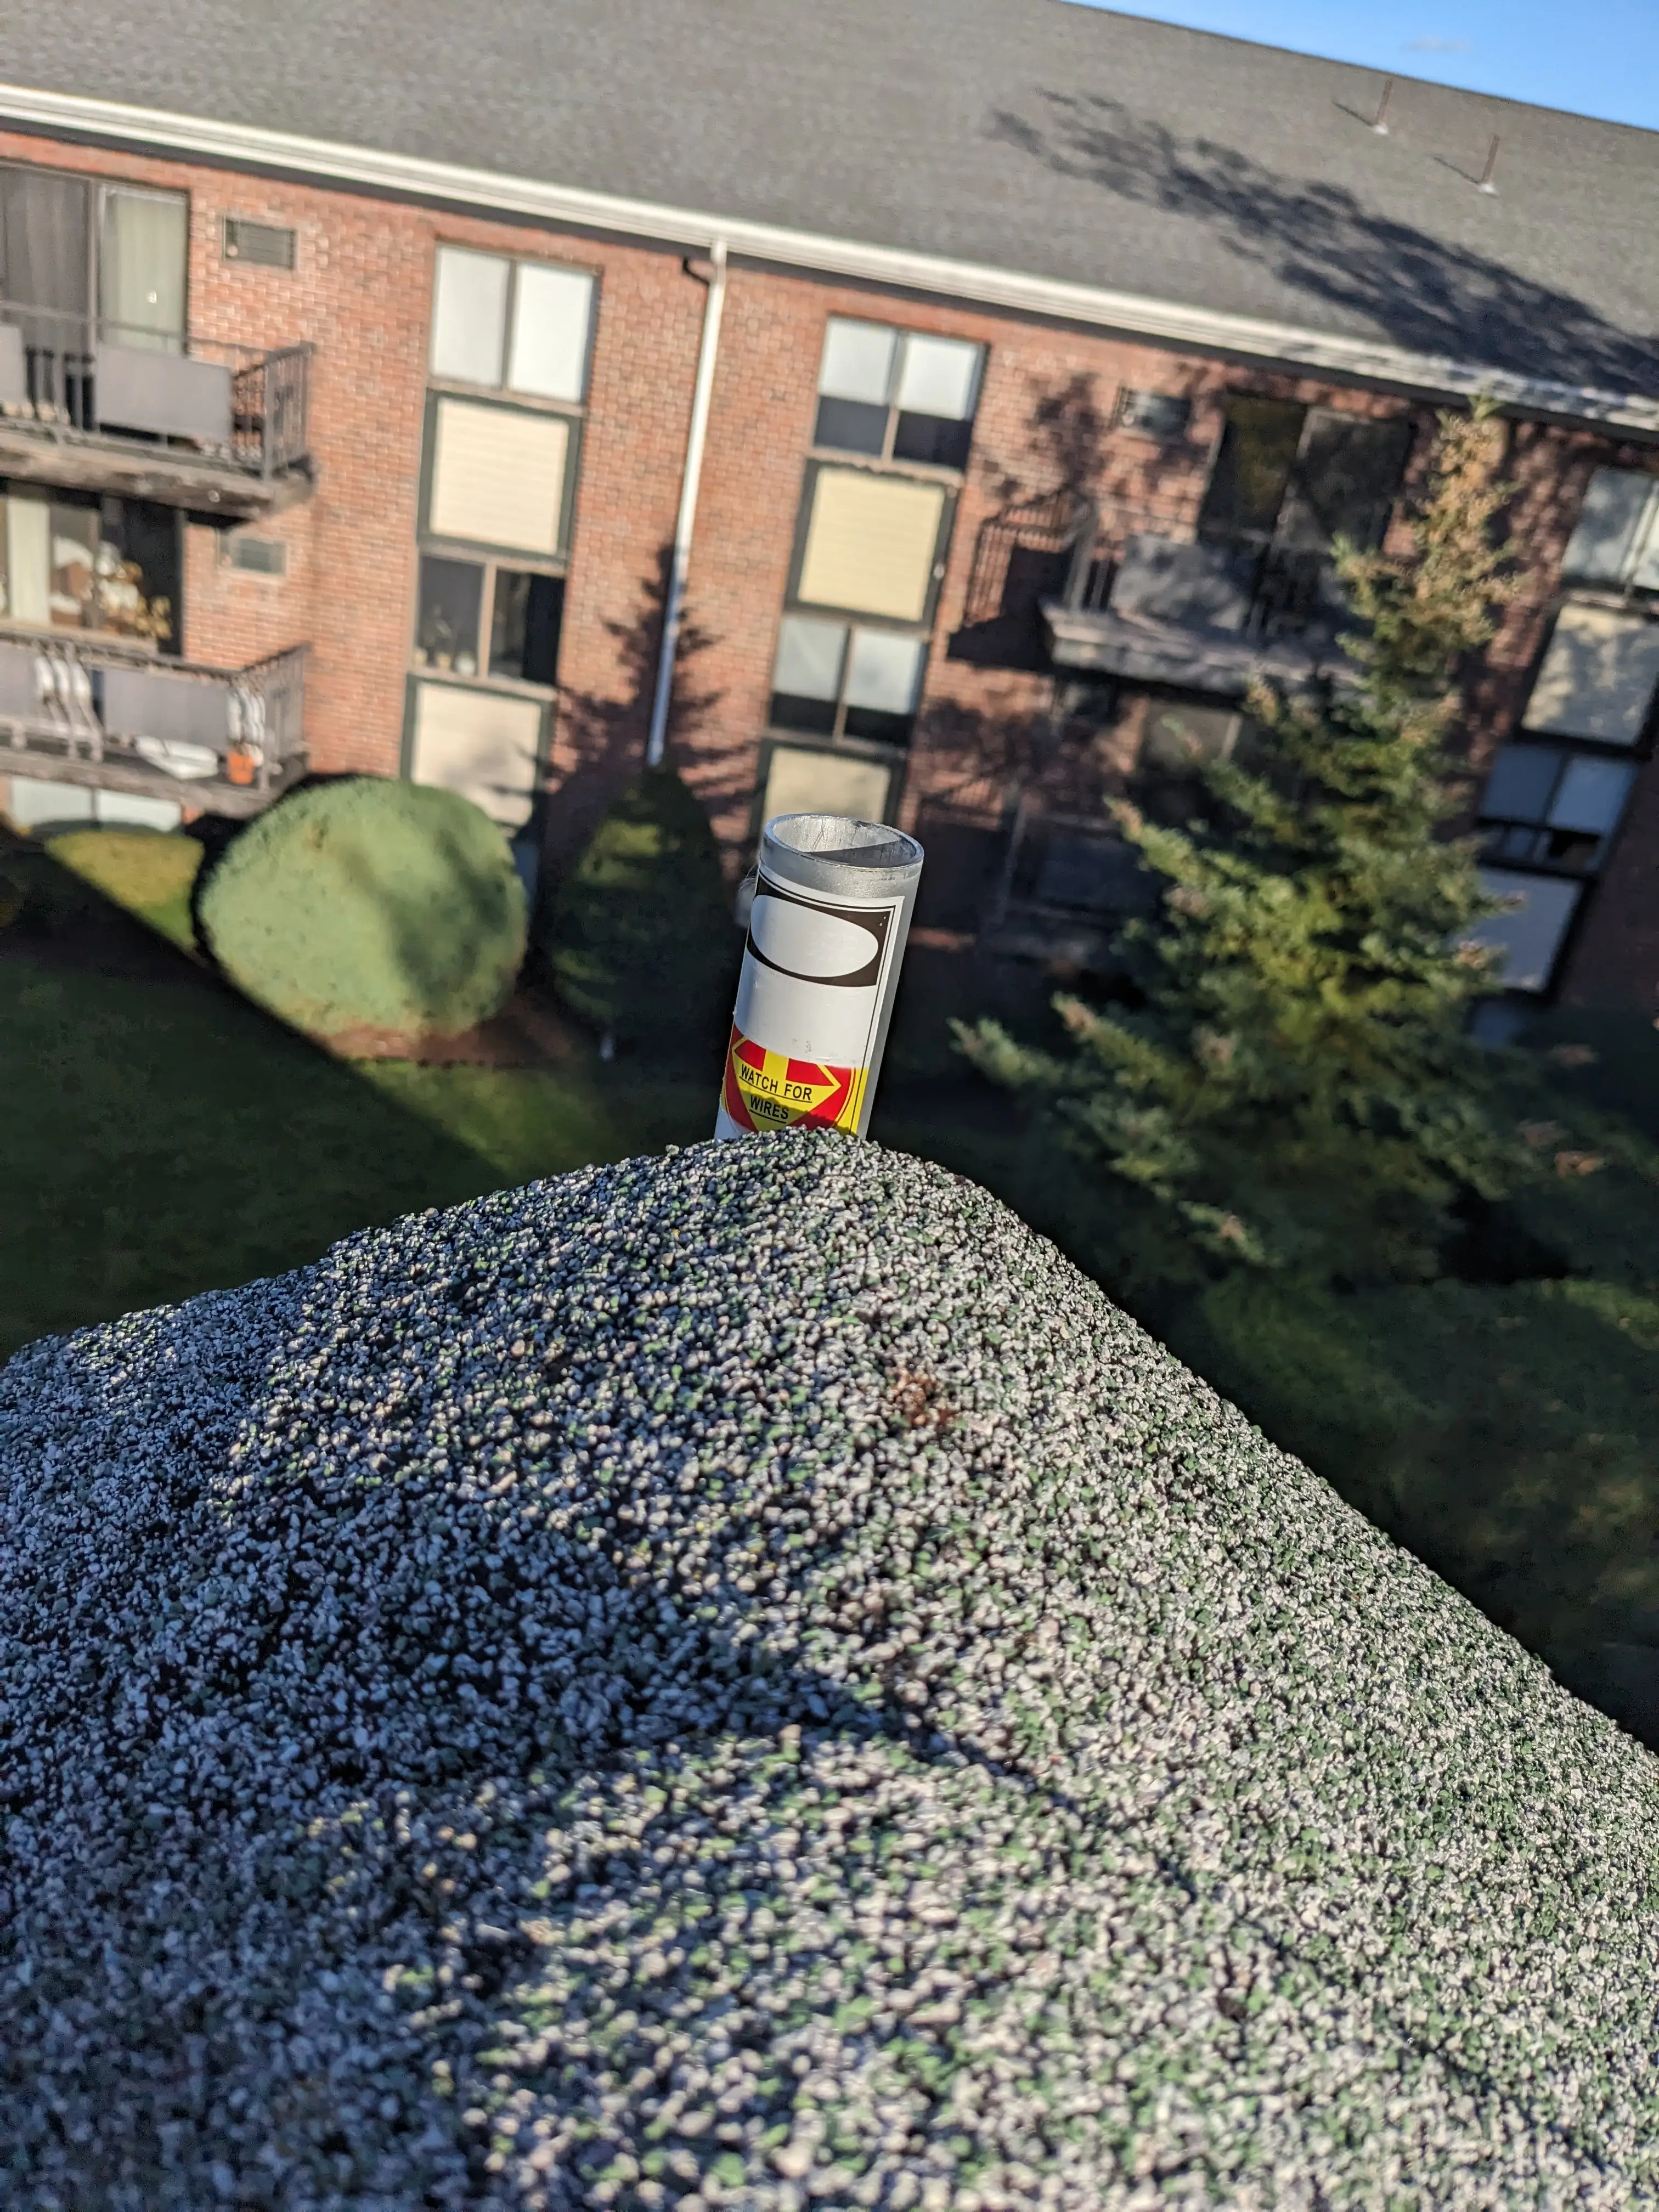
Now that the cable was routed and ready to be connected to the antenna once mounted, I proceeded by getting onto the roof and mounting the bracket I had just constructed.
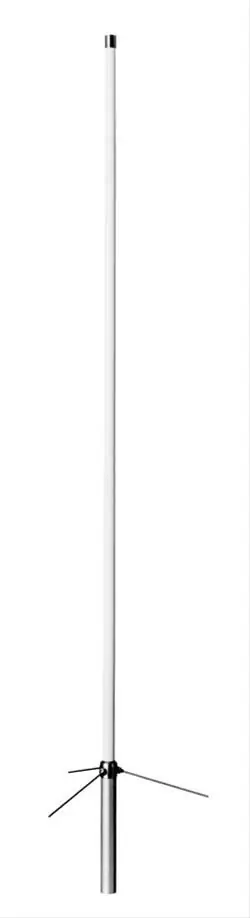
The Diamond X50 antenna I have uses radials to shape and direct the transmitted signal.
These three radials (little legs shown in the photo on the left) come out and a negative angle which means they need to clear the roof.
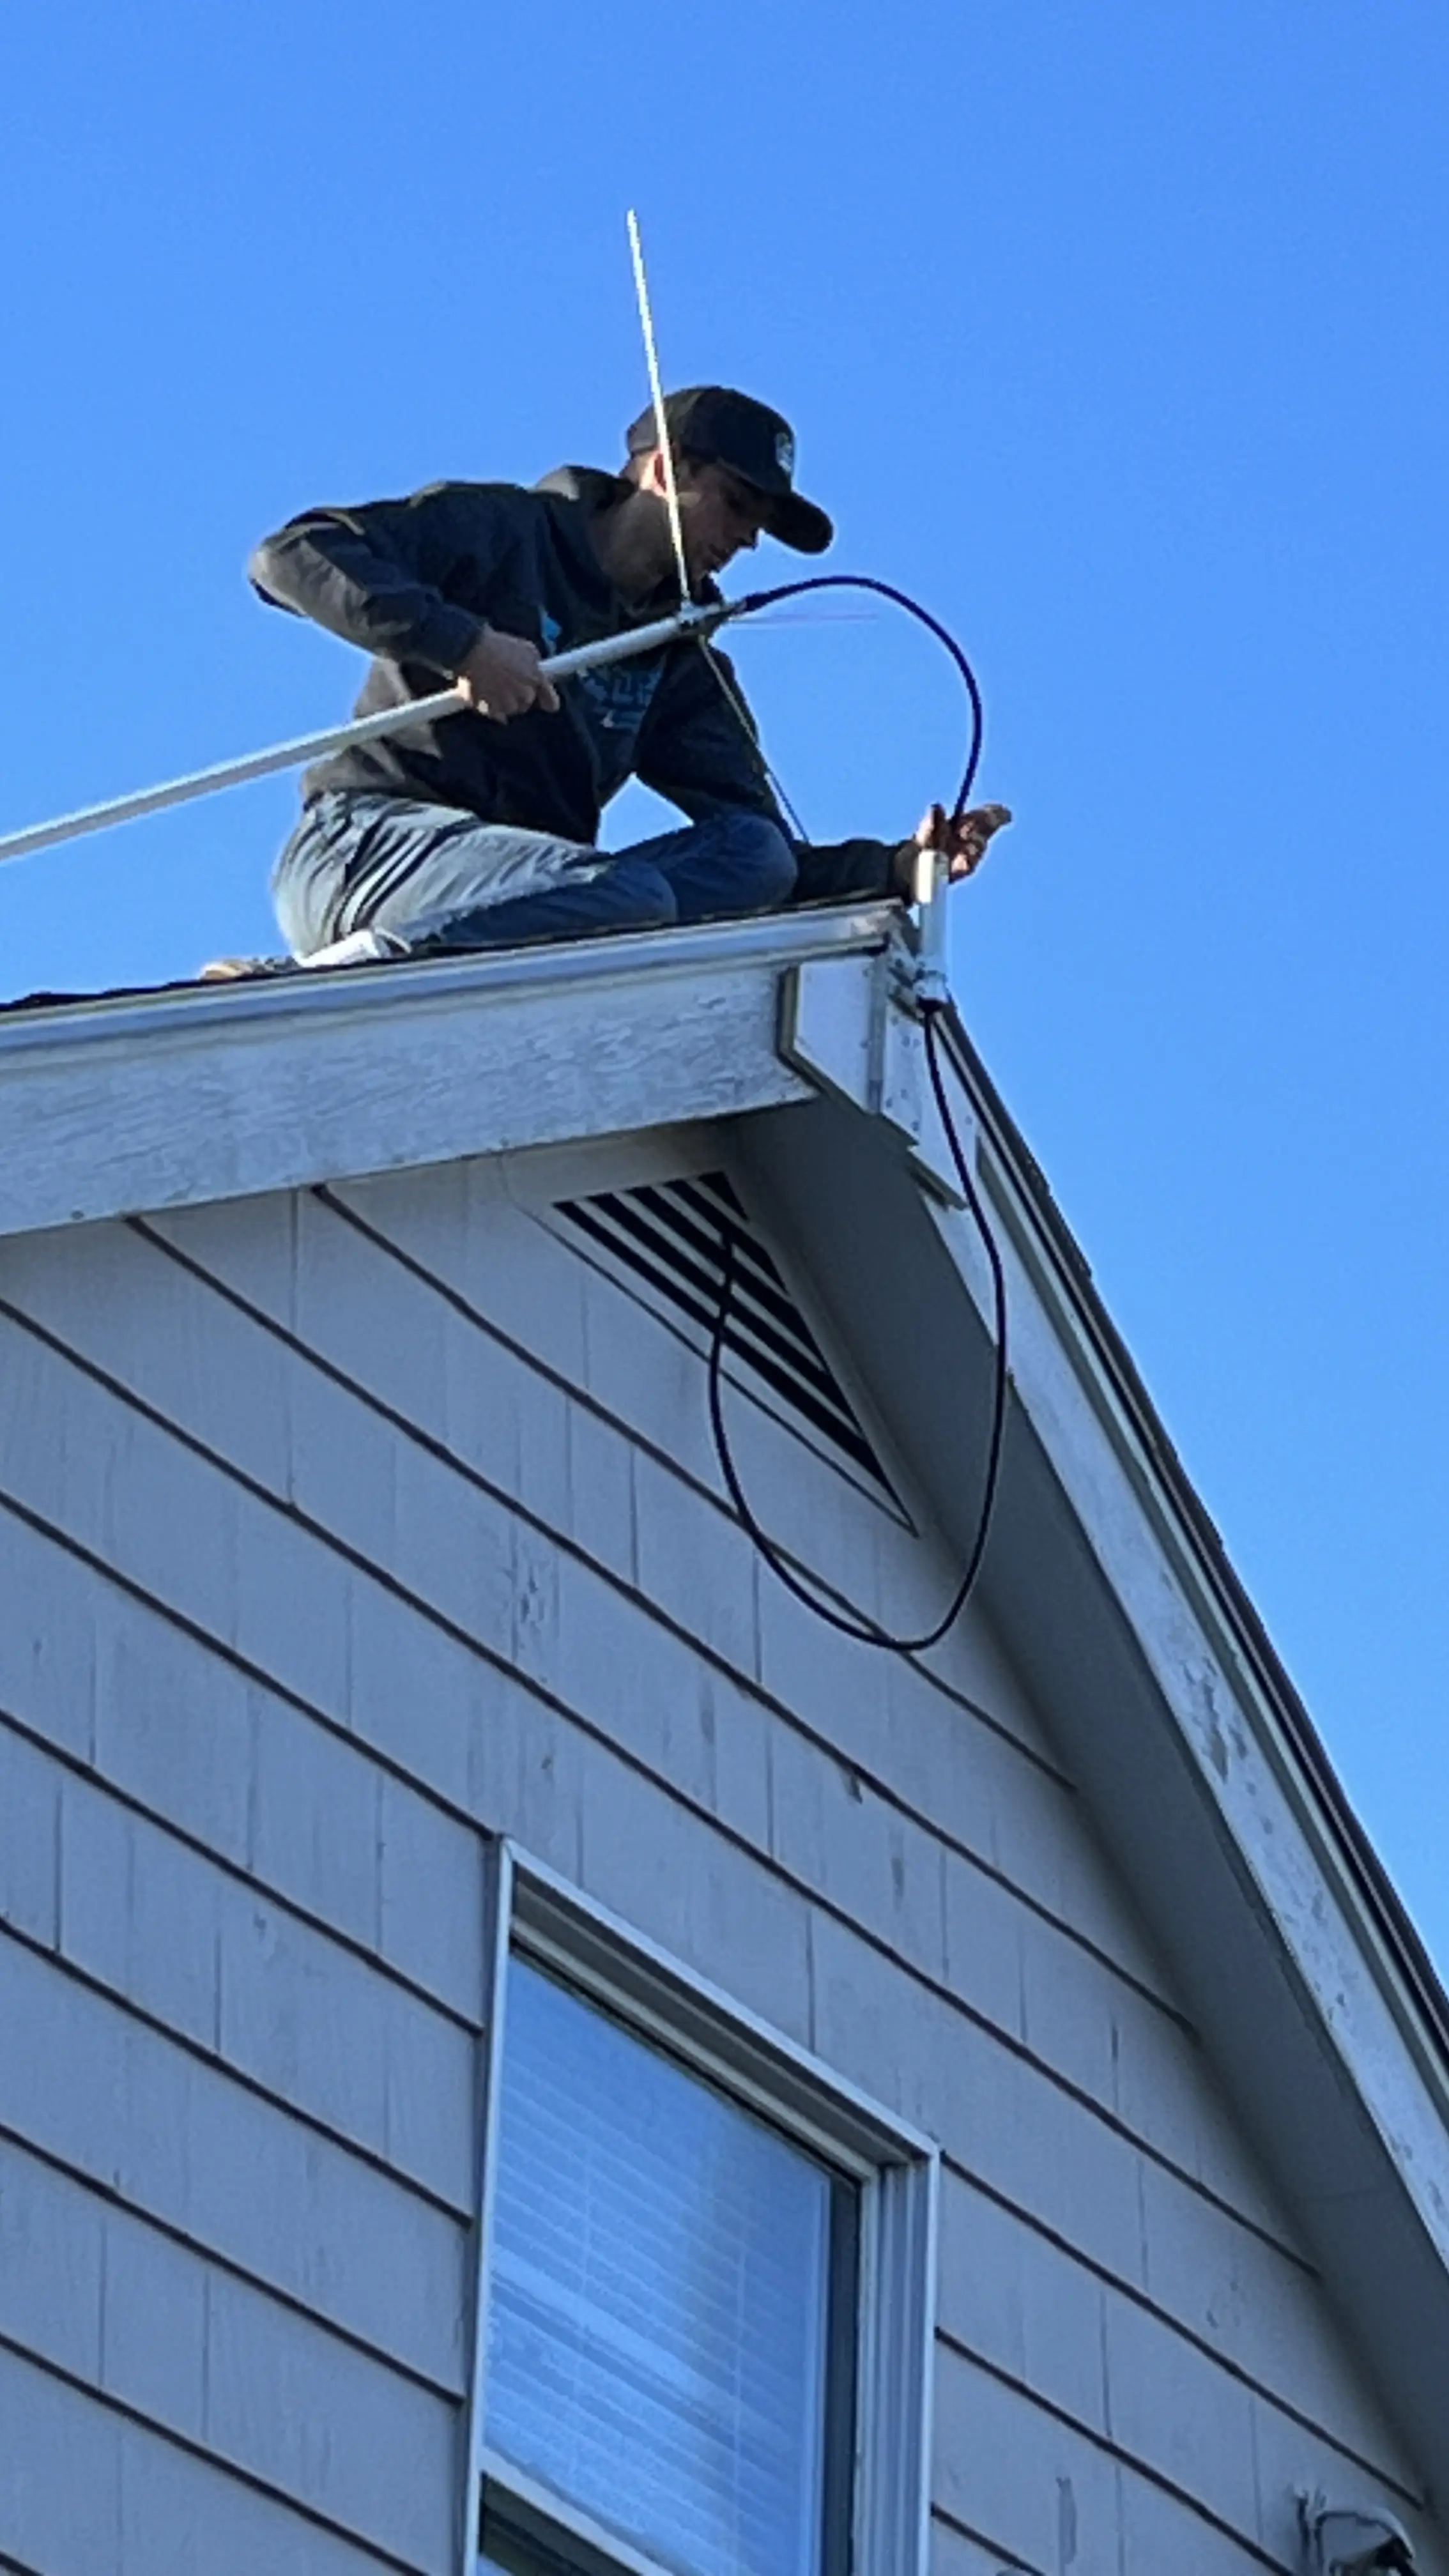
Luckily, I mounted everything perfectly and my measurements checked out, so this wasn't a problem.
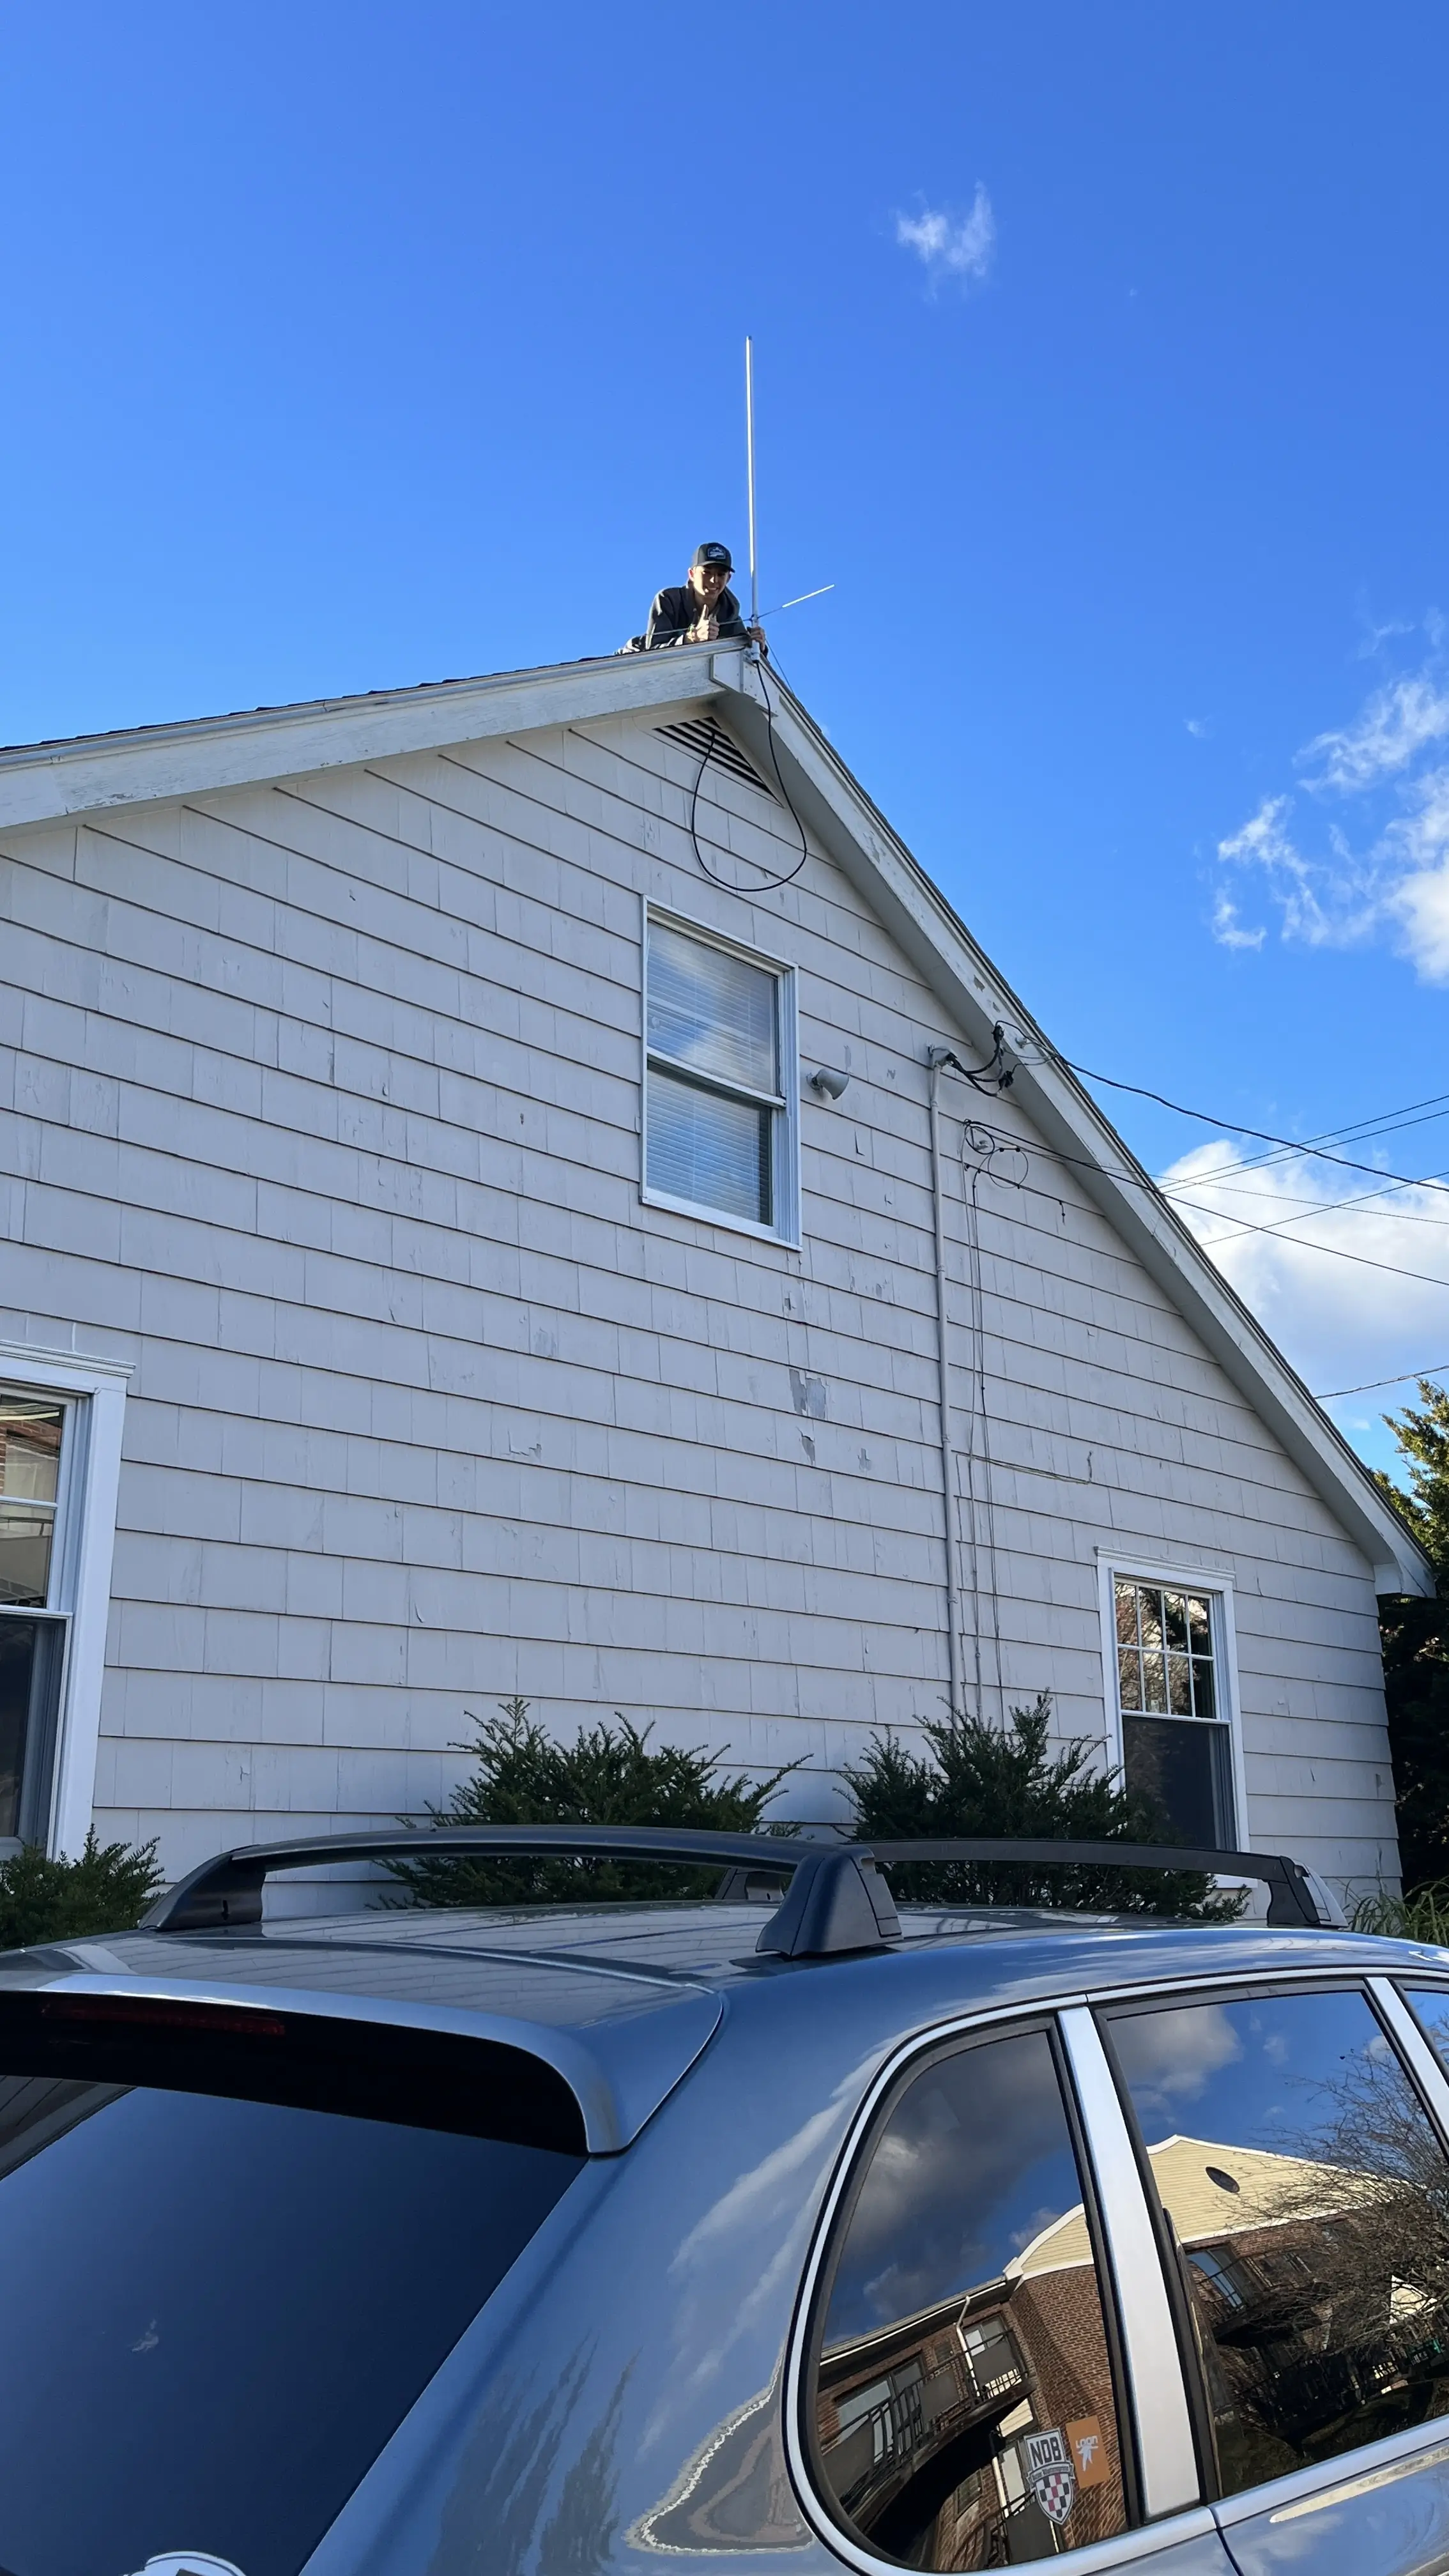
Now that the hard part was completed, I just needed the finishing touch… the antenna.
This was pretty easy, as I had all the infrastructure I needed in place. It was simply a matter of hauling the antenna onto the roof (houses don’t like being walked on) which proved to be no easy feat.
0
Views