

Robotics & Engineering - Week of 11/09/26
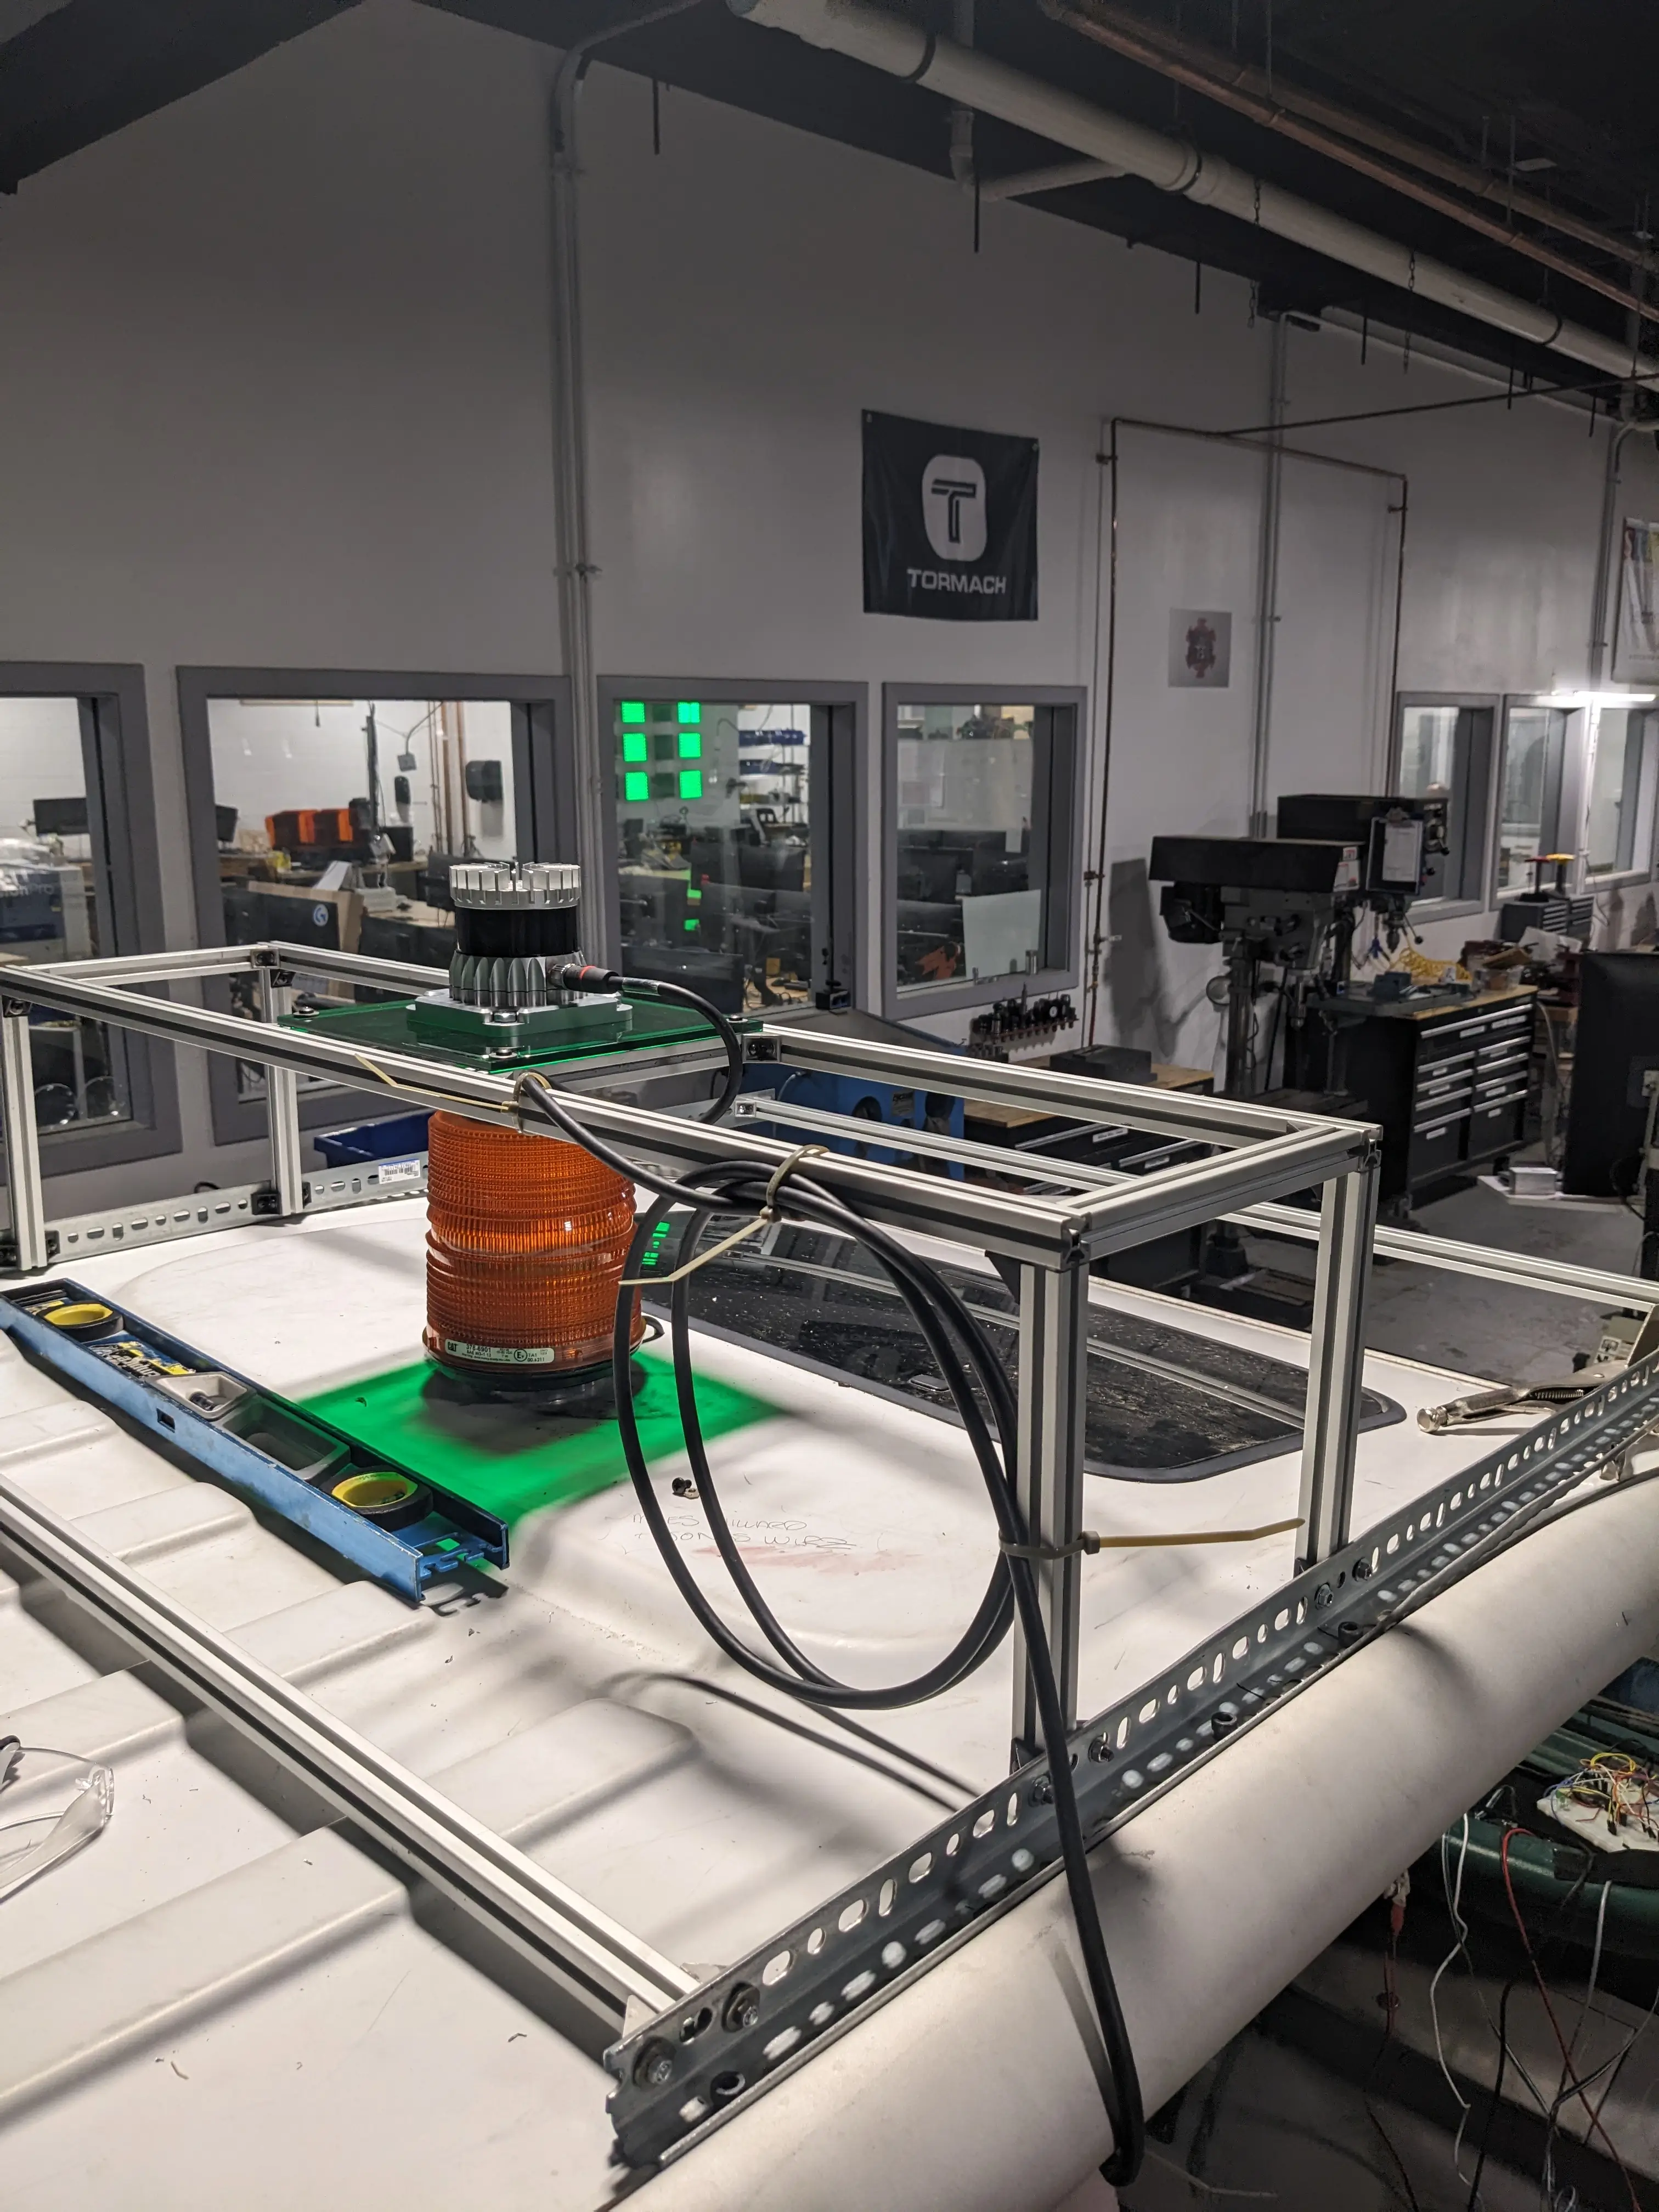
This week was about giving the LiDAR a proper residence on the golf cart. Up until now it has been taped to the roof, which was fine for a quick demo but not exactly the kind of rigid mounting that SLAM wants (or I was comfortable with). If the sensor shifts even a little between runs, the map and the live scan stop lining up, which means I would have to remap the whole school… Jonas and I finally decided it was time to build a real roof rack out of 8020 aluminum extrusion and some random angled steel we had lying around.
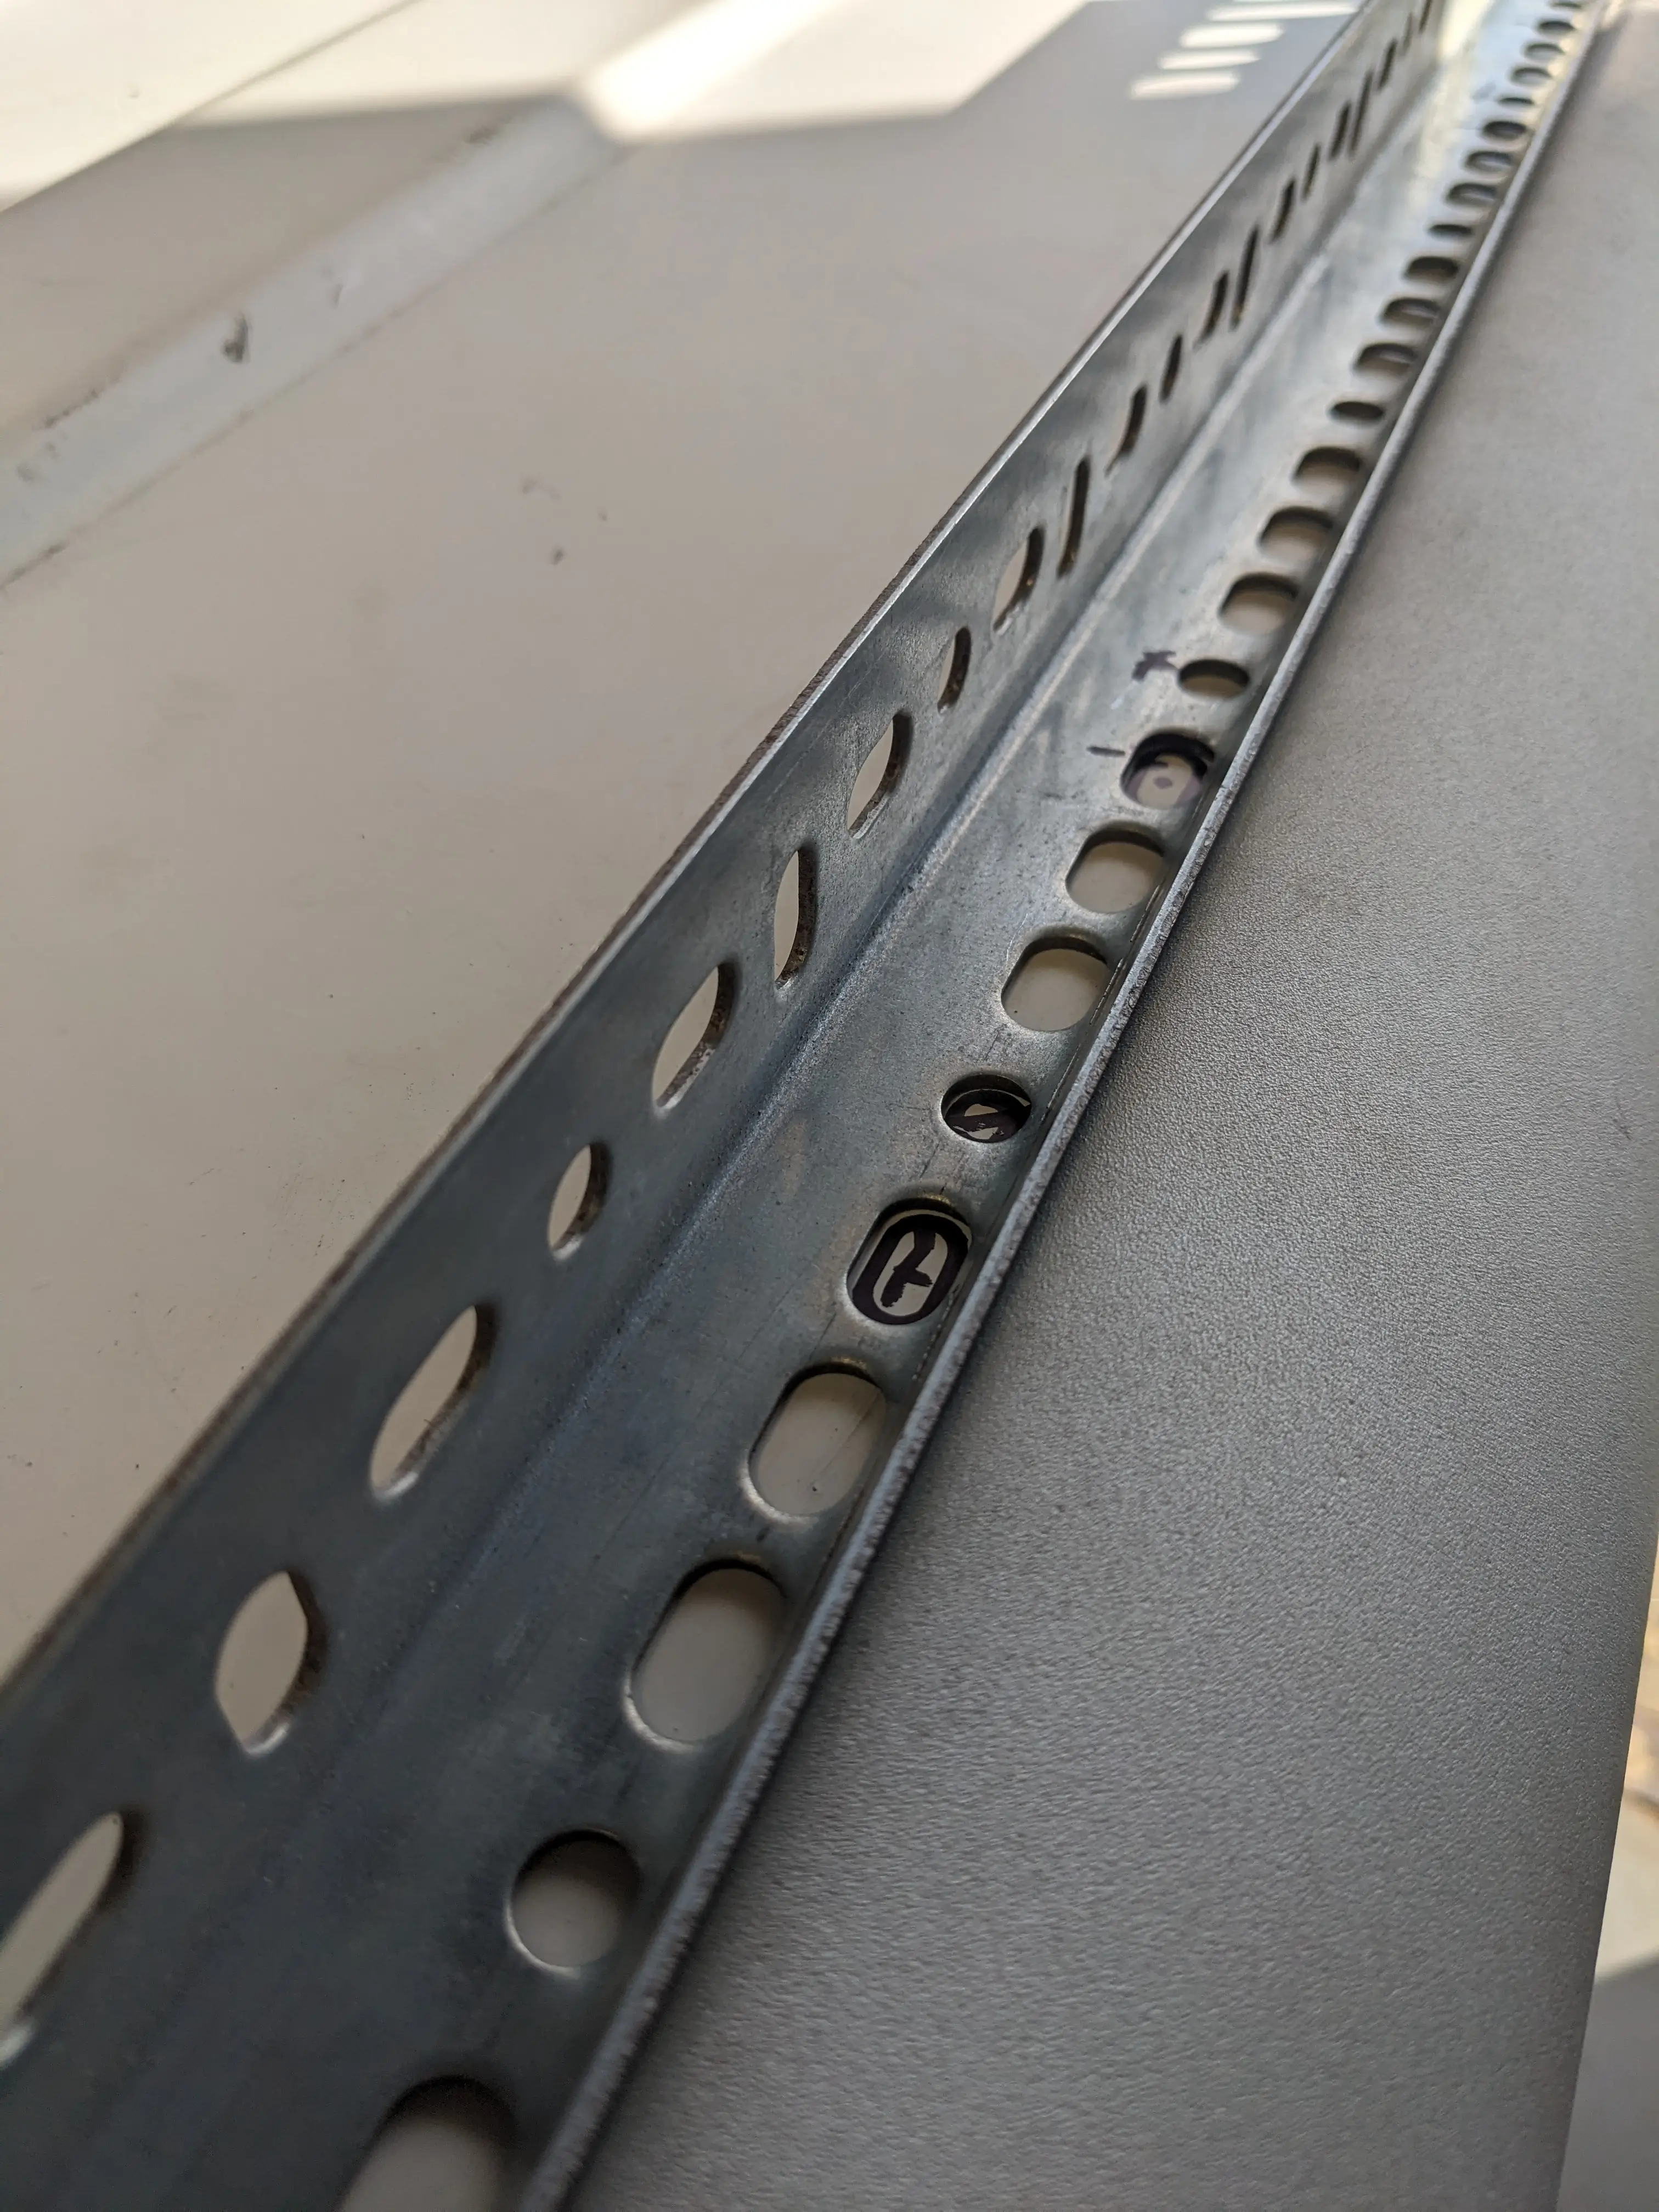
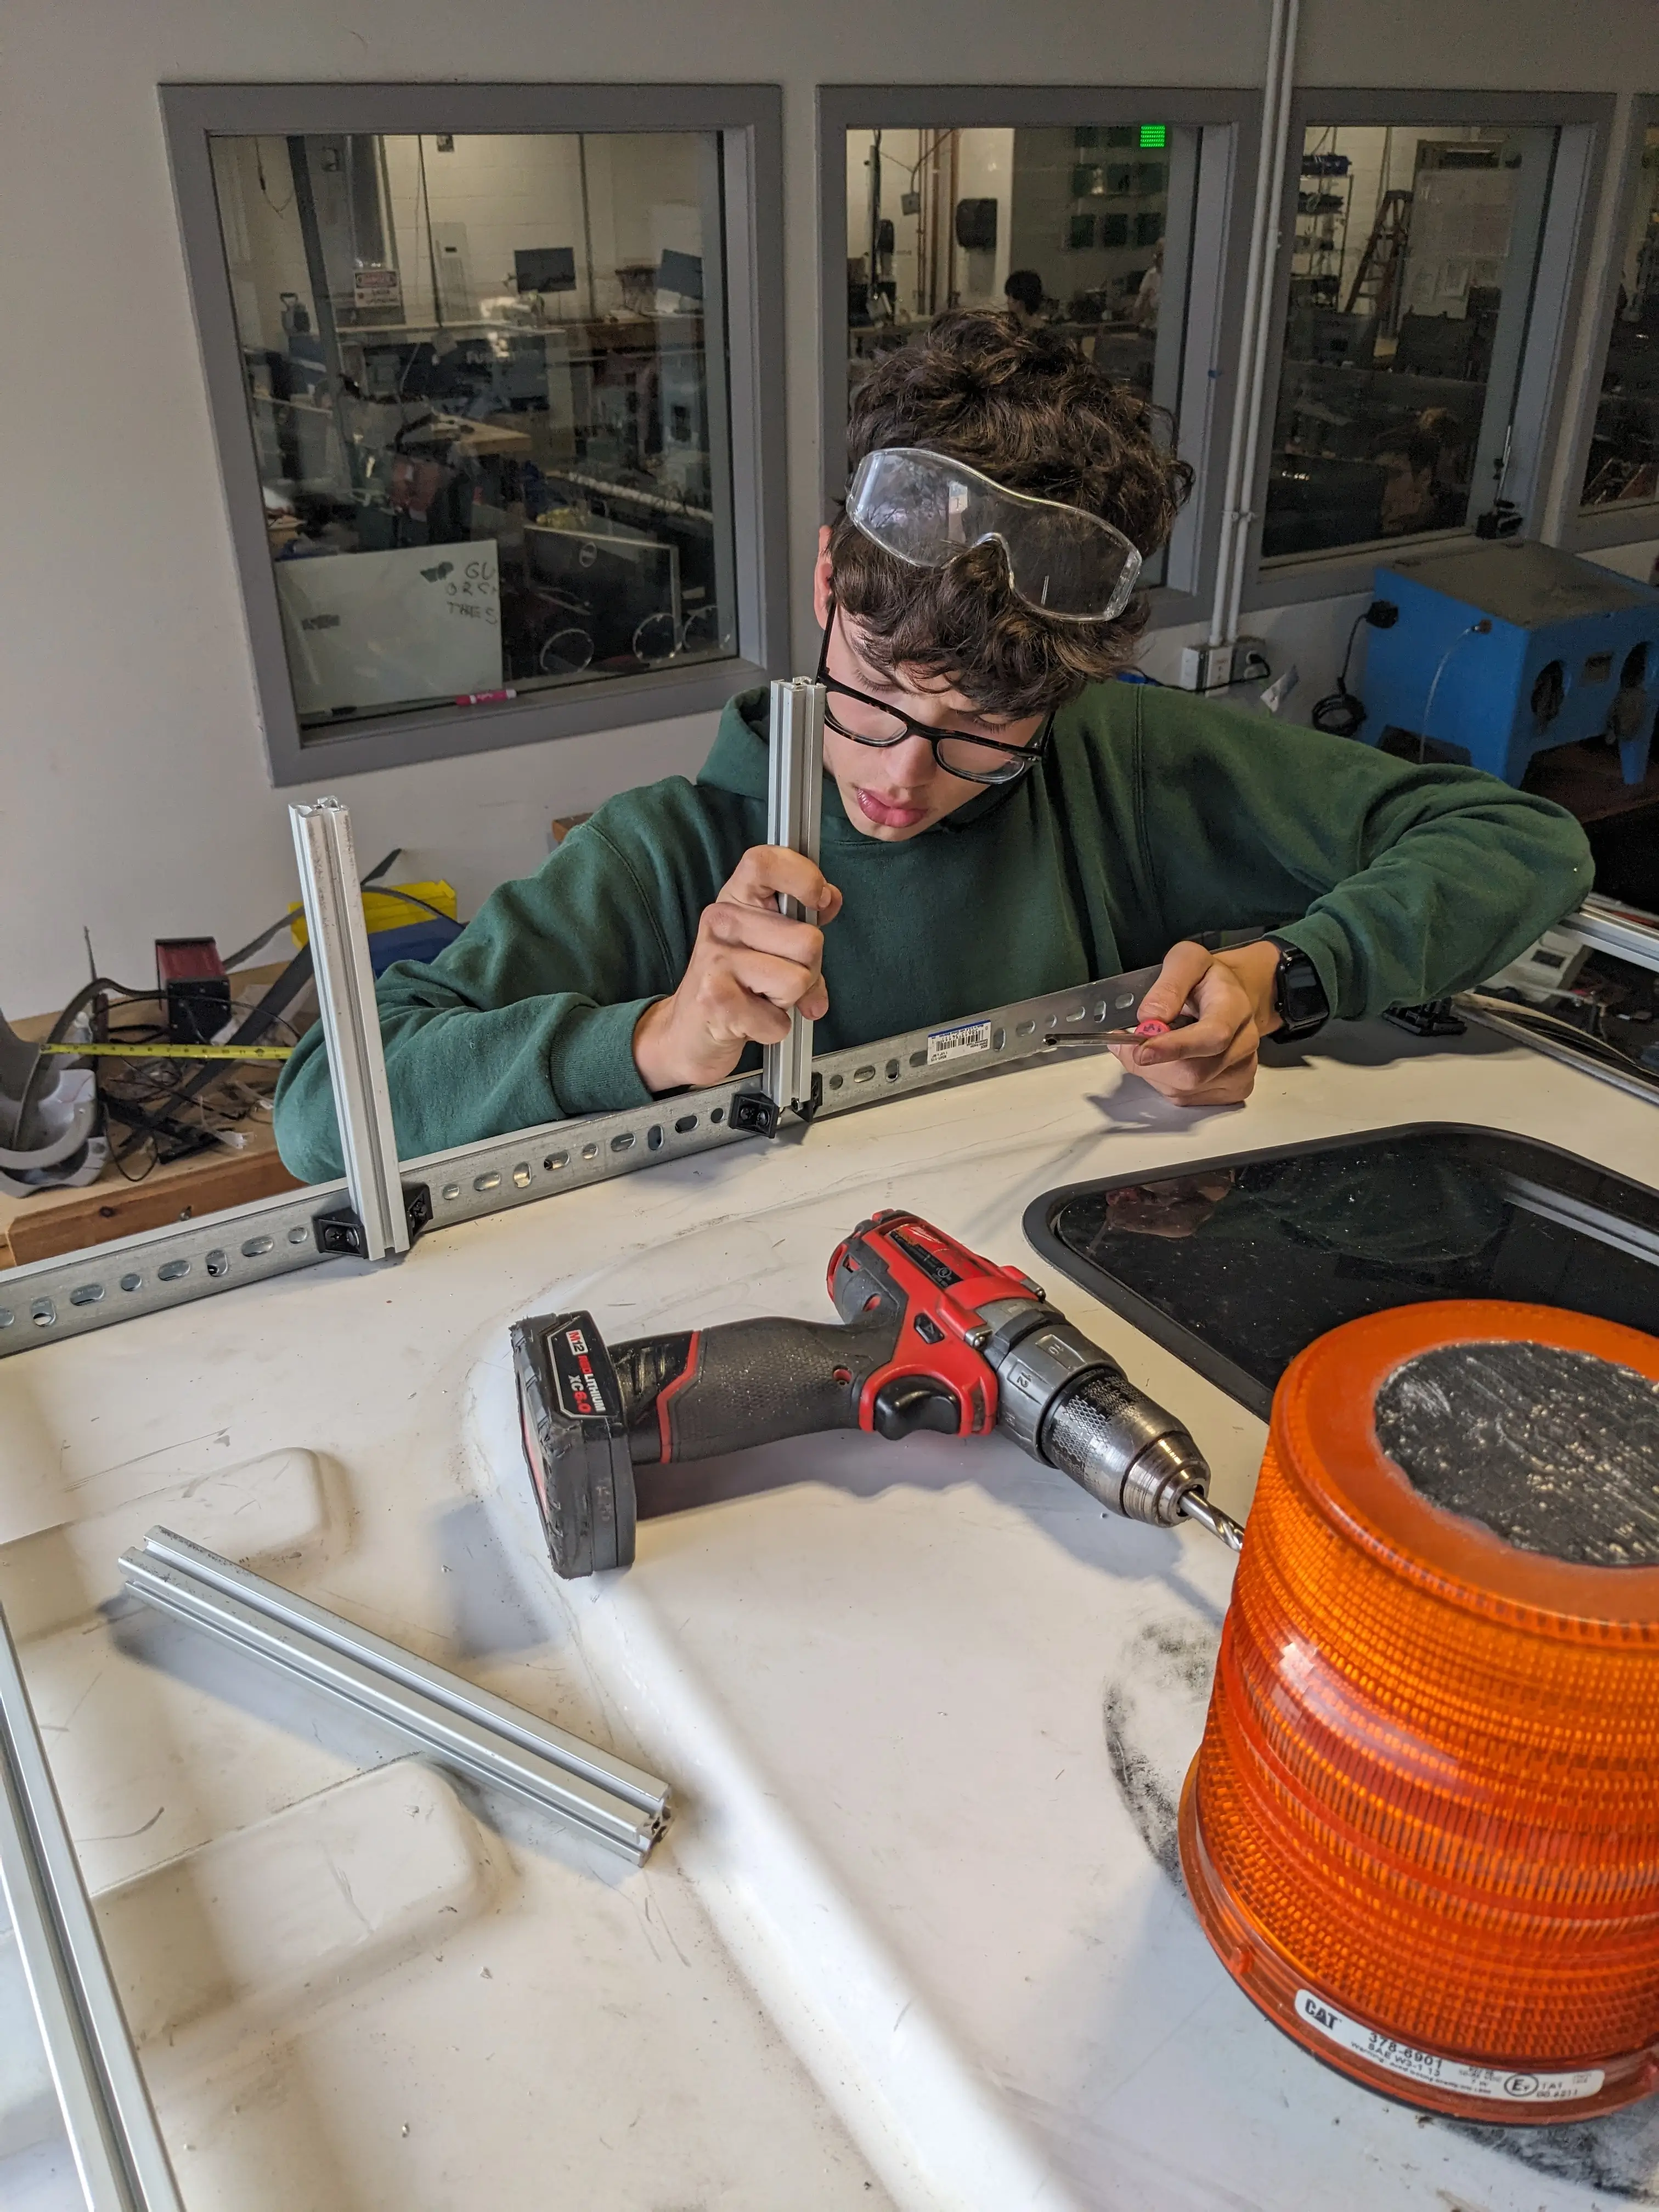
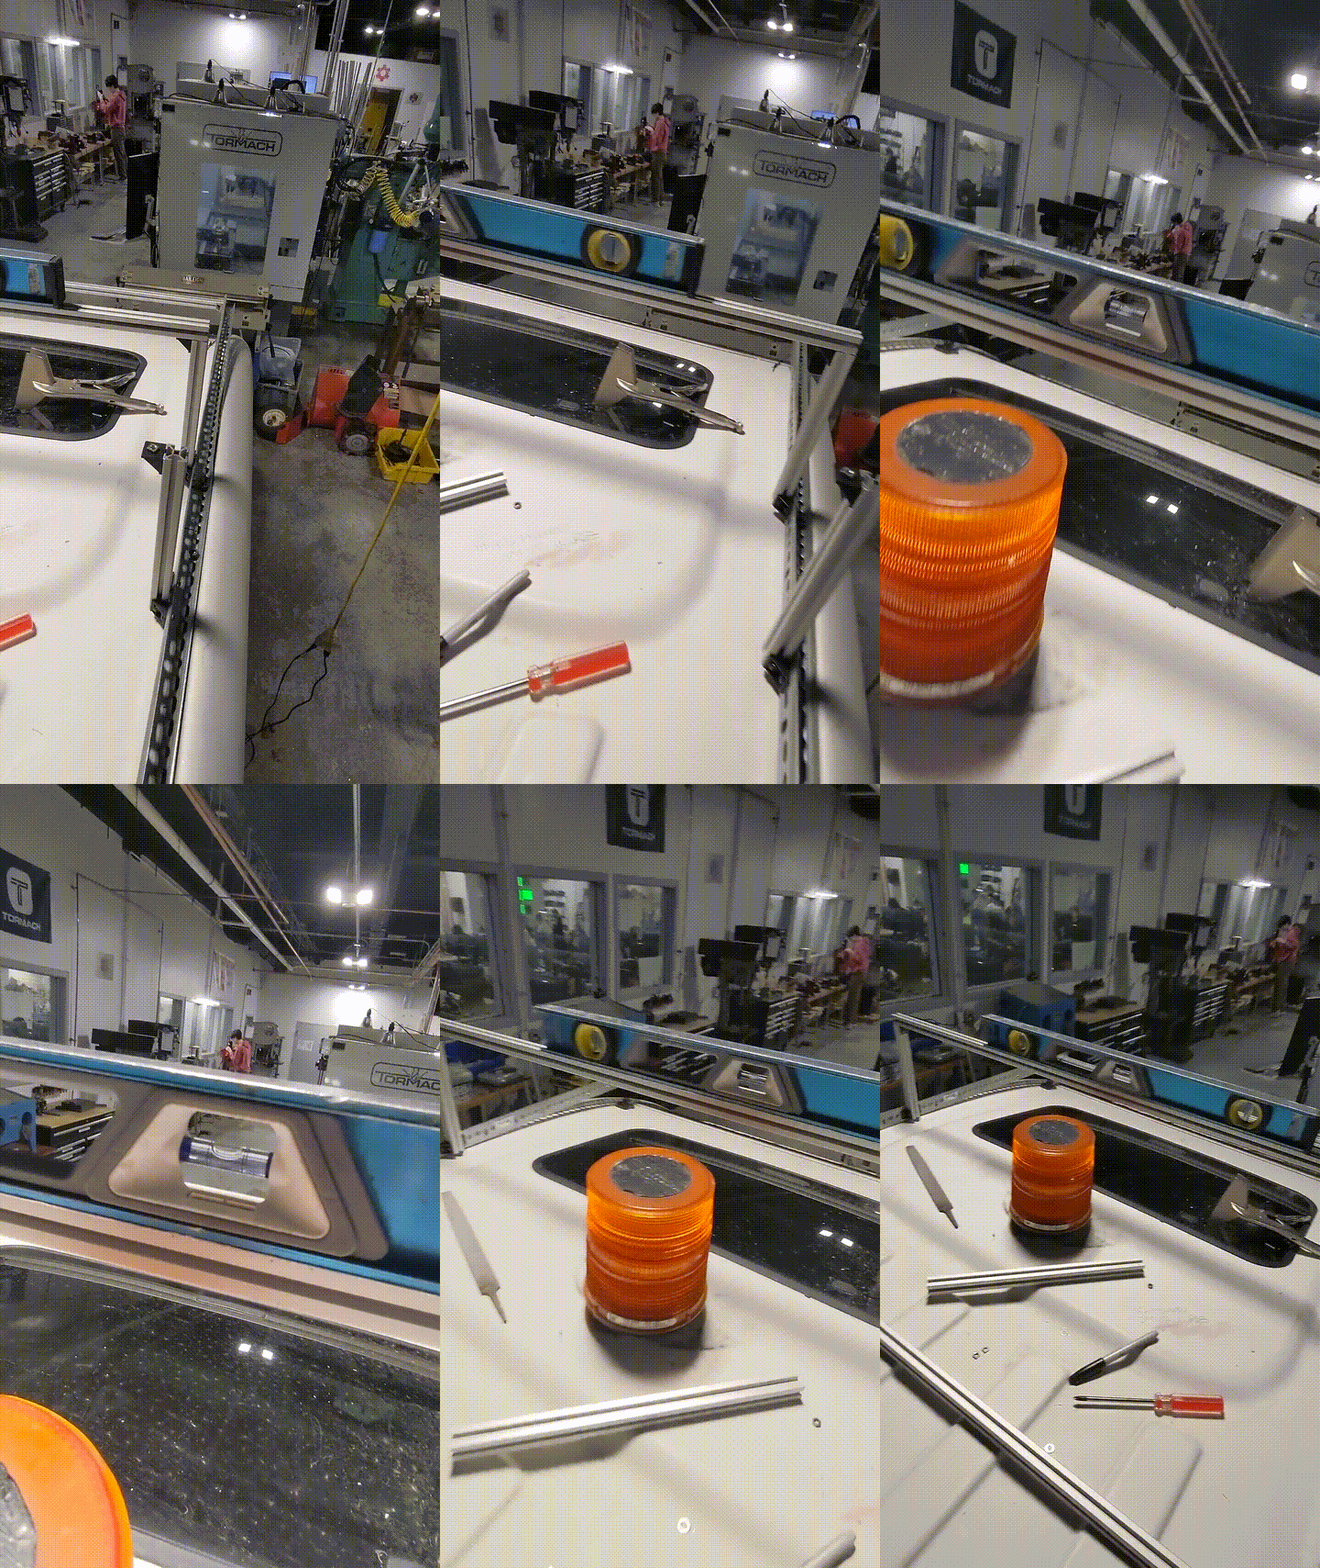
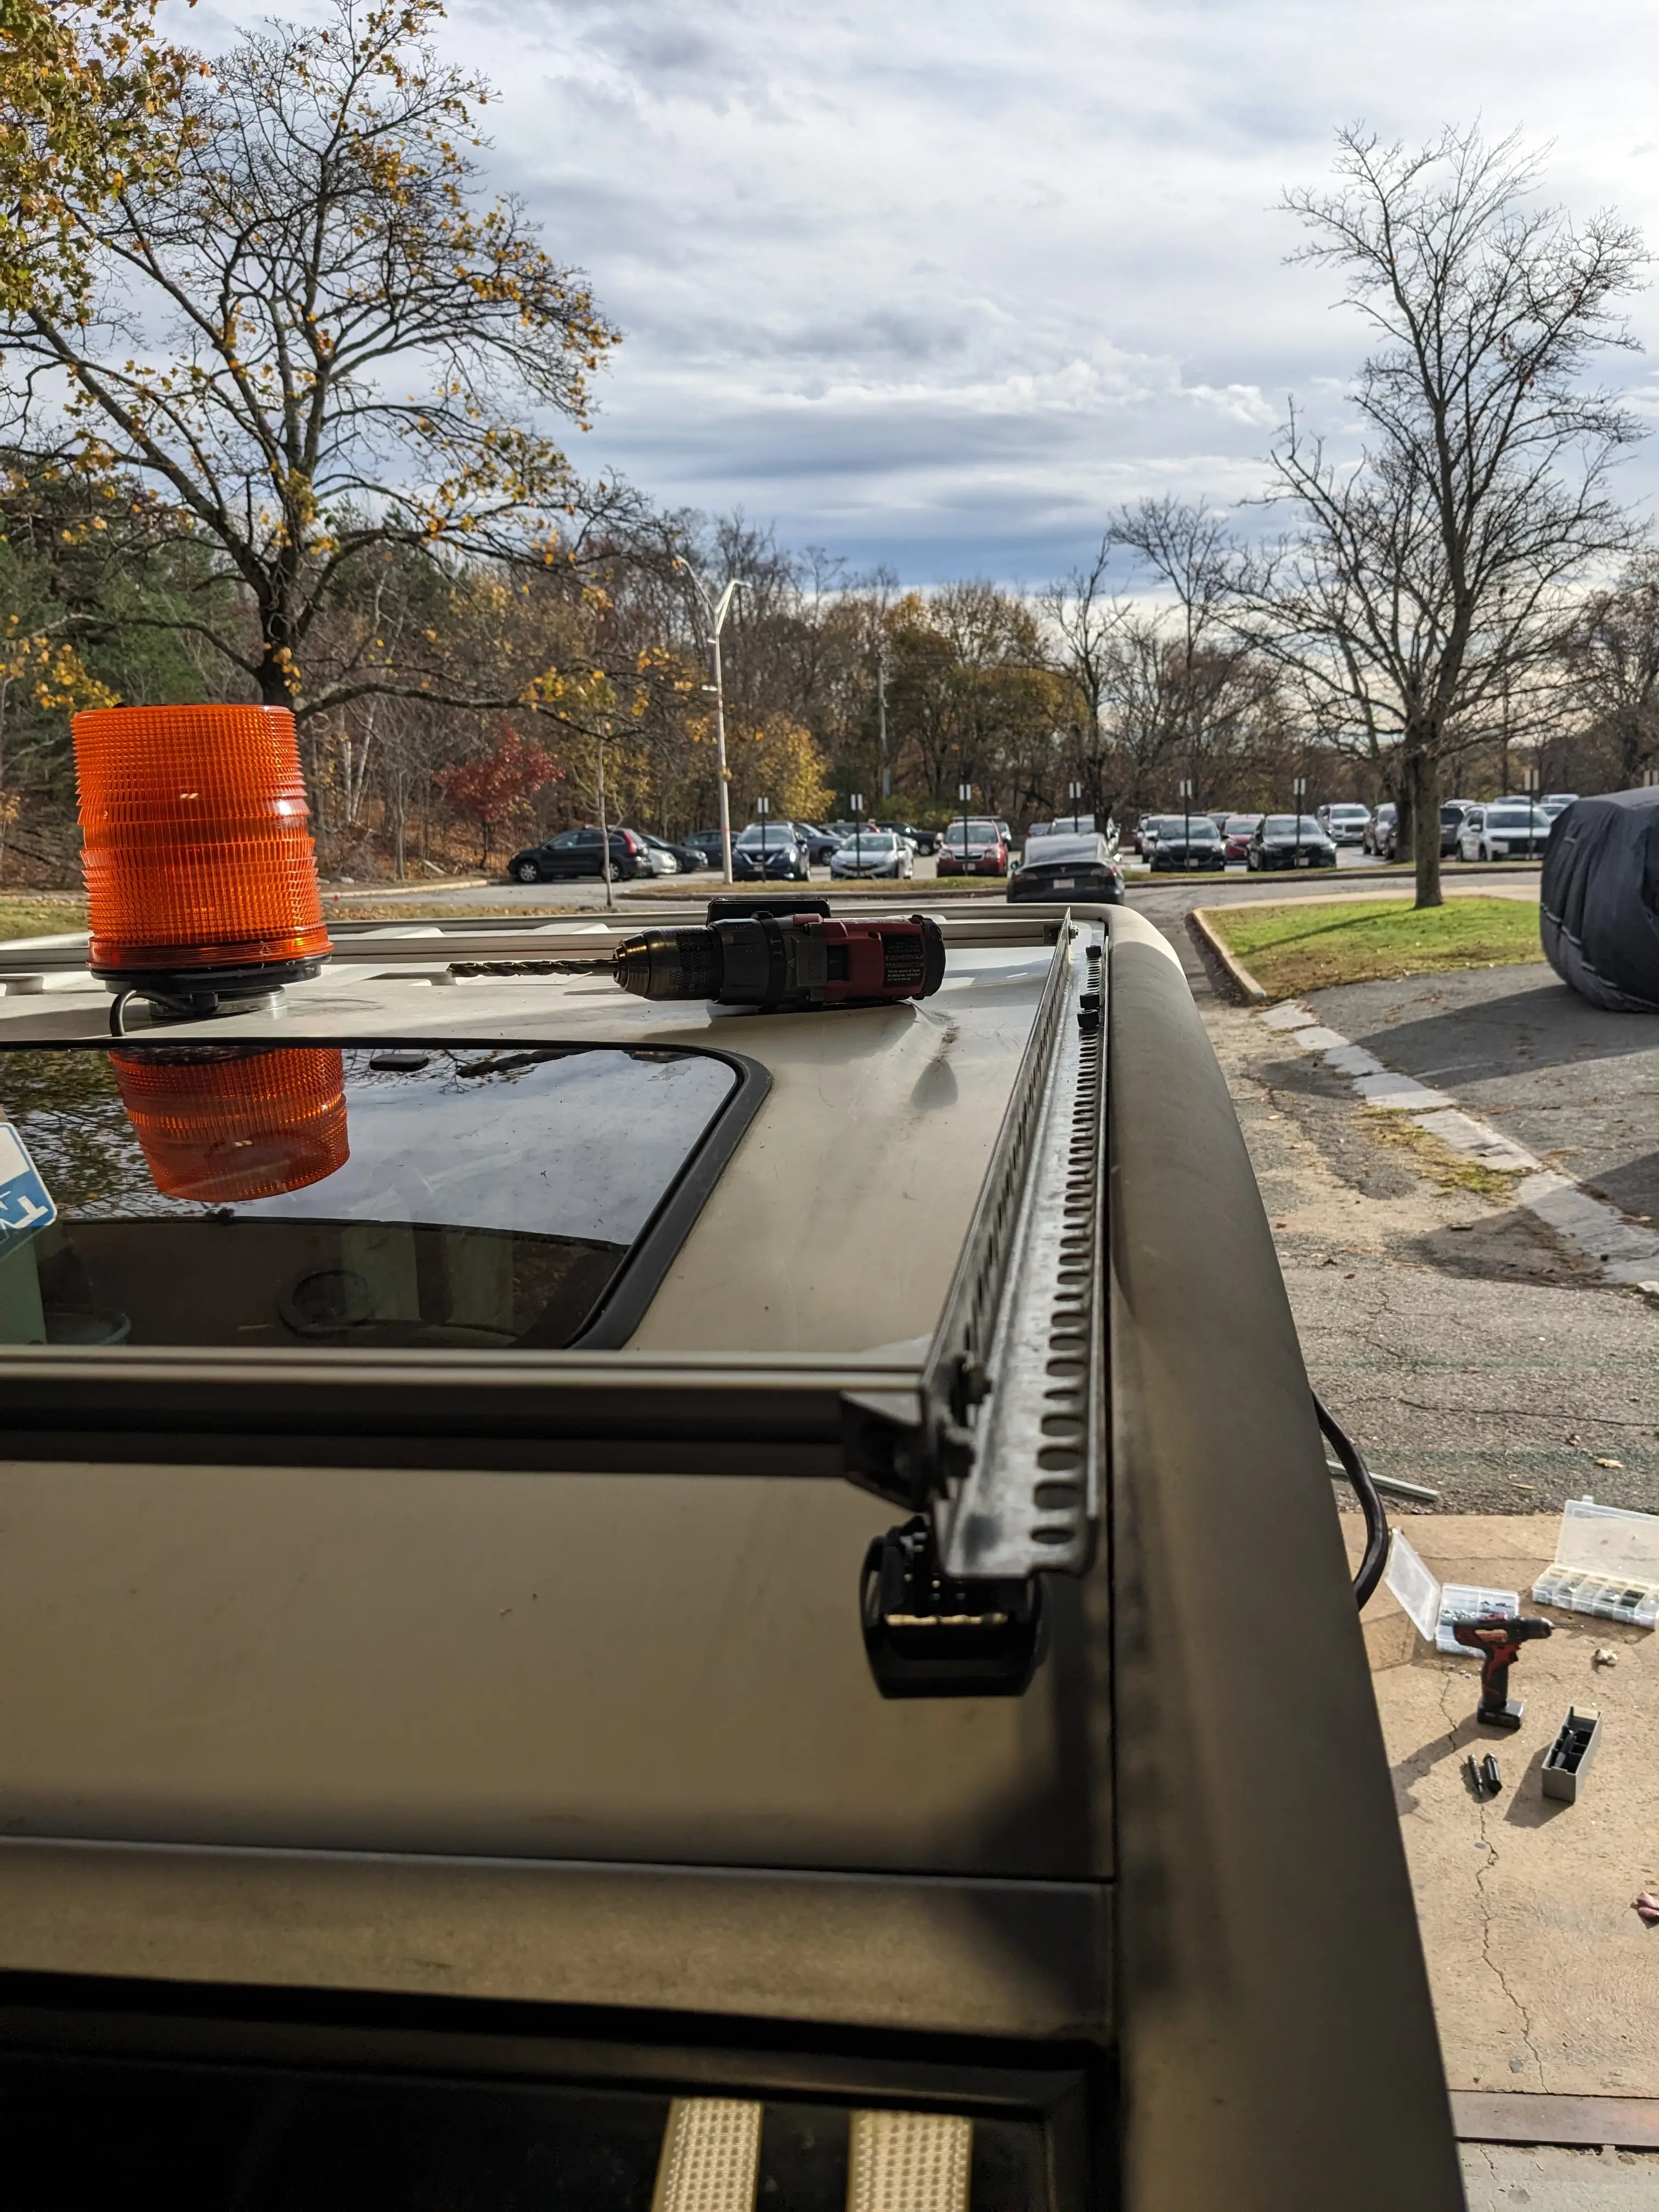
We started by marking and drilling the angle aluminum that would anchor the whole rack to the golf cart’s roof. The angle pieces bolt straight through the roof onto the aluminum of the cart. This give us a flat, solid base to build up from.
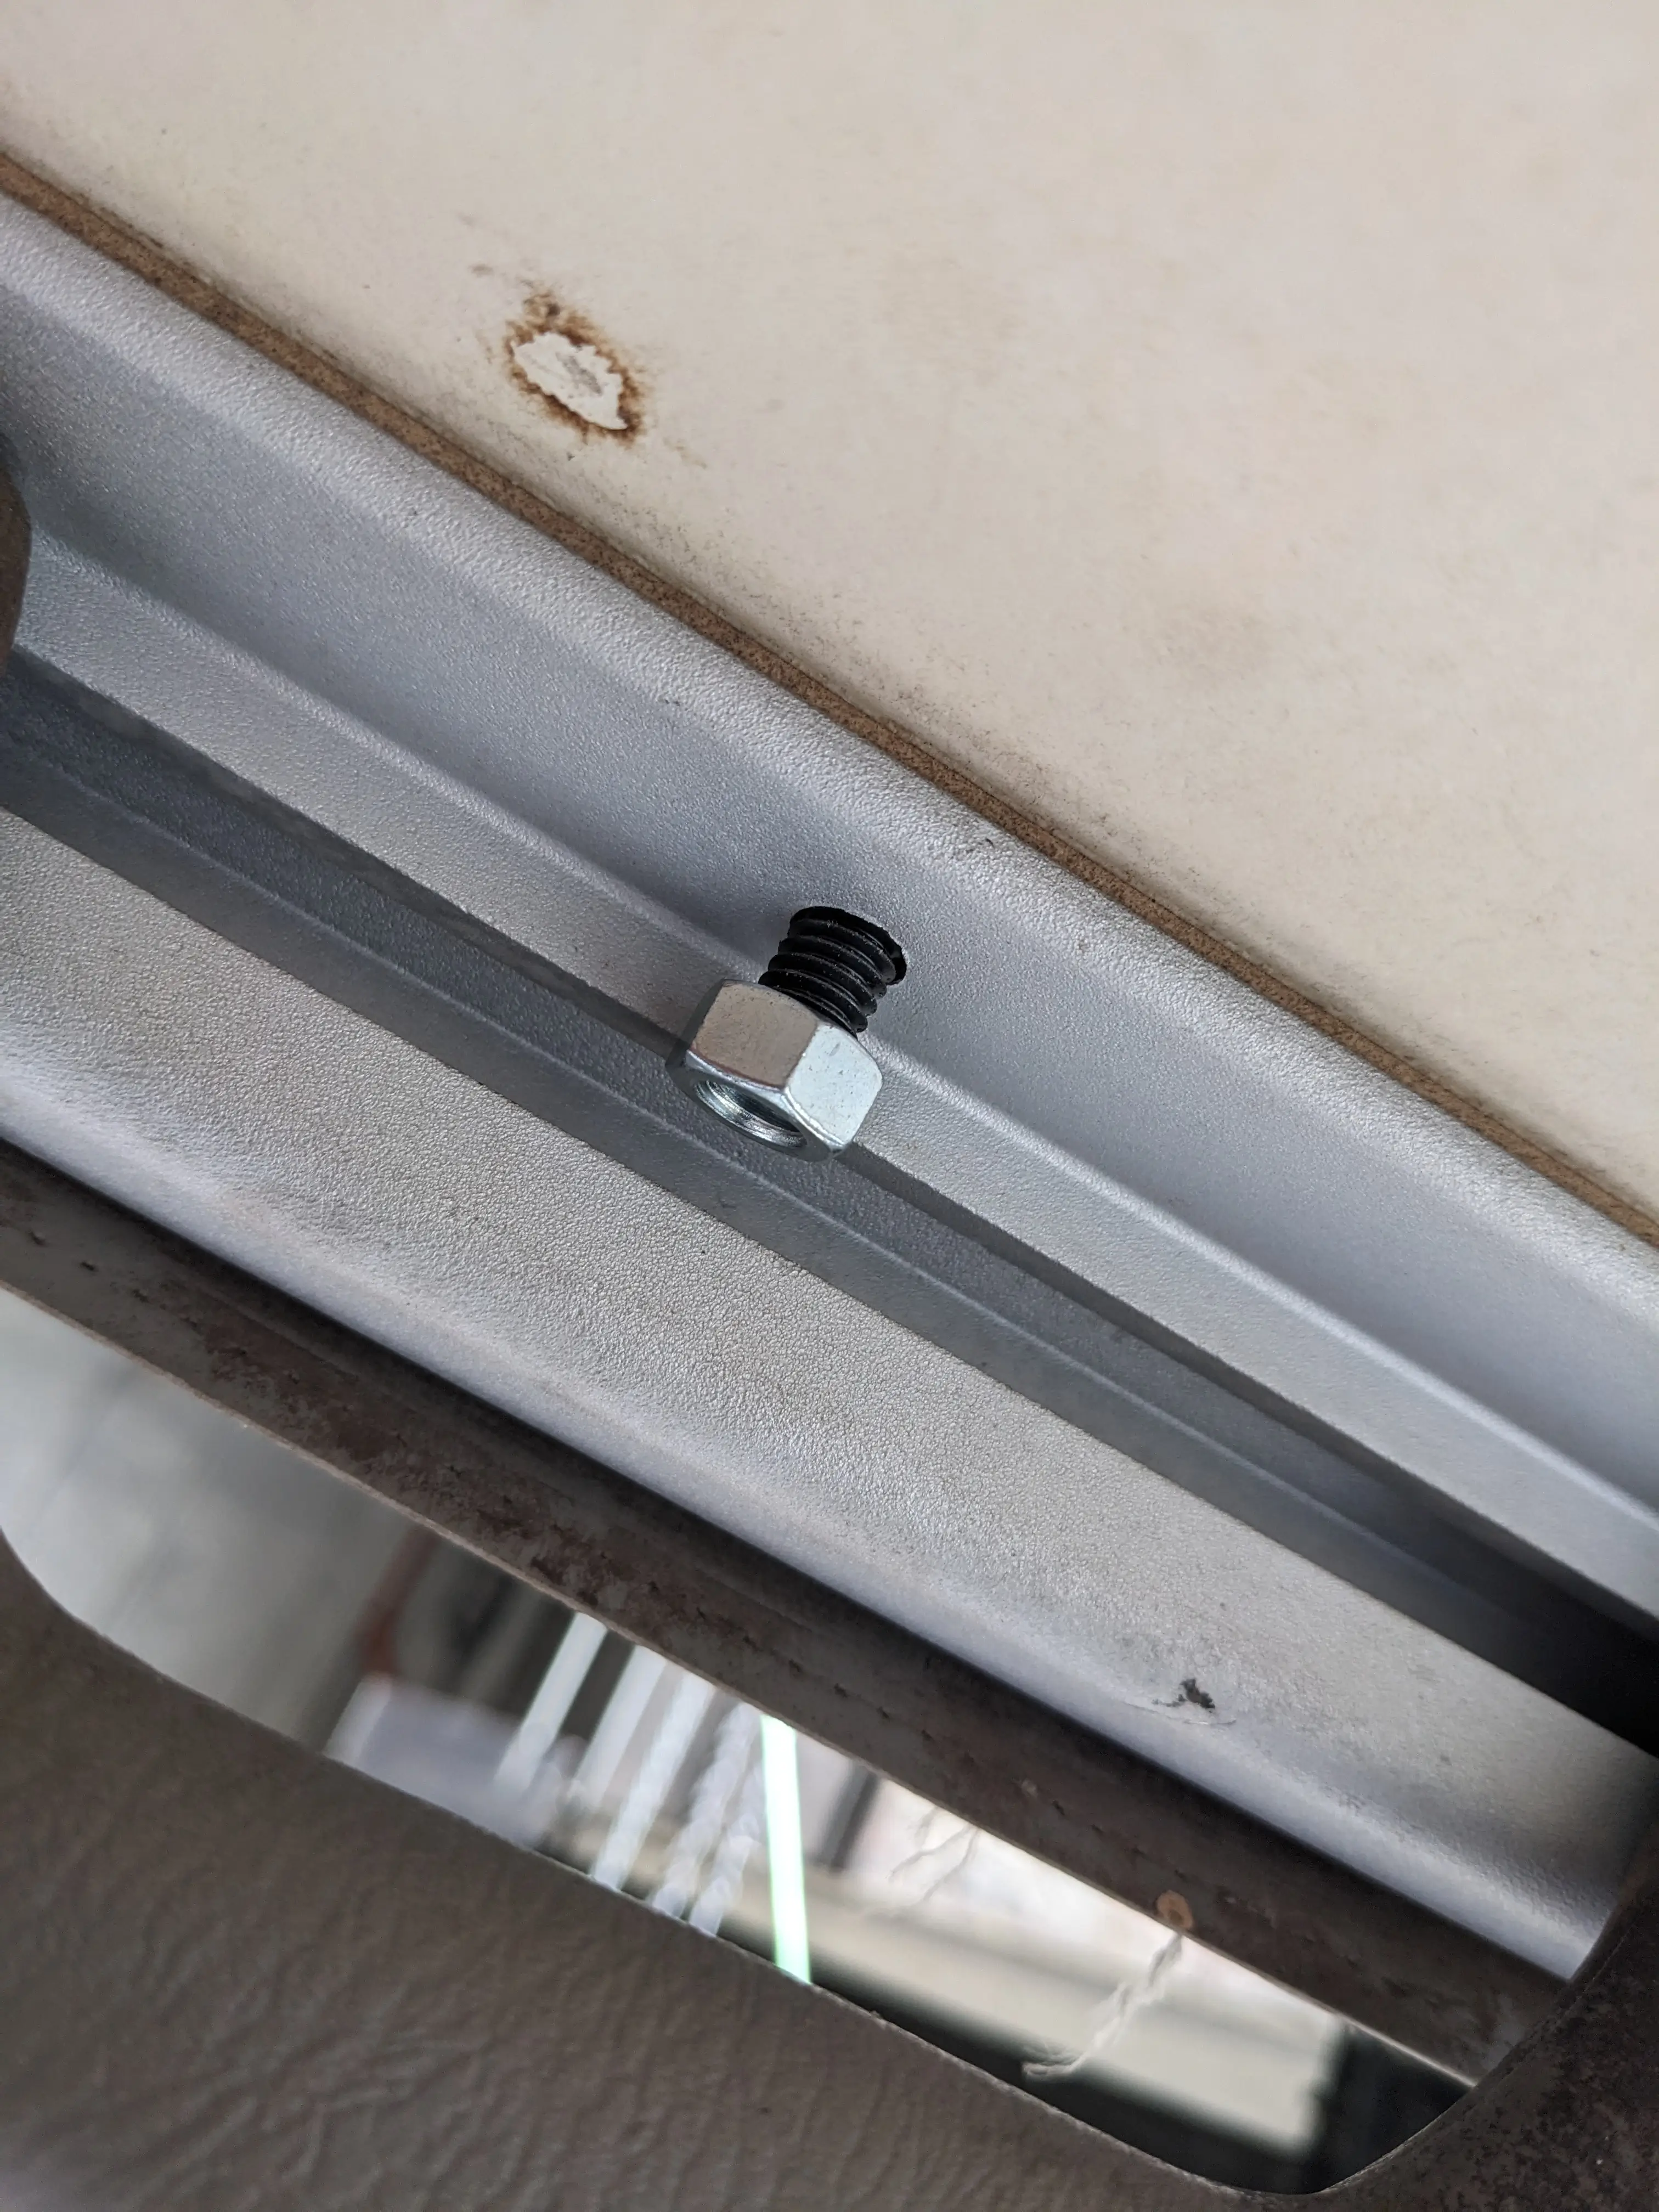
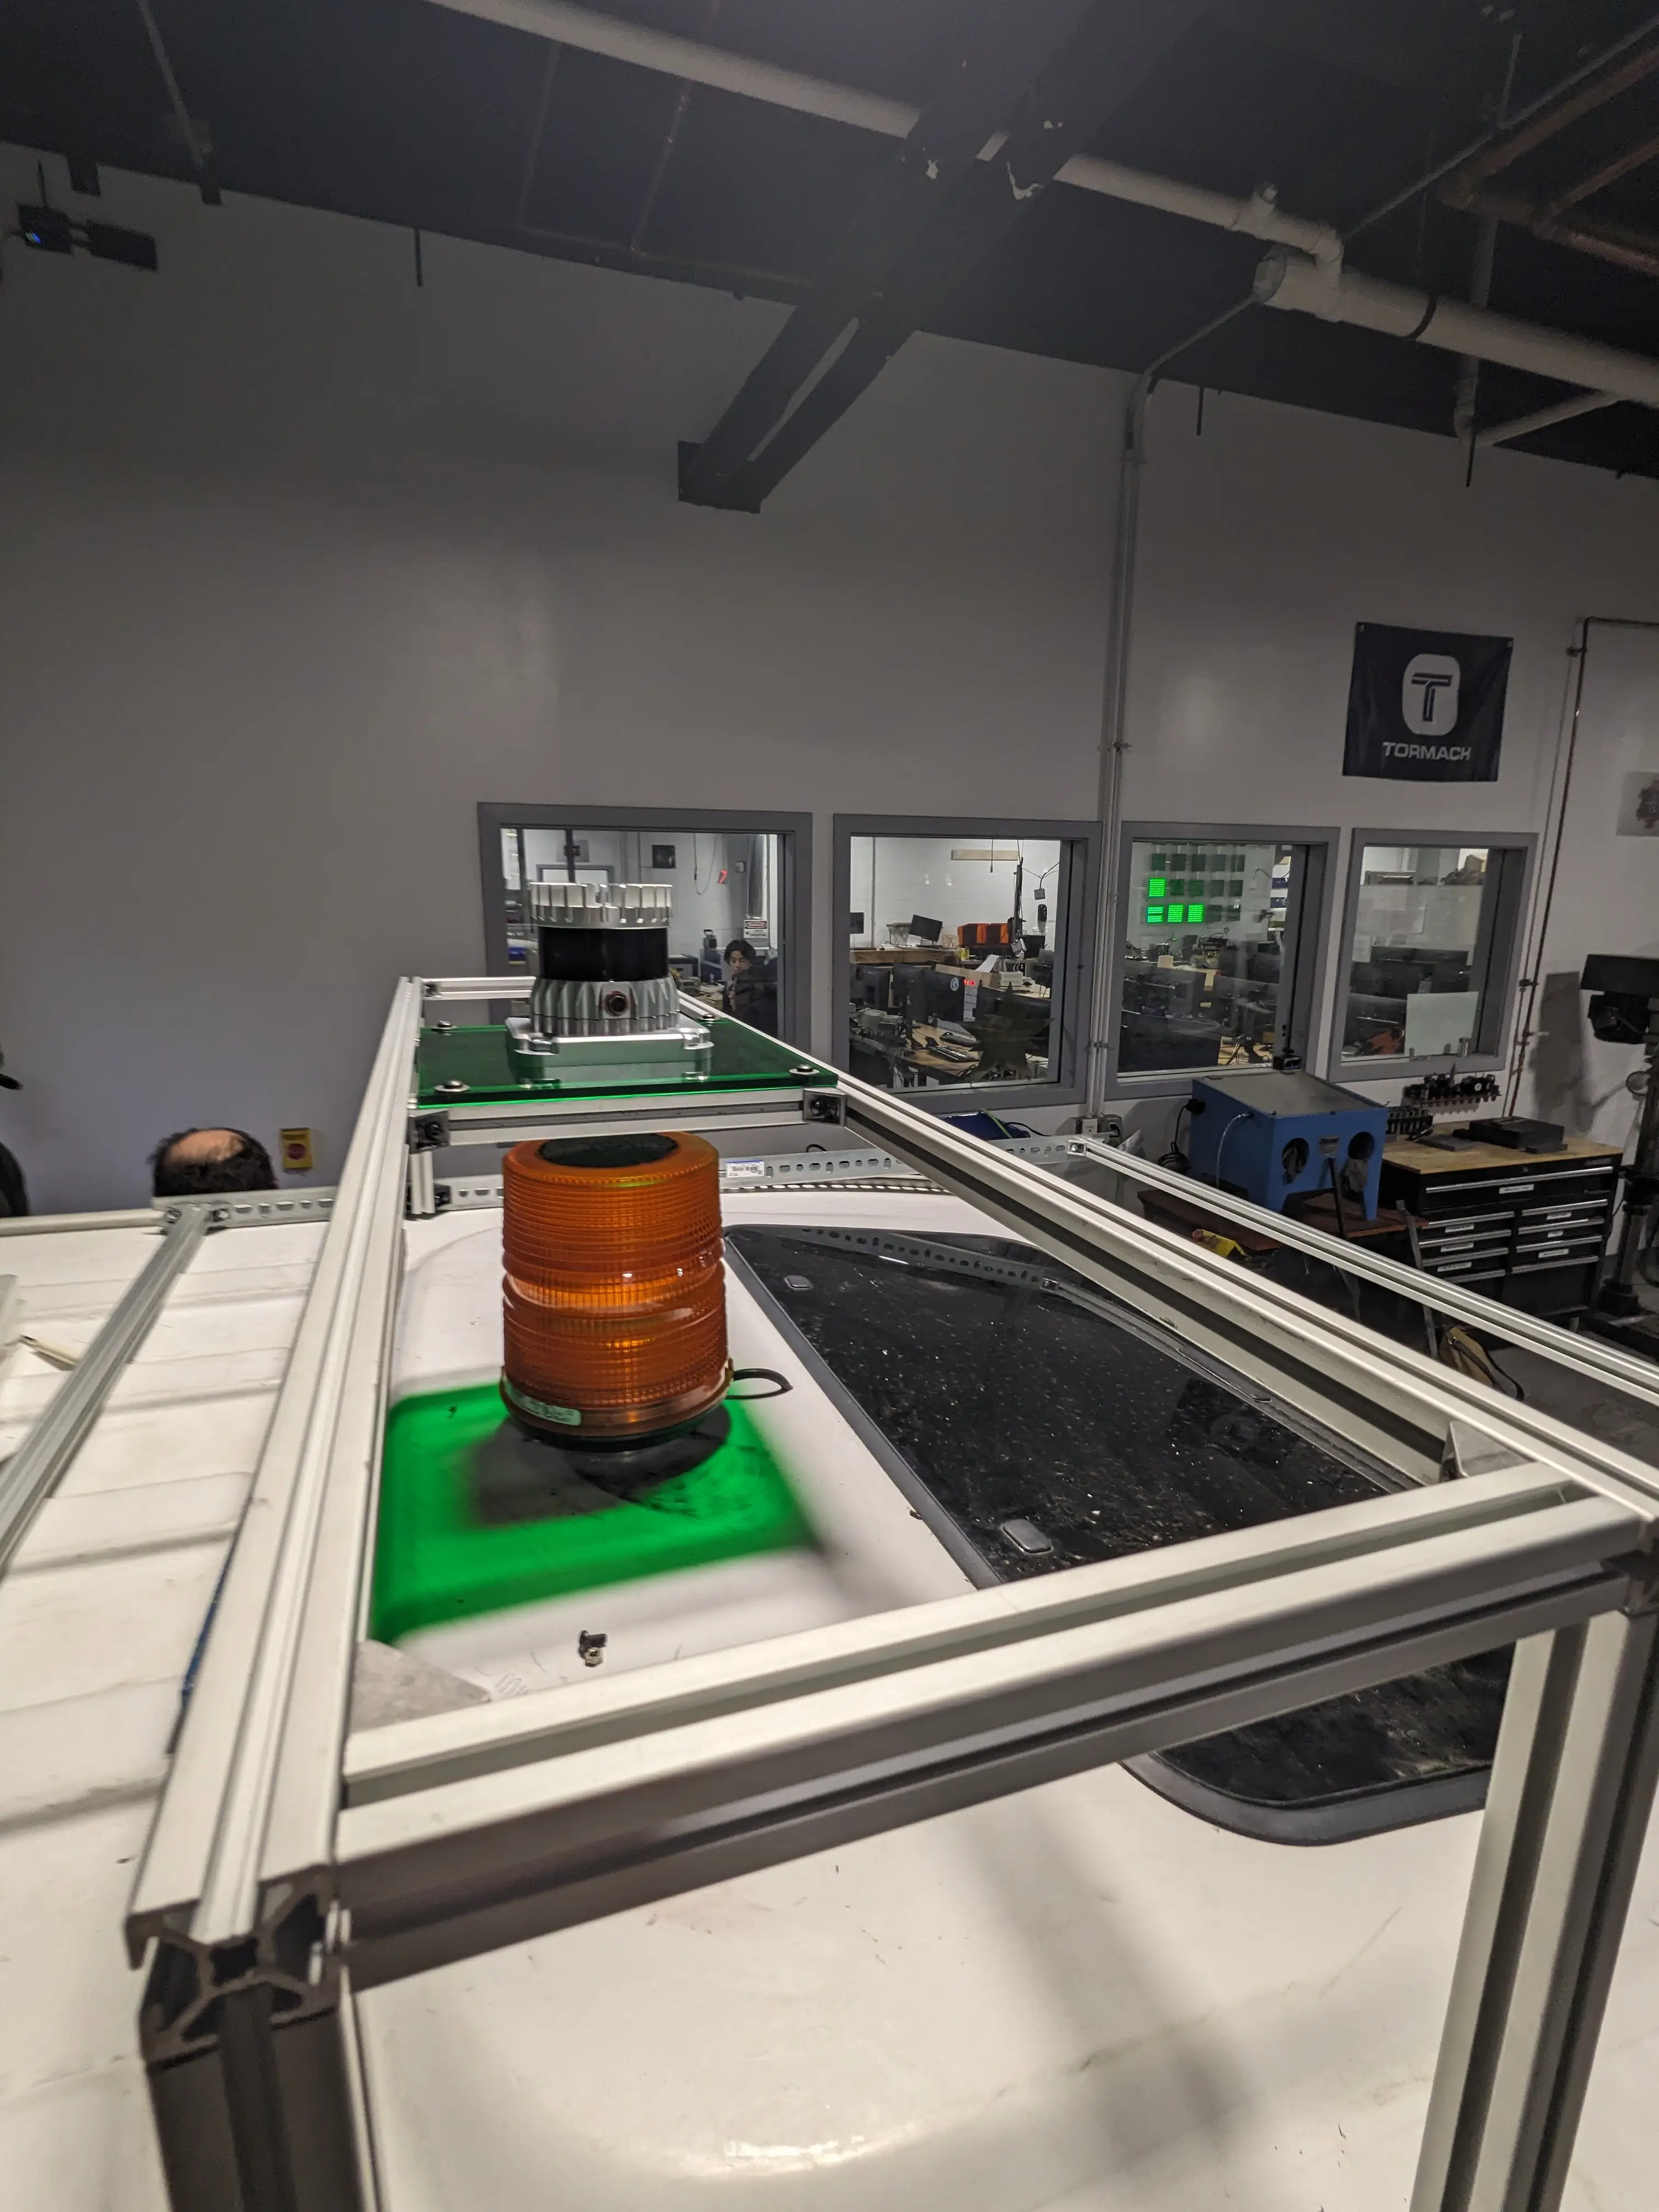
From there we cut the 8020 down to size and started assembling. The horizontal pieces form the main frame, and the verticals bring the rack up to a good height so the LiDAR has a clean view over the roof.
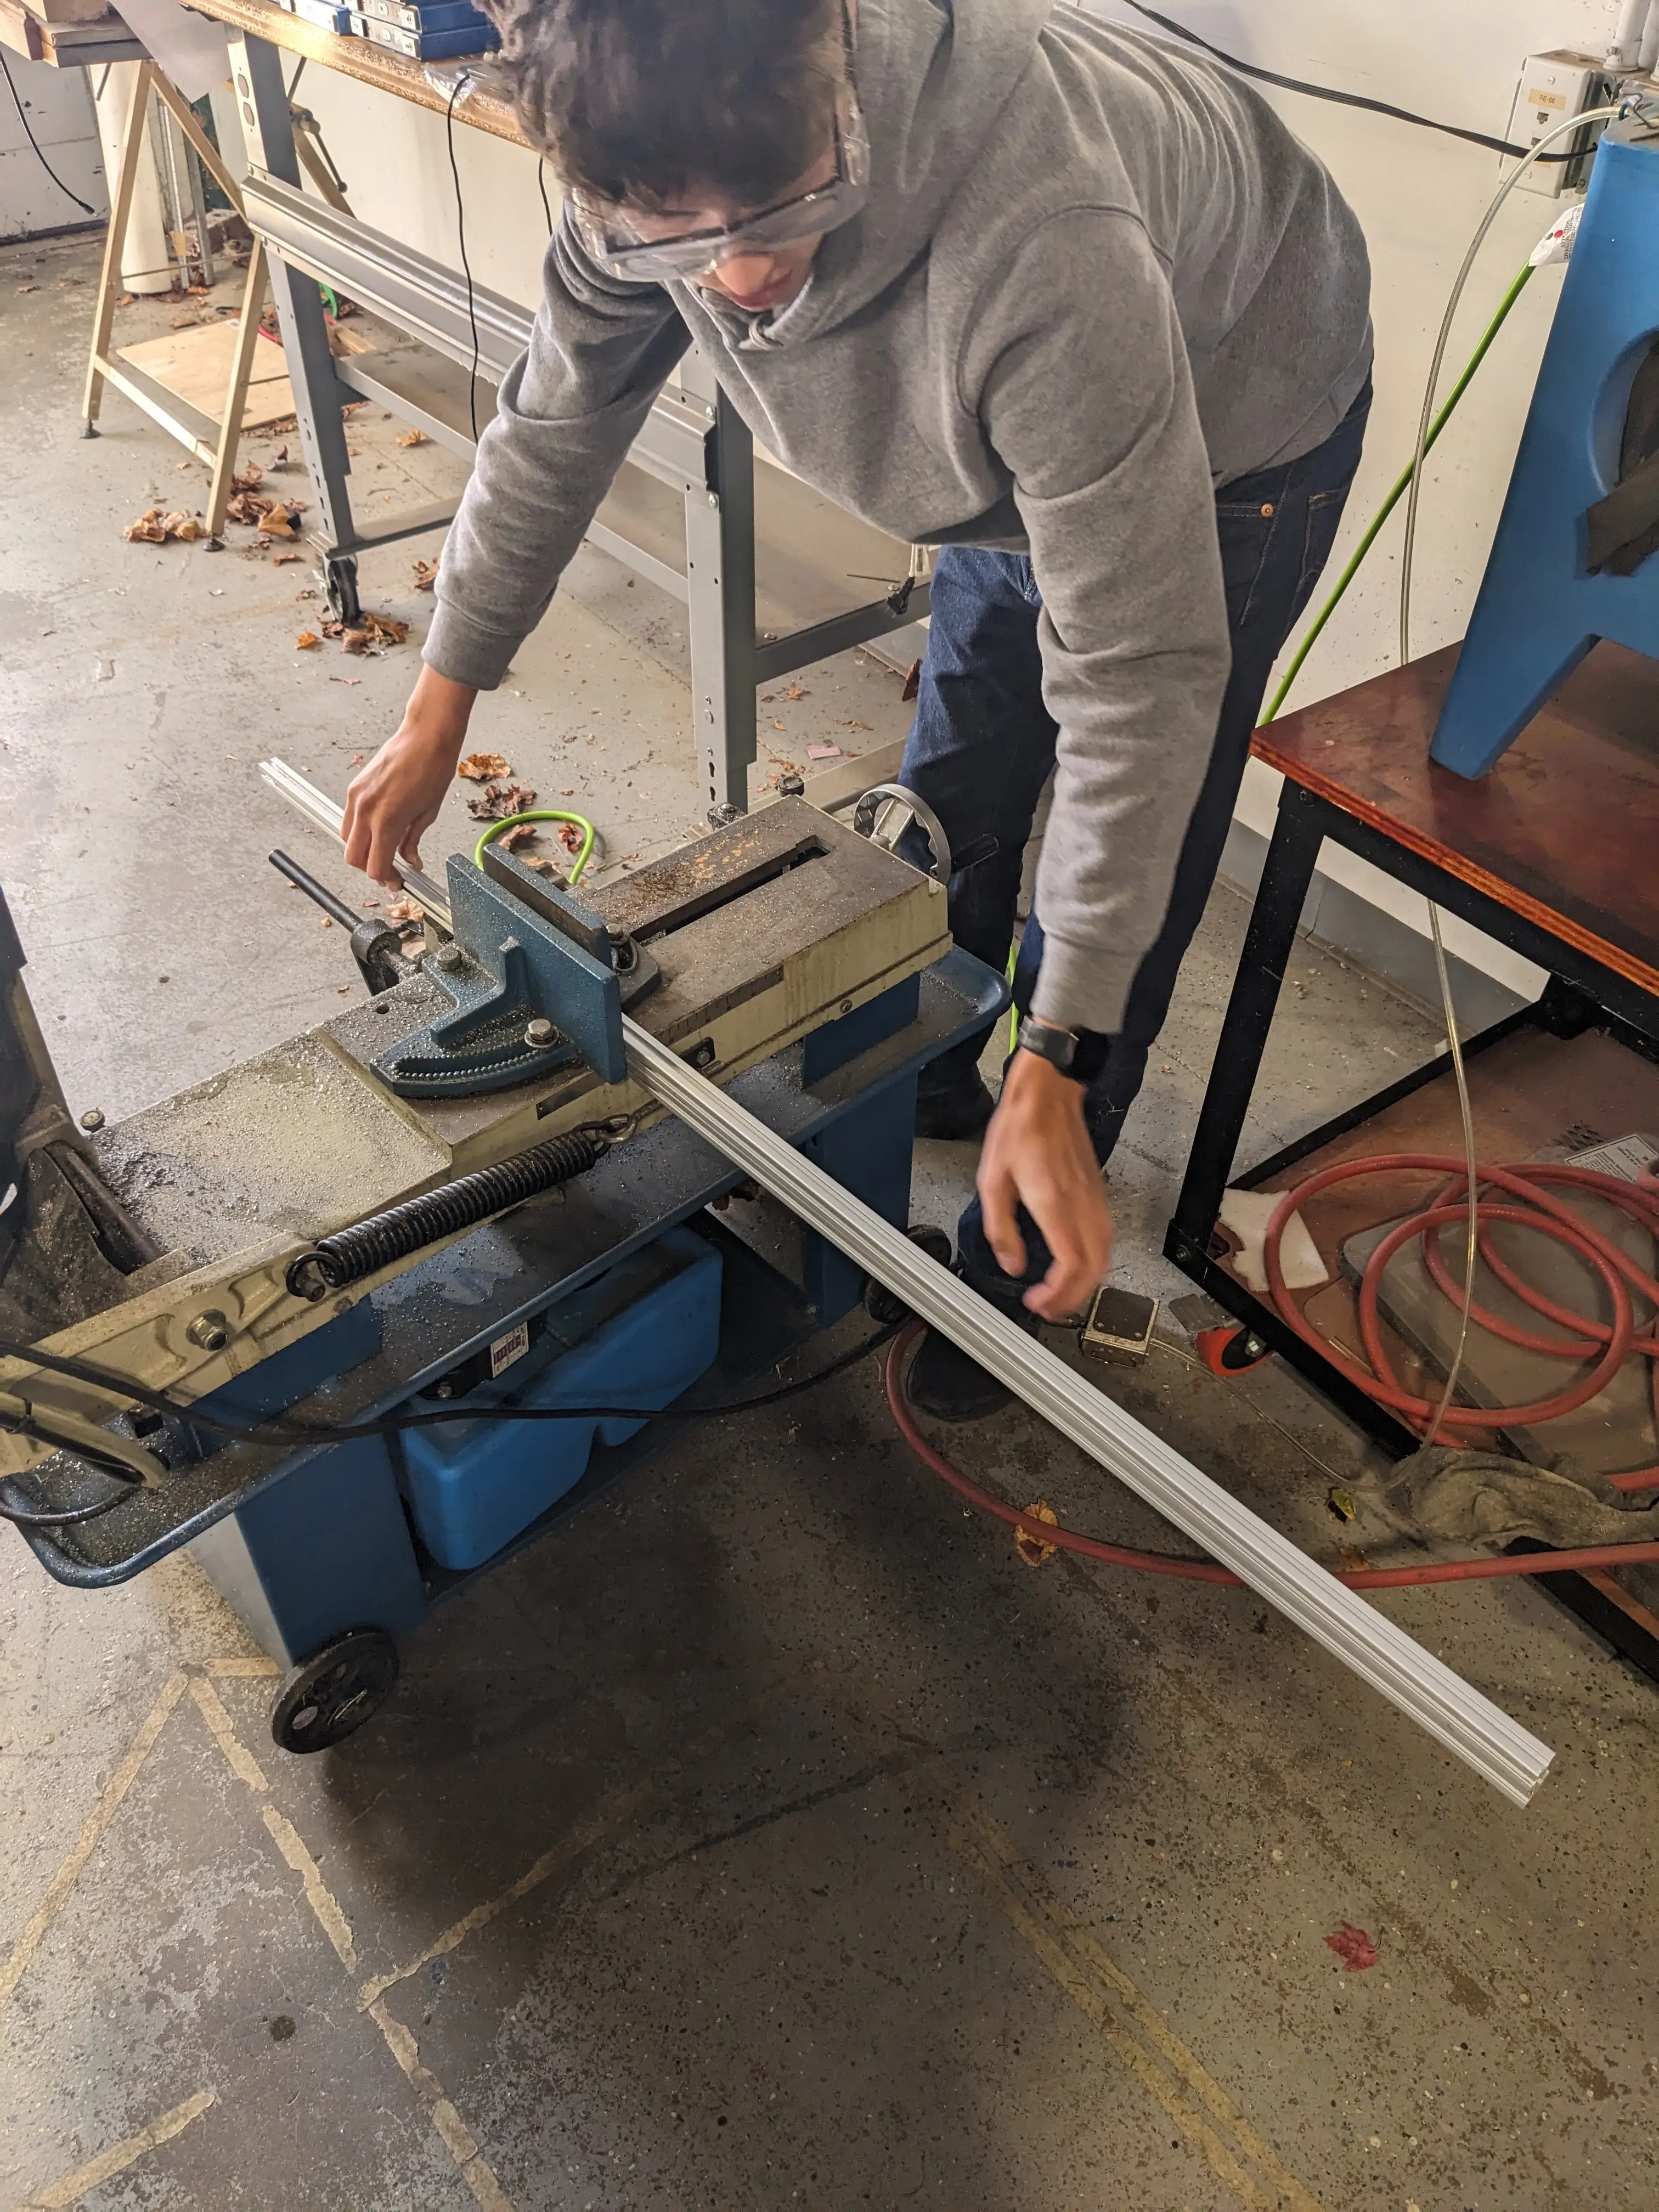
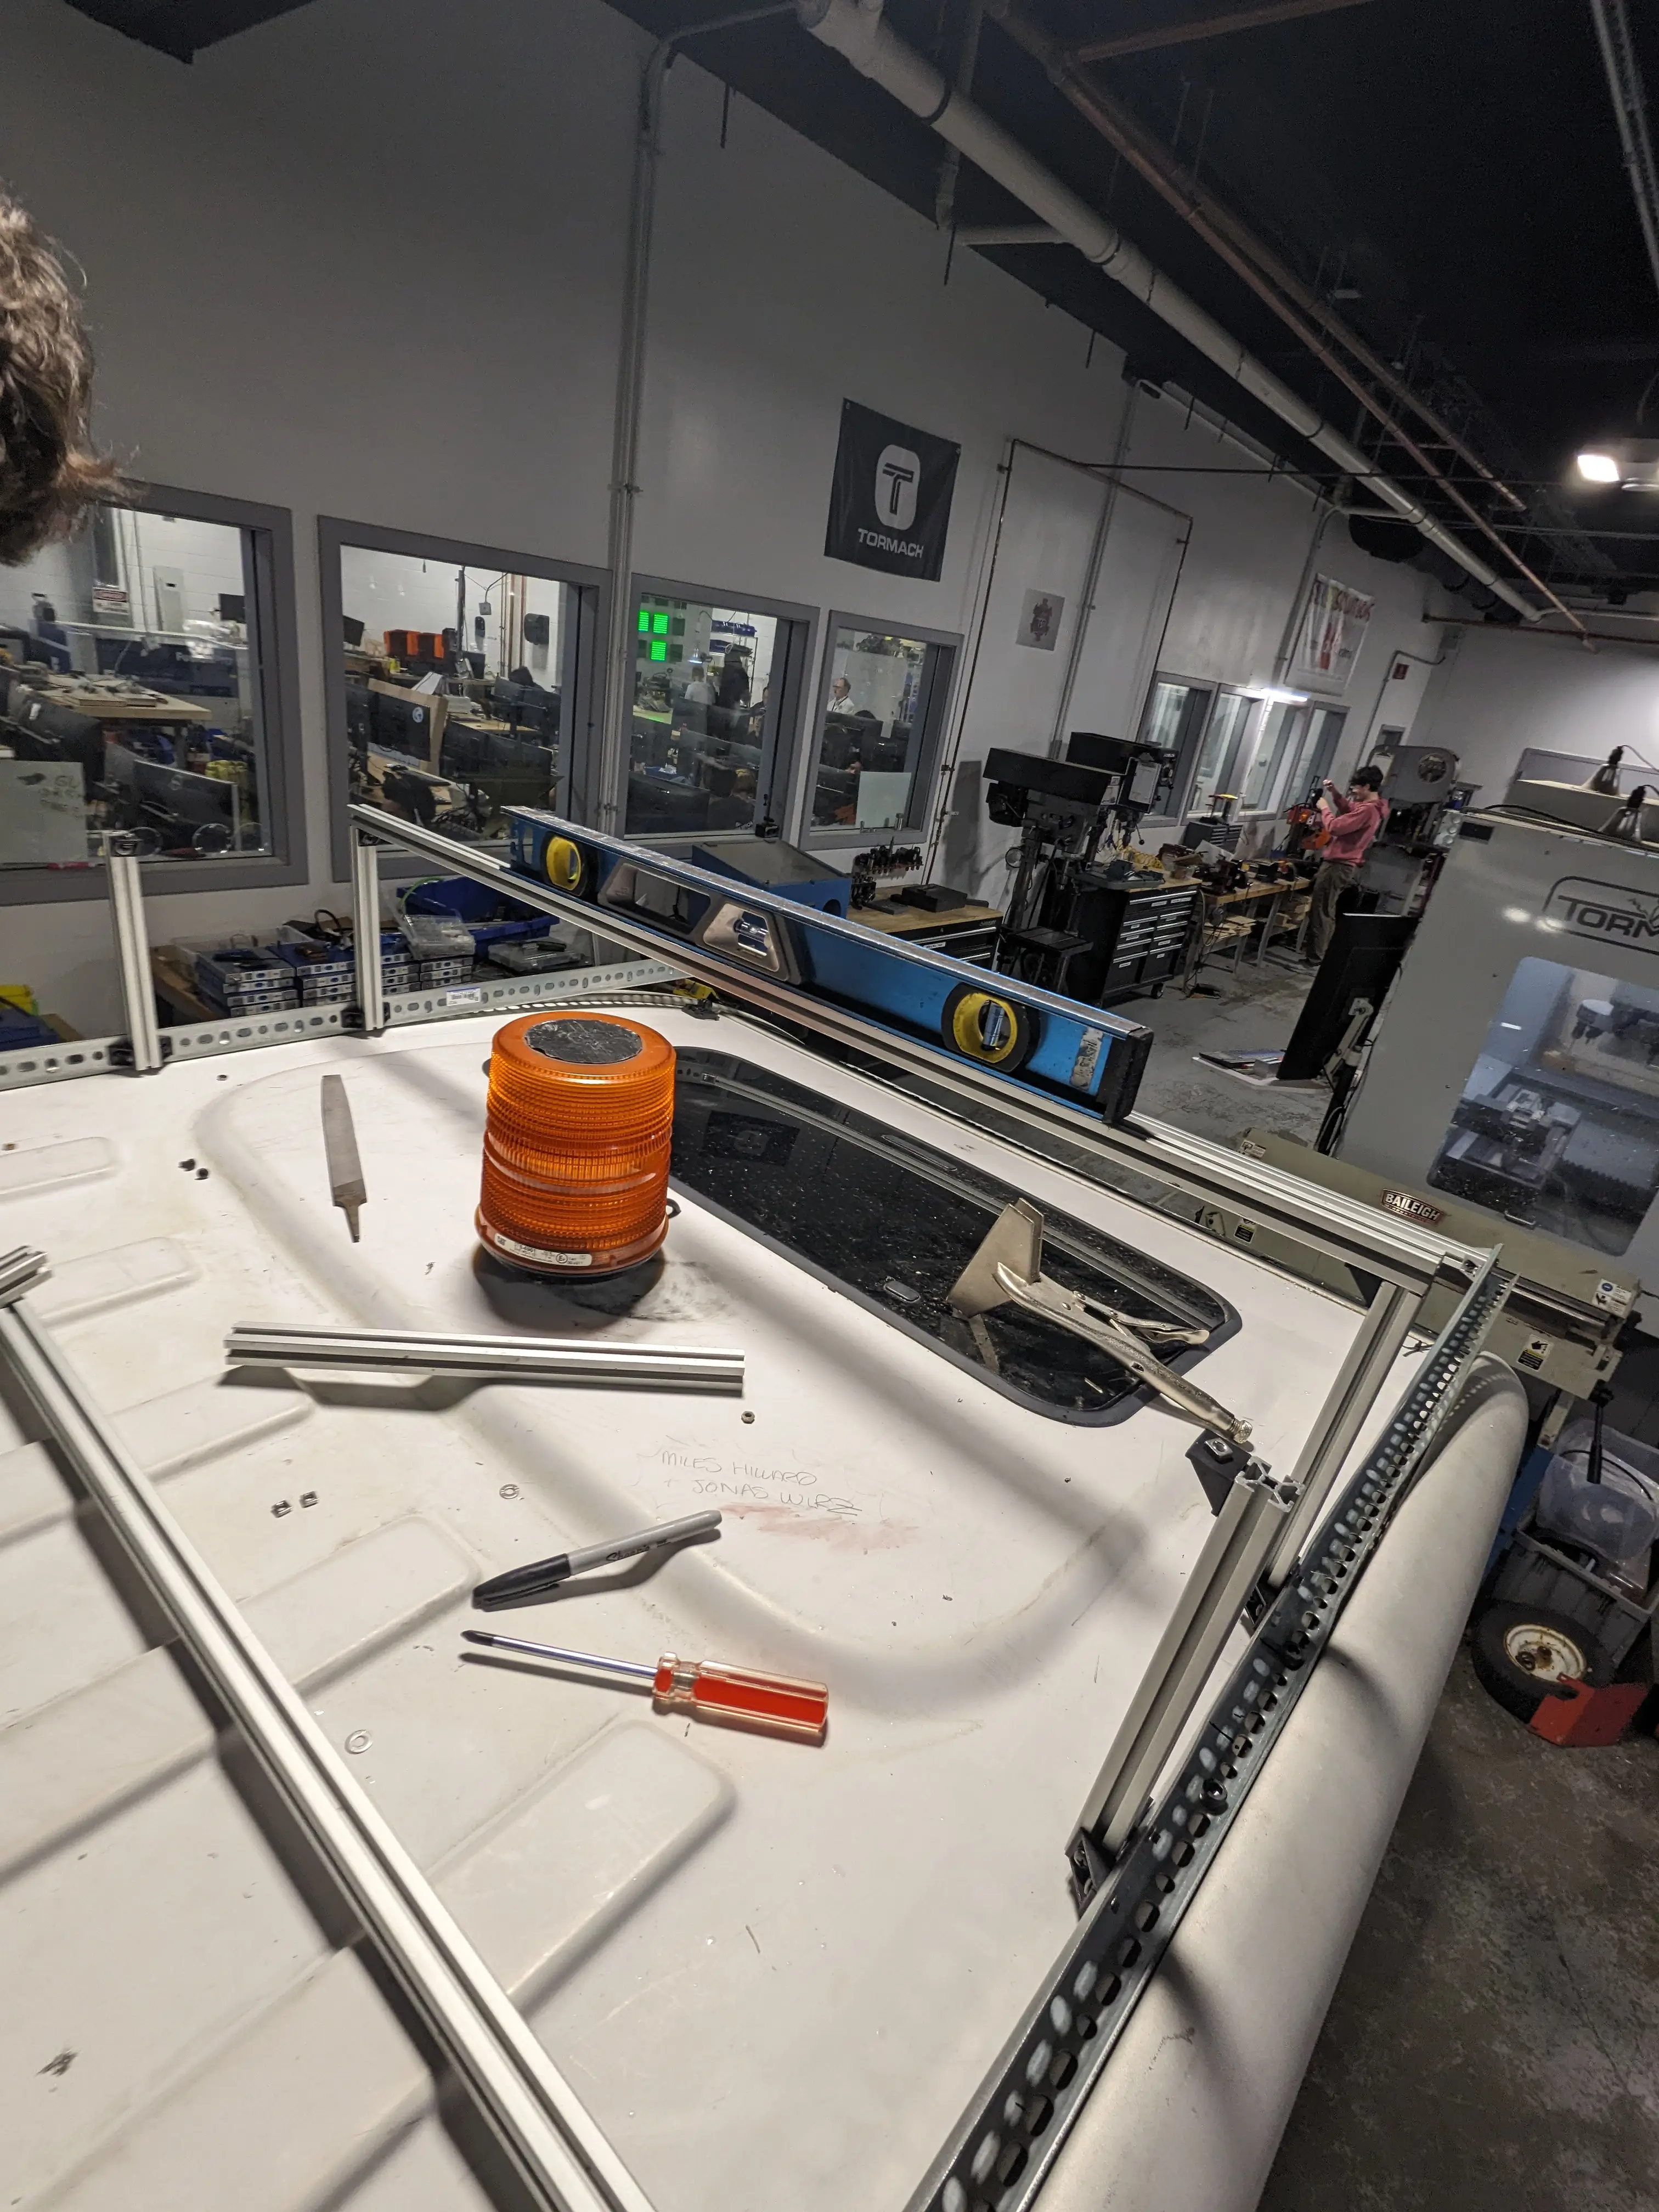
The whole thing bolts together with the usual 90 degree 8020 hardware, which made it easy to square everything up and bolt the extrusion down to the angle steel.
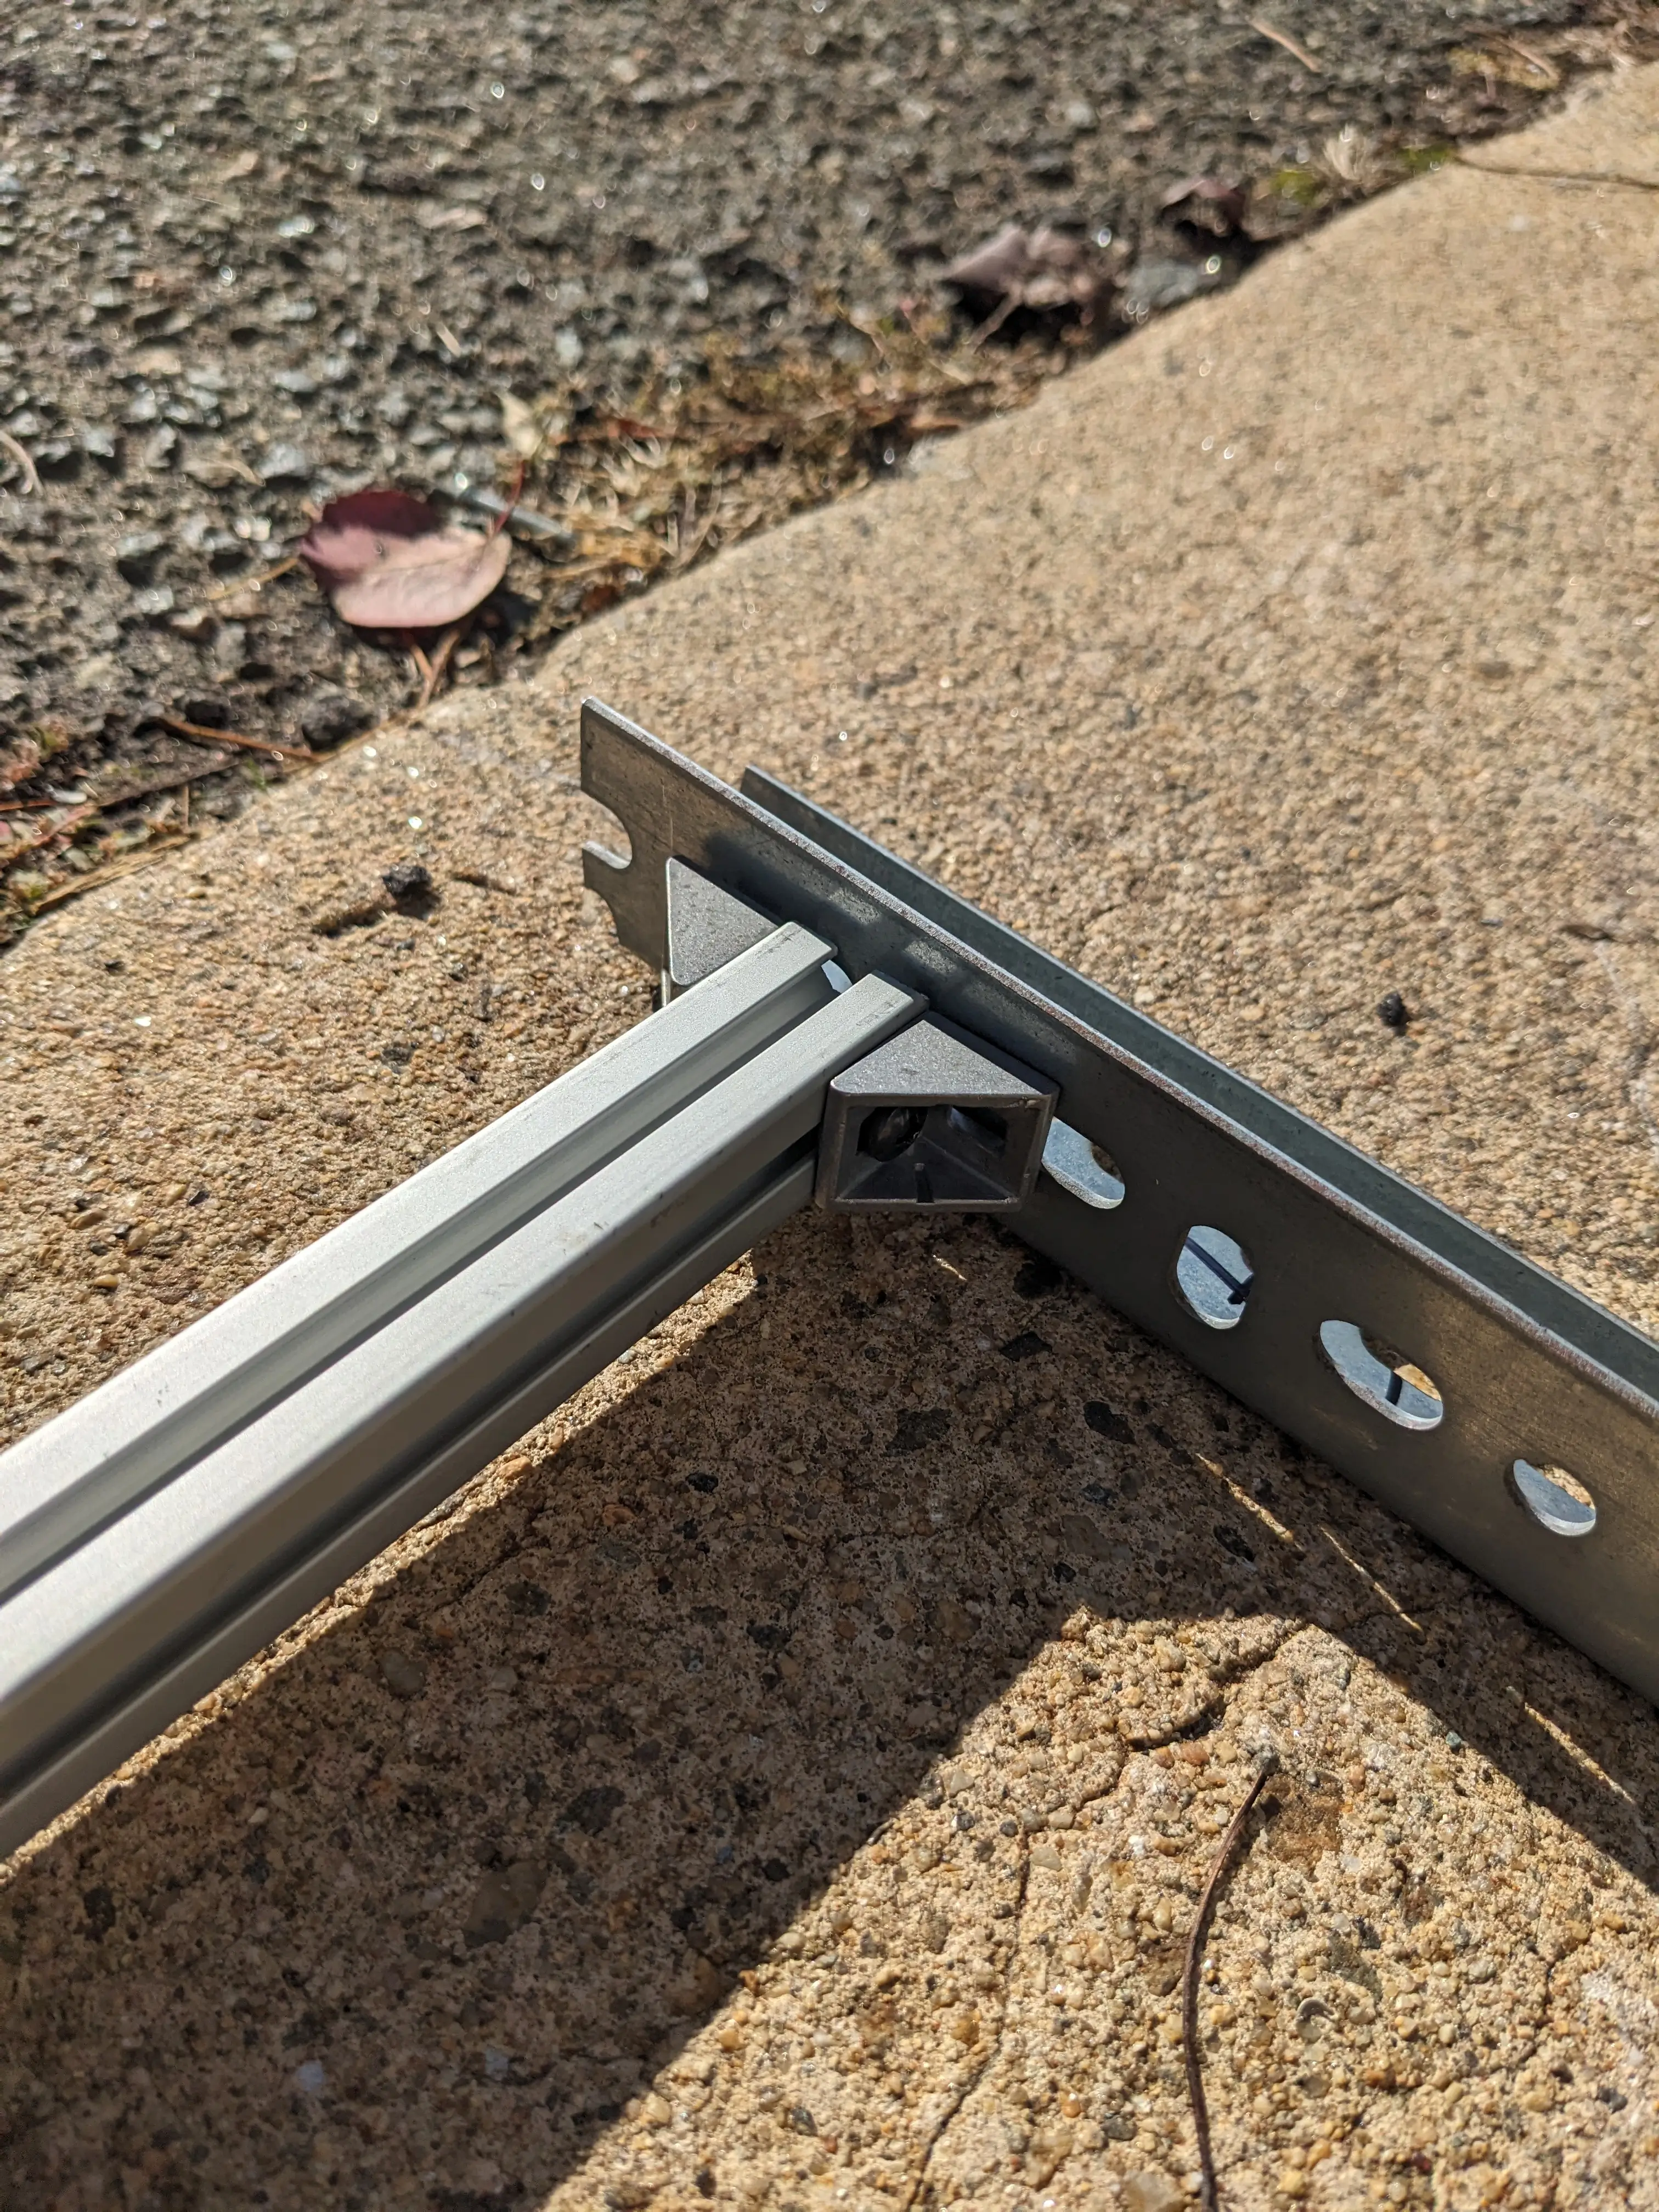
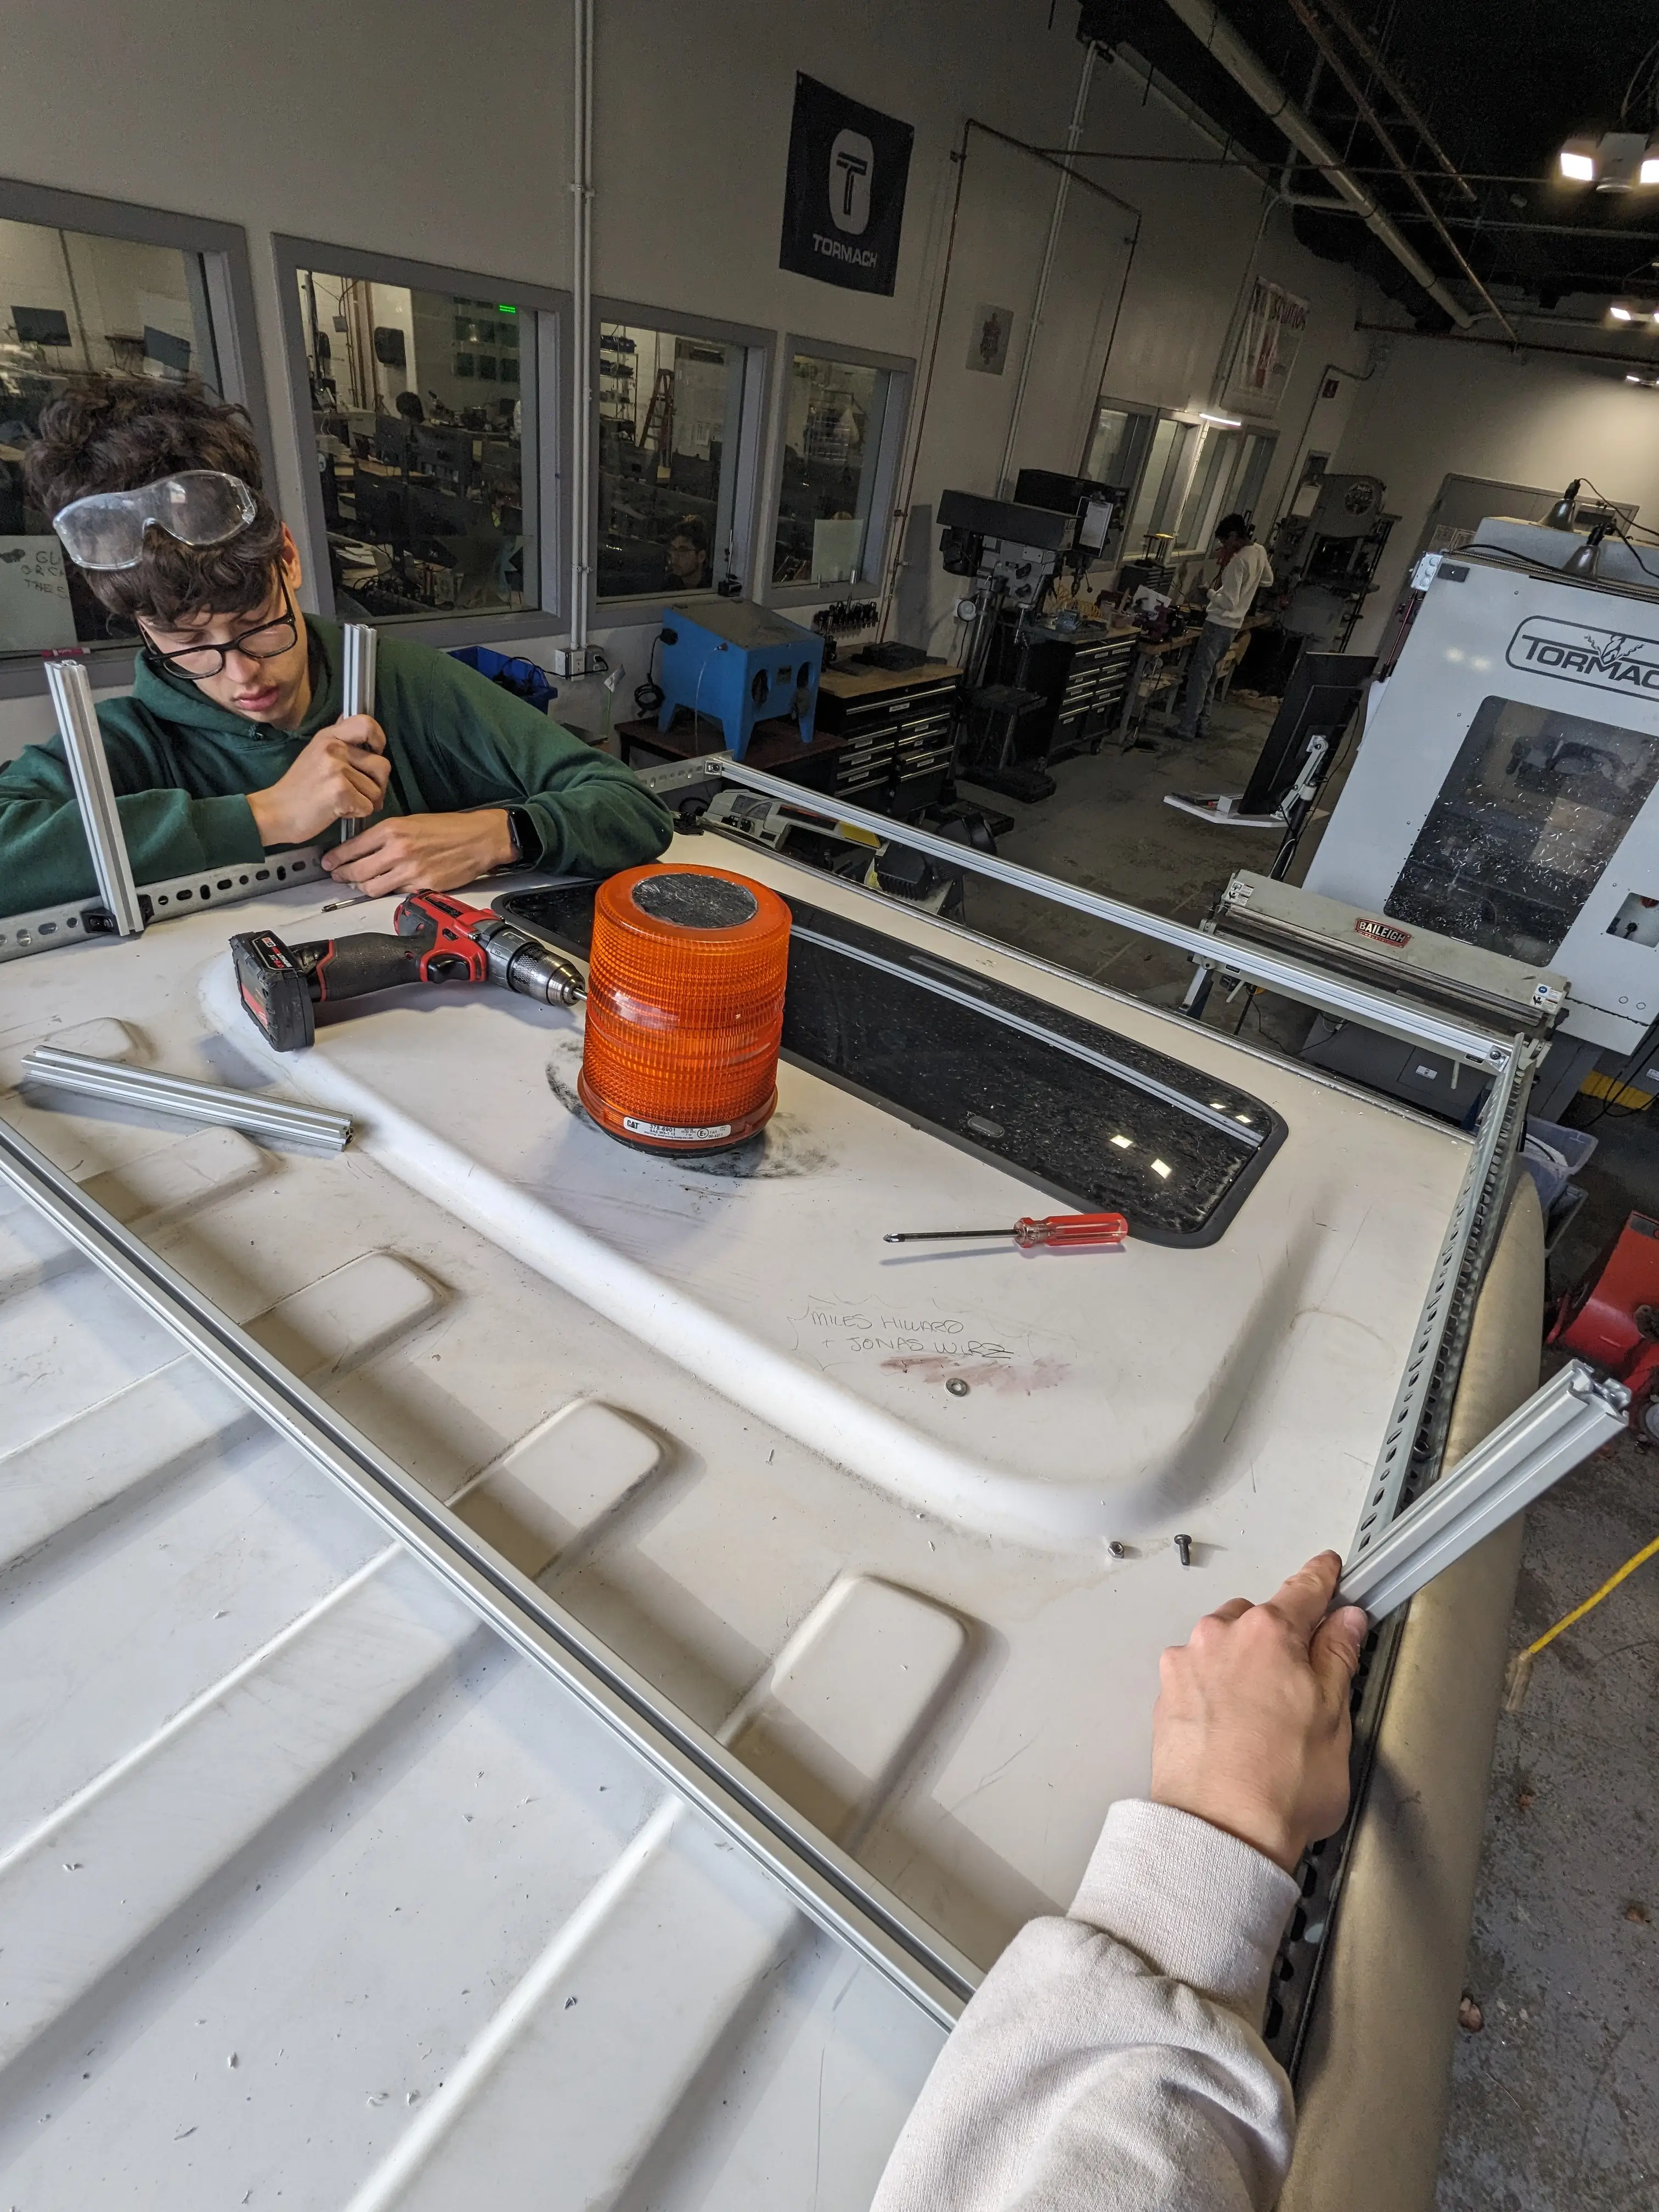
Once the frame was together, we added the vertical supports and checked that everything was actually level. This part mattered more than it probably looks, because if the rack is twisted then the LiDAR is tilted with it. I noticed from a few weeks back when i tried to map the school with the LiDAR the tilted lidar messed up the whole map.
Next was the mount itself. I had Jonas design and cut an acrylic plate for the LiDAR to sit on, which gives me a flat surface to bolt the sensor to instead of trying to clamp it directly to the extrusion. Once that was on, the LiDAR finally had a real, permanent spot on the cart. Honestly, I think that we might water-jet this plate out of steel instead of acrylic as I am a bit skeptical that even 1/4 inch acrylic will hold up well in the weather and temp swings.
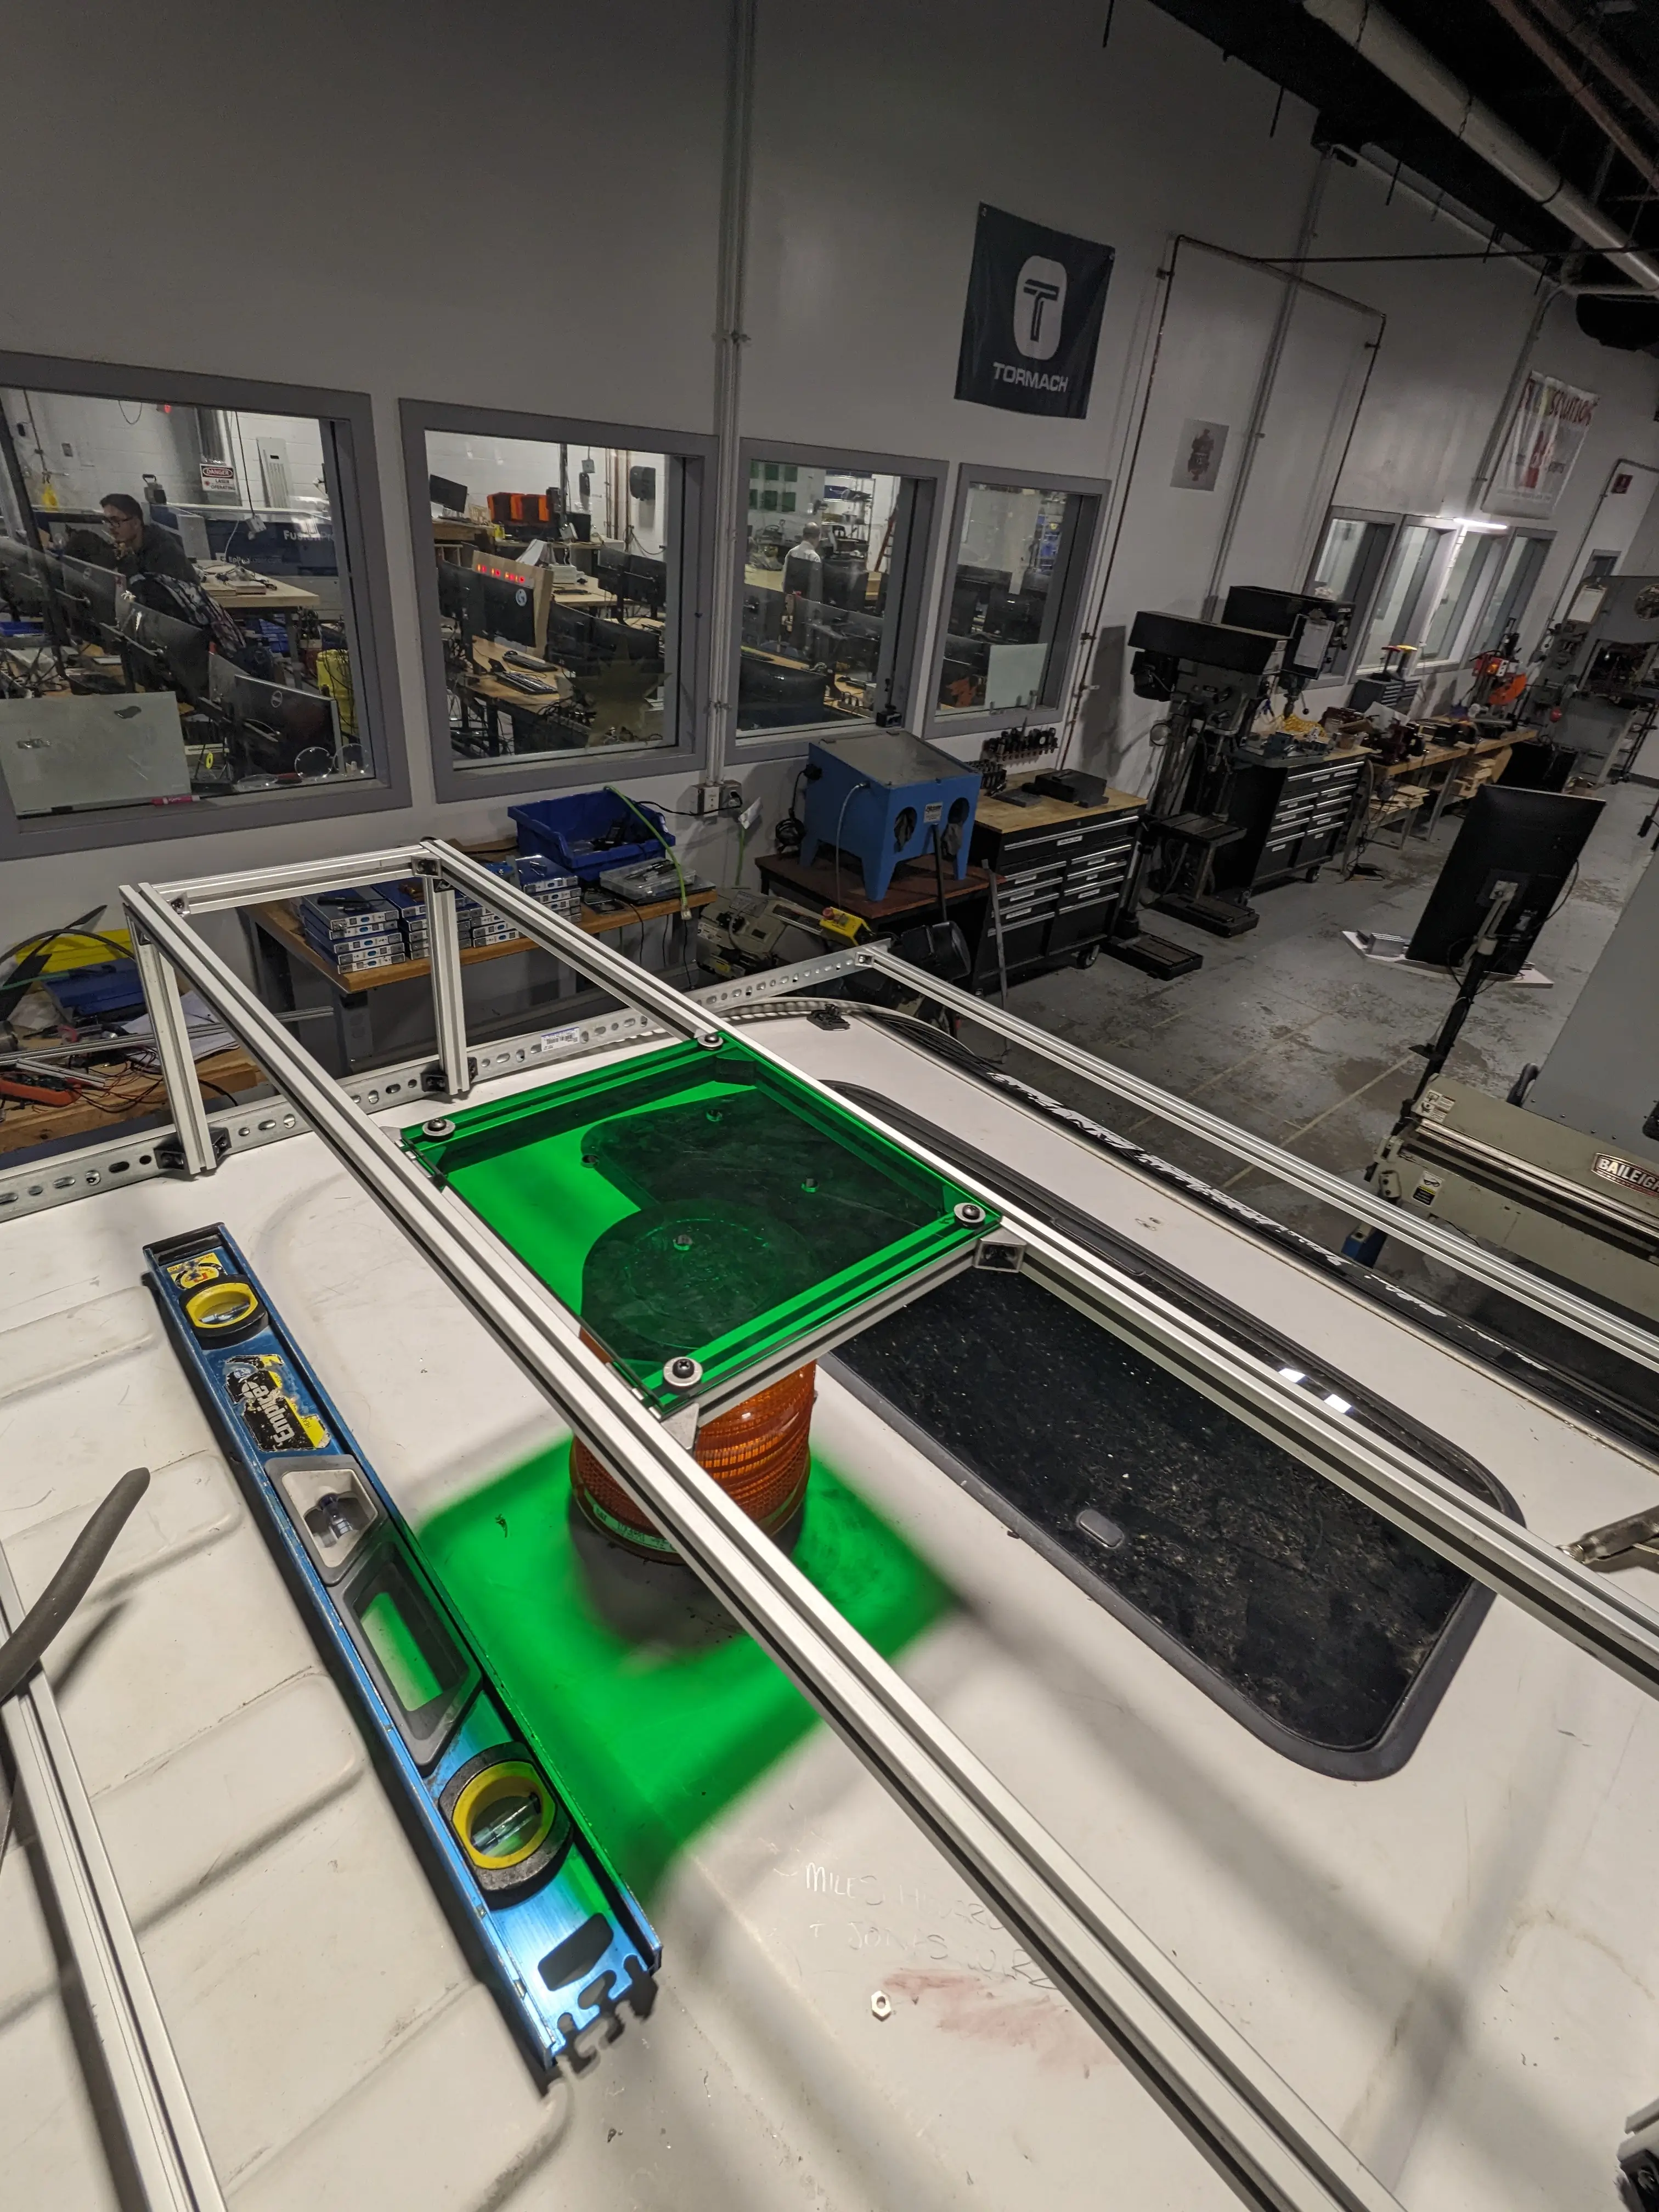
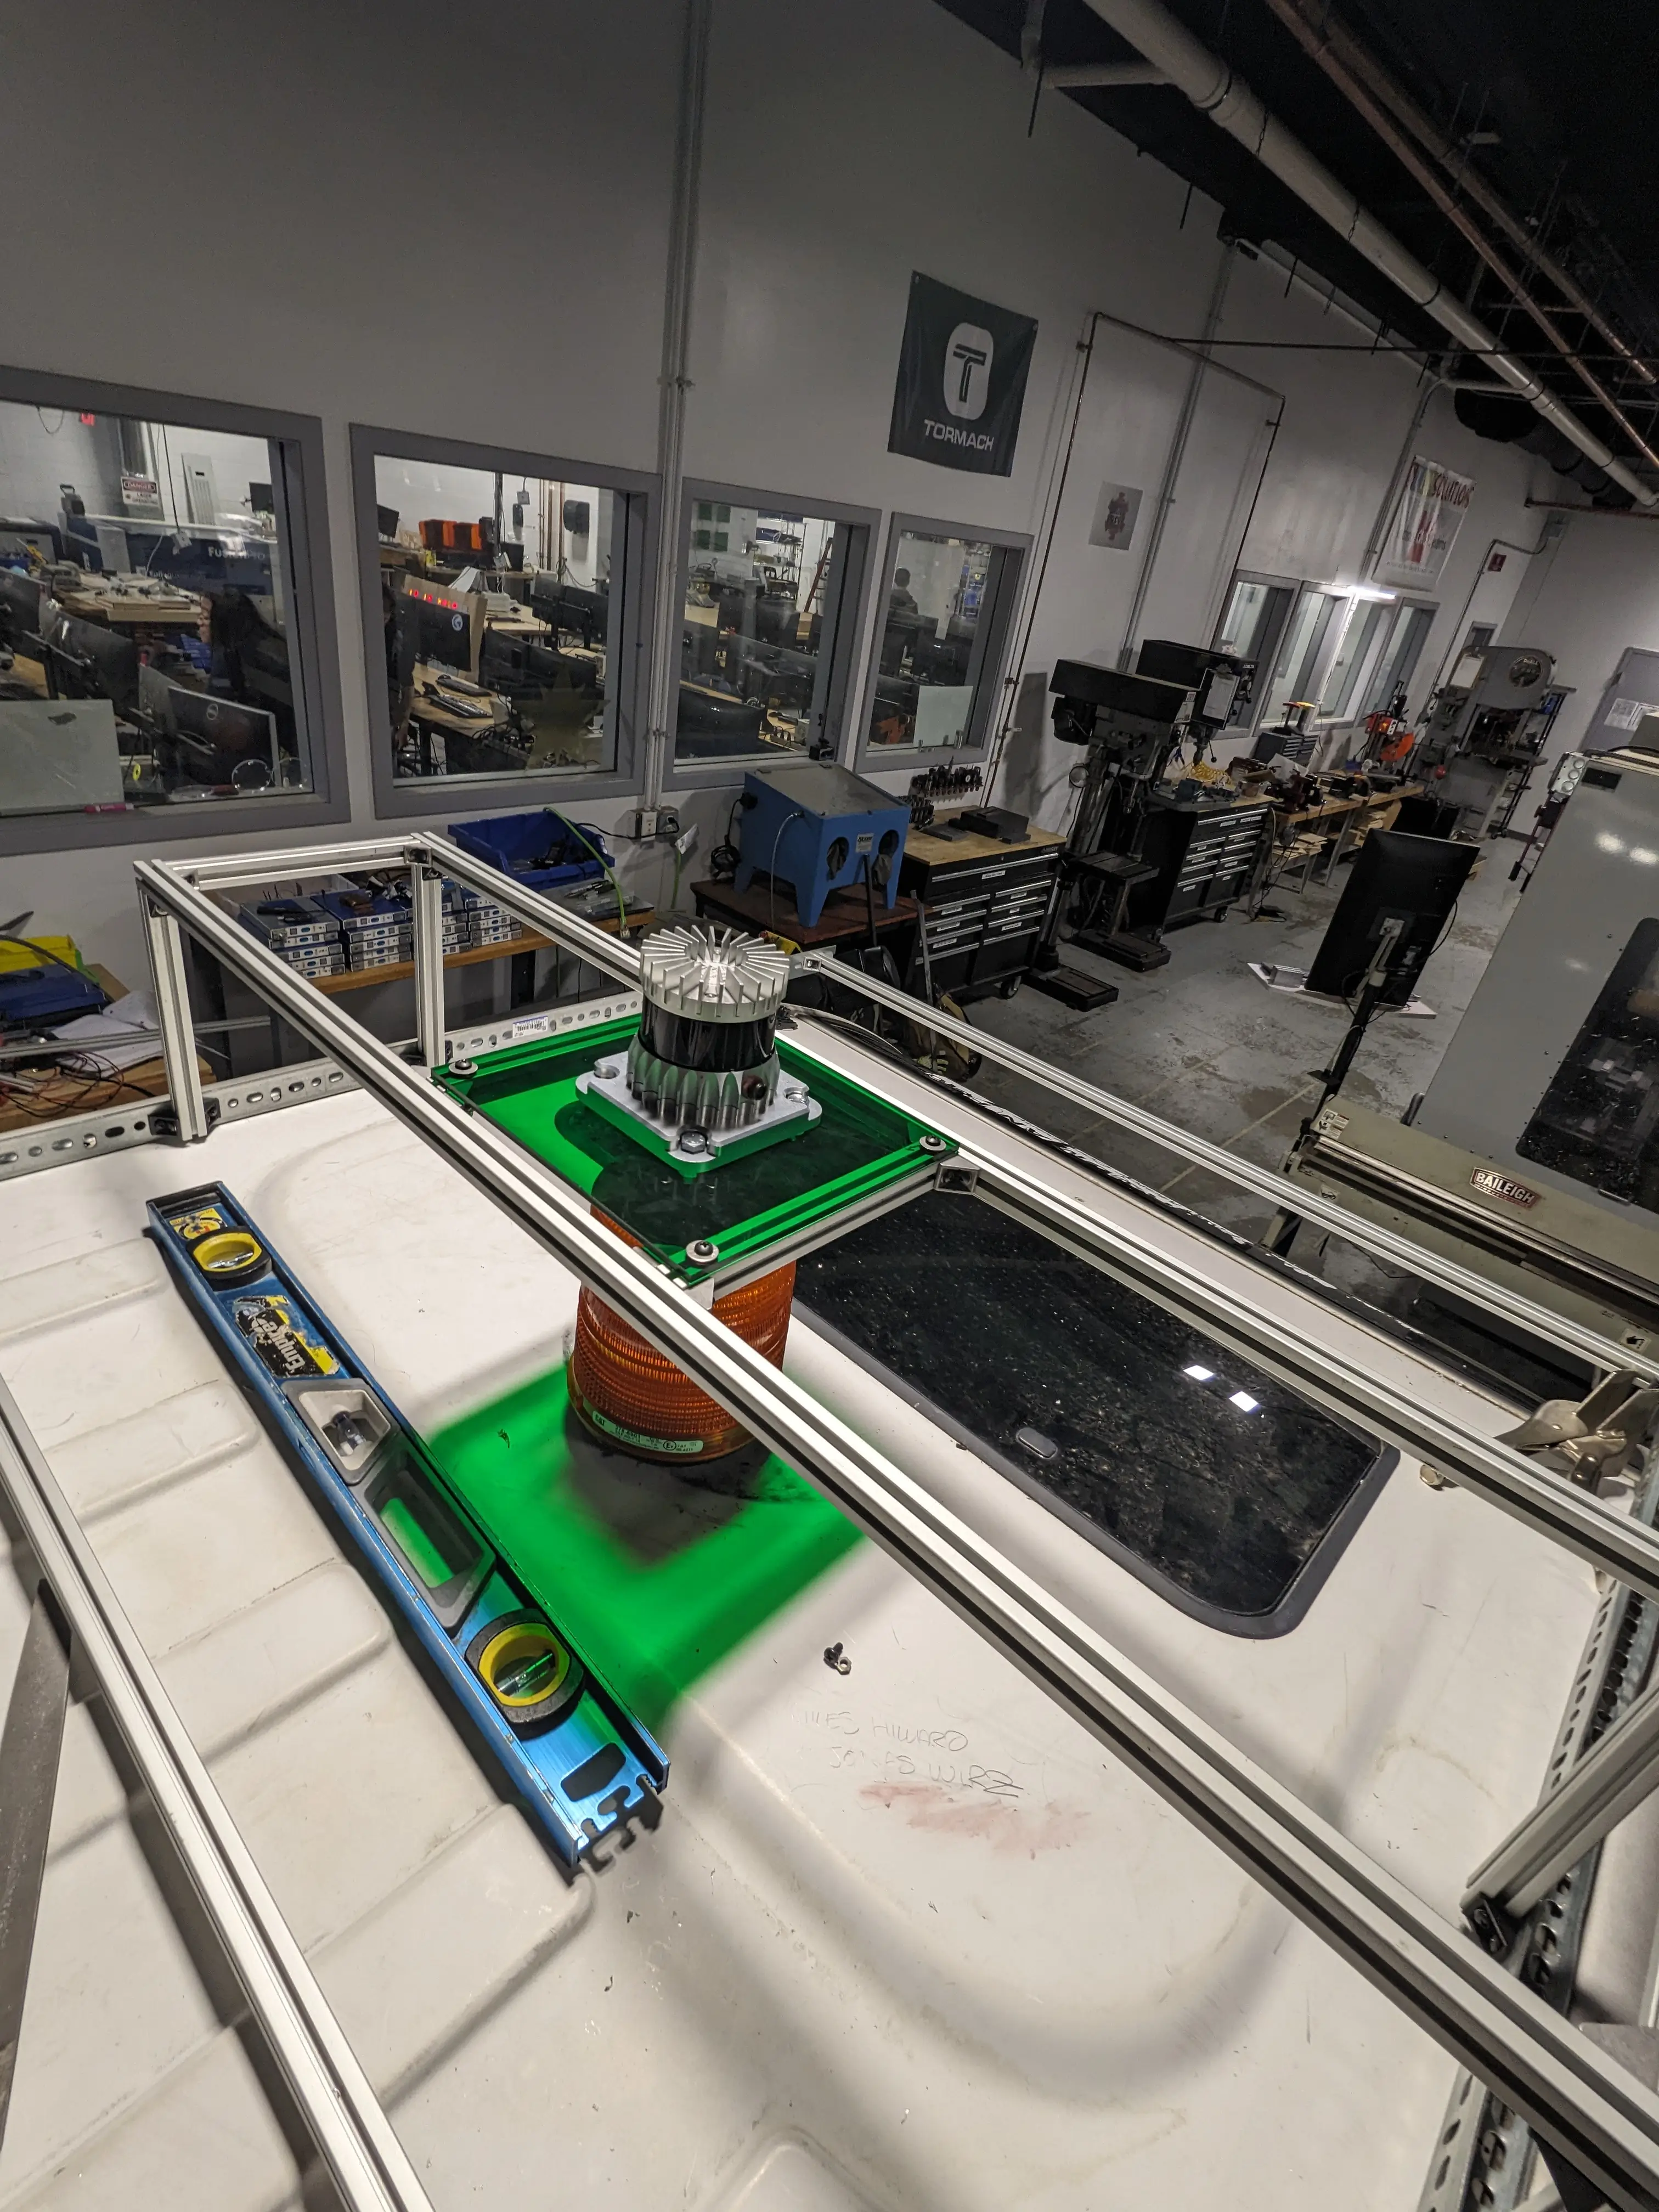
Here is the finished rack from above and side.
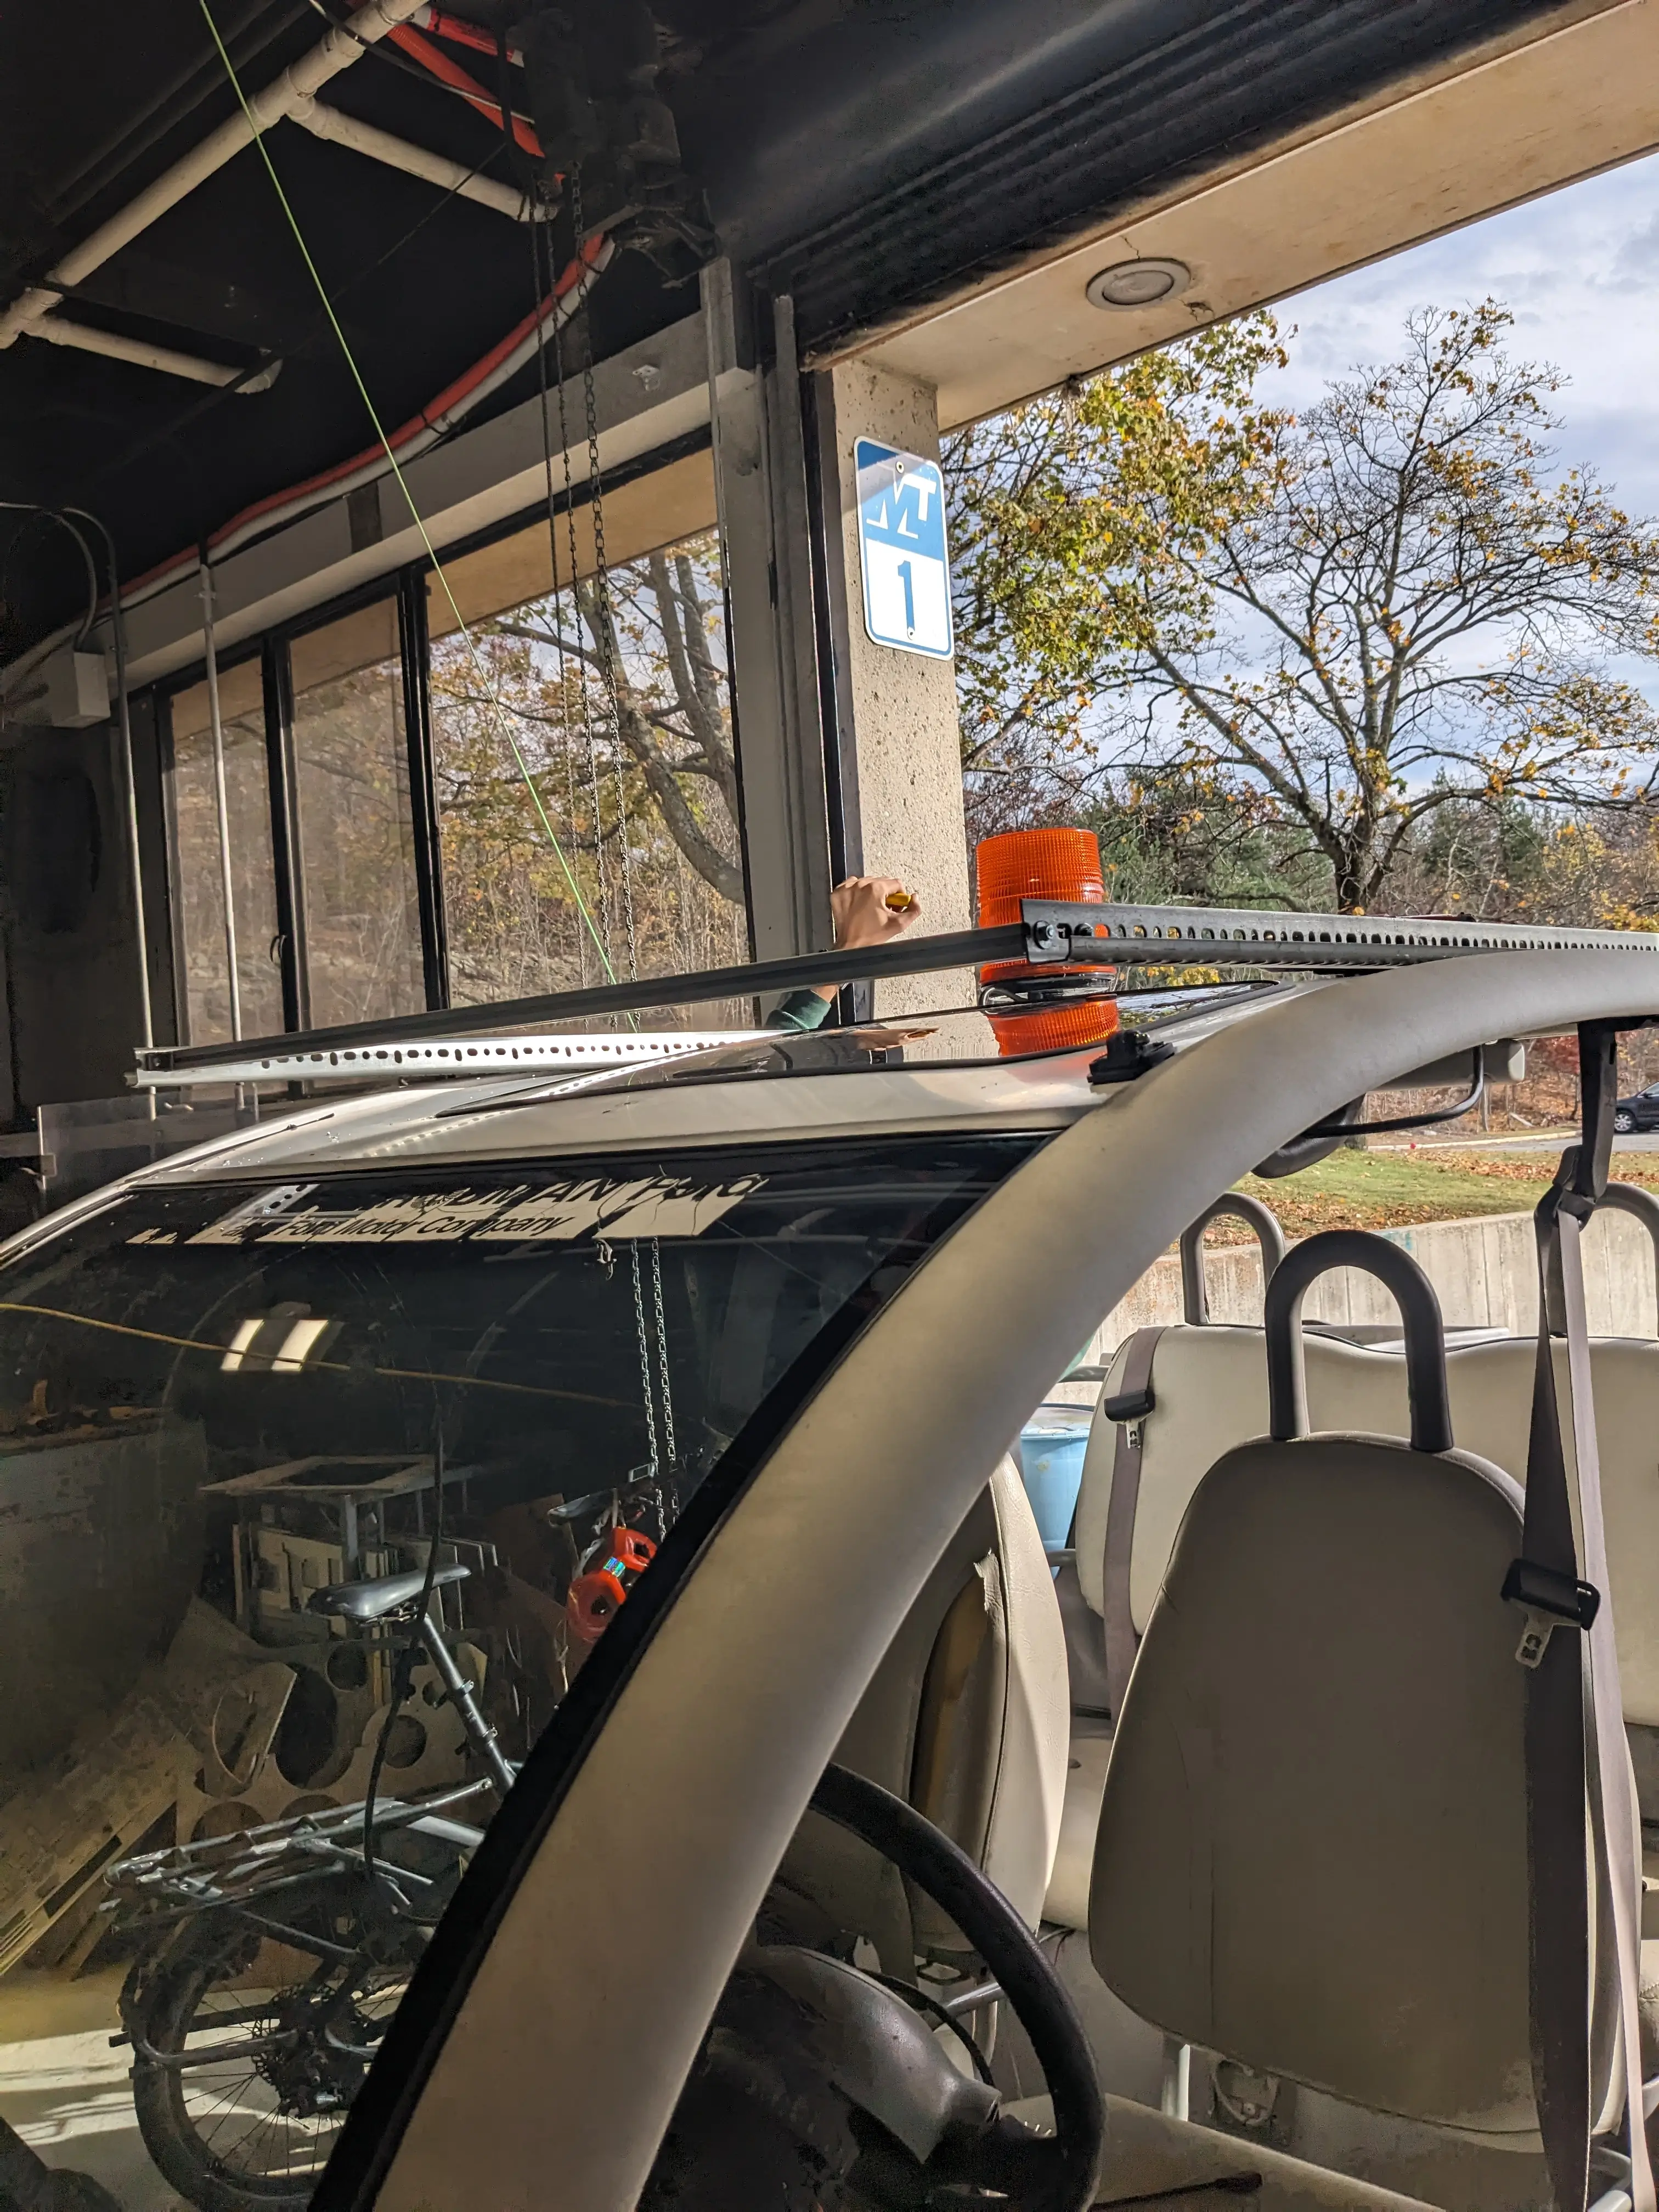
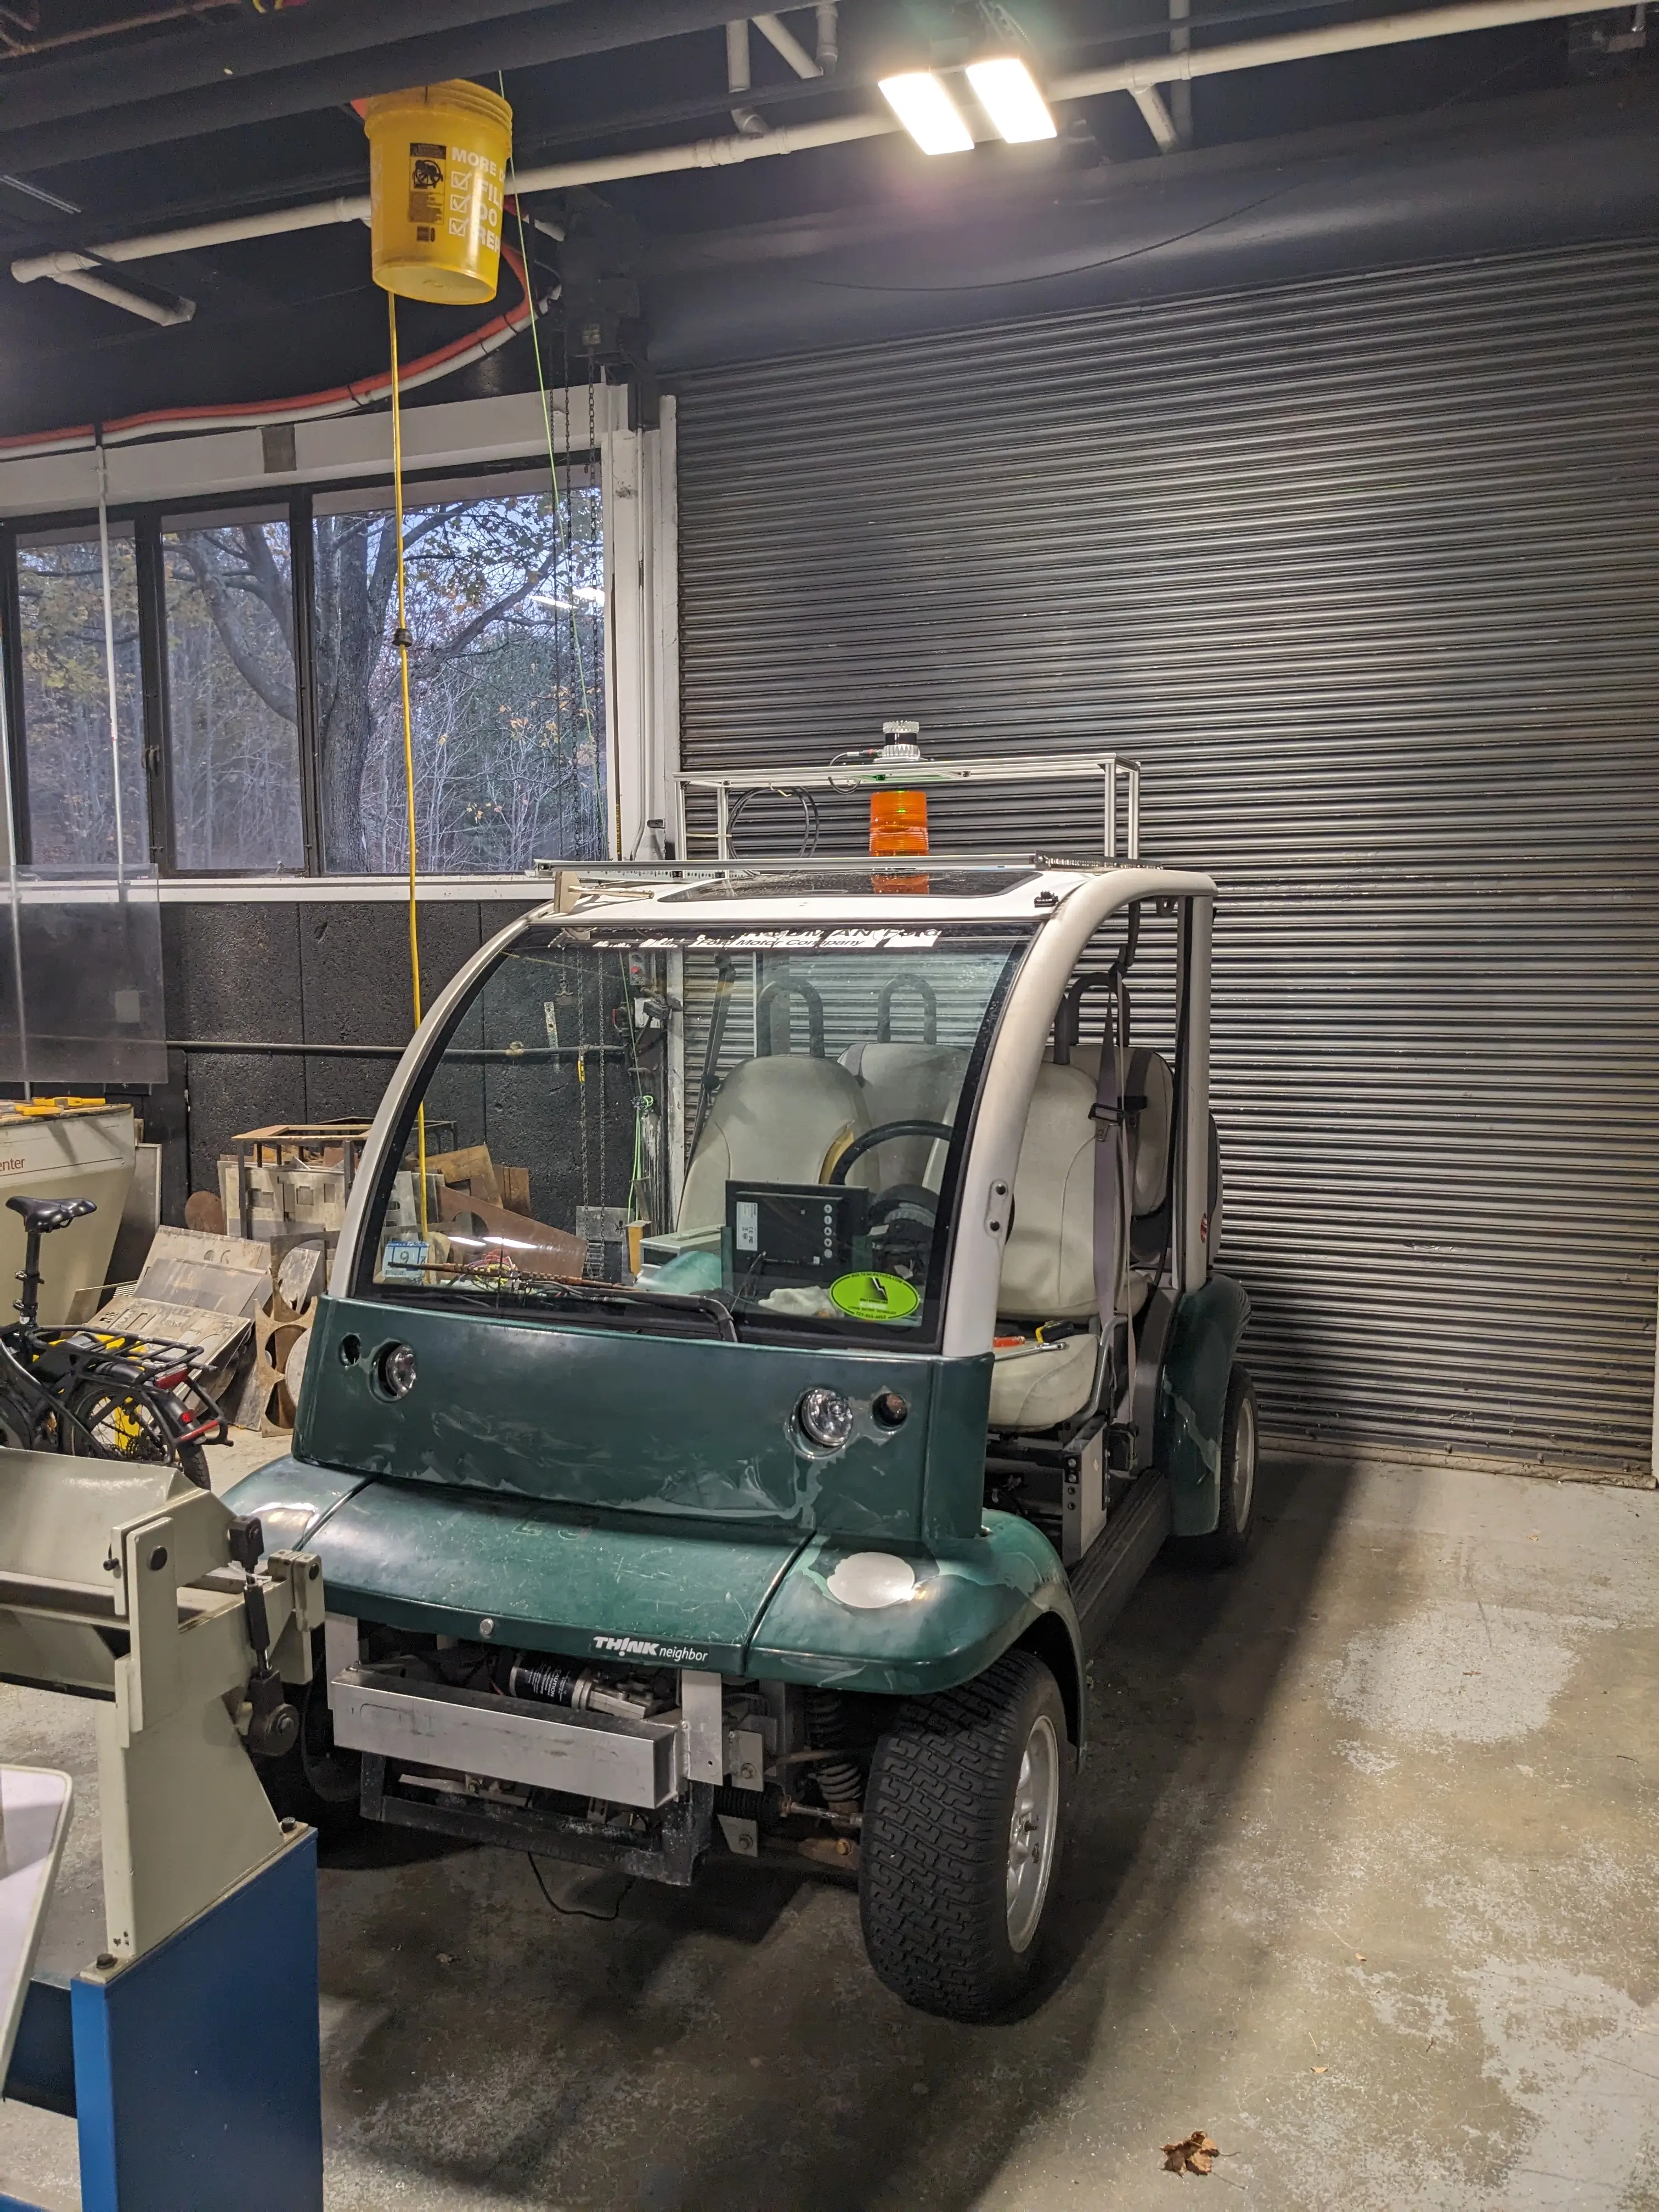
And here is the cart all put back together:
There are still some things I want to clean up. The wiring needs to be routed and secured a bit better now that the LiDAR is up top, and I want to re-check the mounting after a few drives to make sure nothing works itself loose. With the sensor finally mounted solid, the next big step is getting the camera up there too and syncing it with the LiDAR so both are feeding ROS2 together.
0
Views