
Robotics & Engineering - Week of 03/16/26 & -3/23/26
This blog contains two weeks of work, as I never ended up presenting it on Friday like usual.
Week of 03/16/26
This week was extremely short for me. I was only in shop for two days.
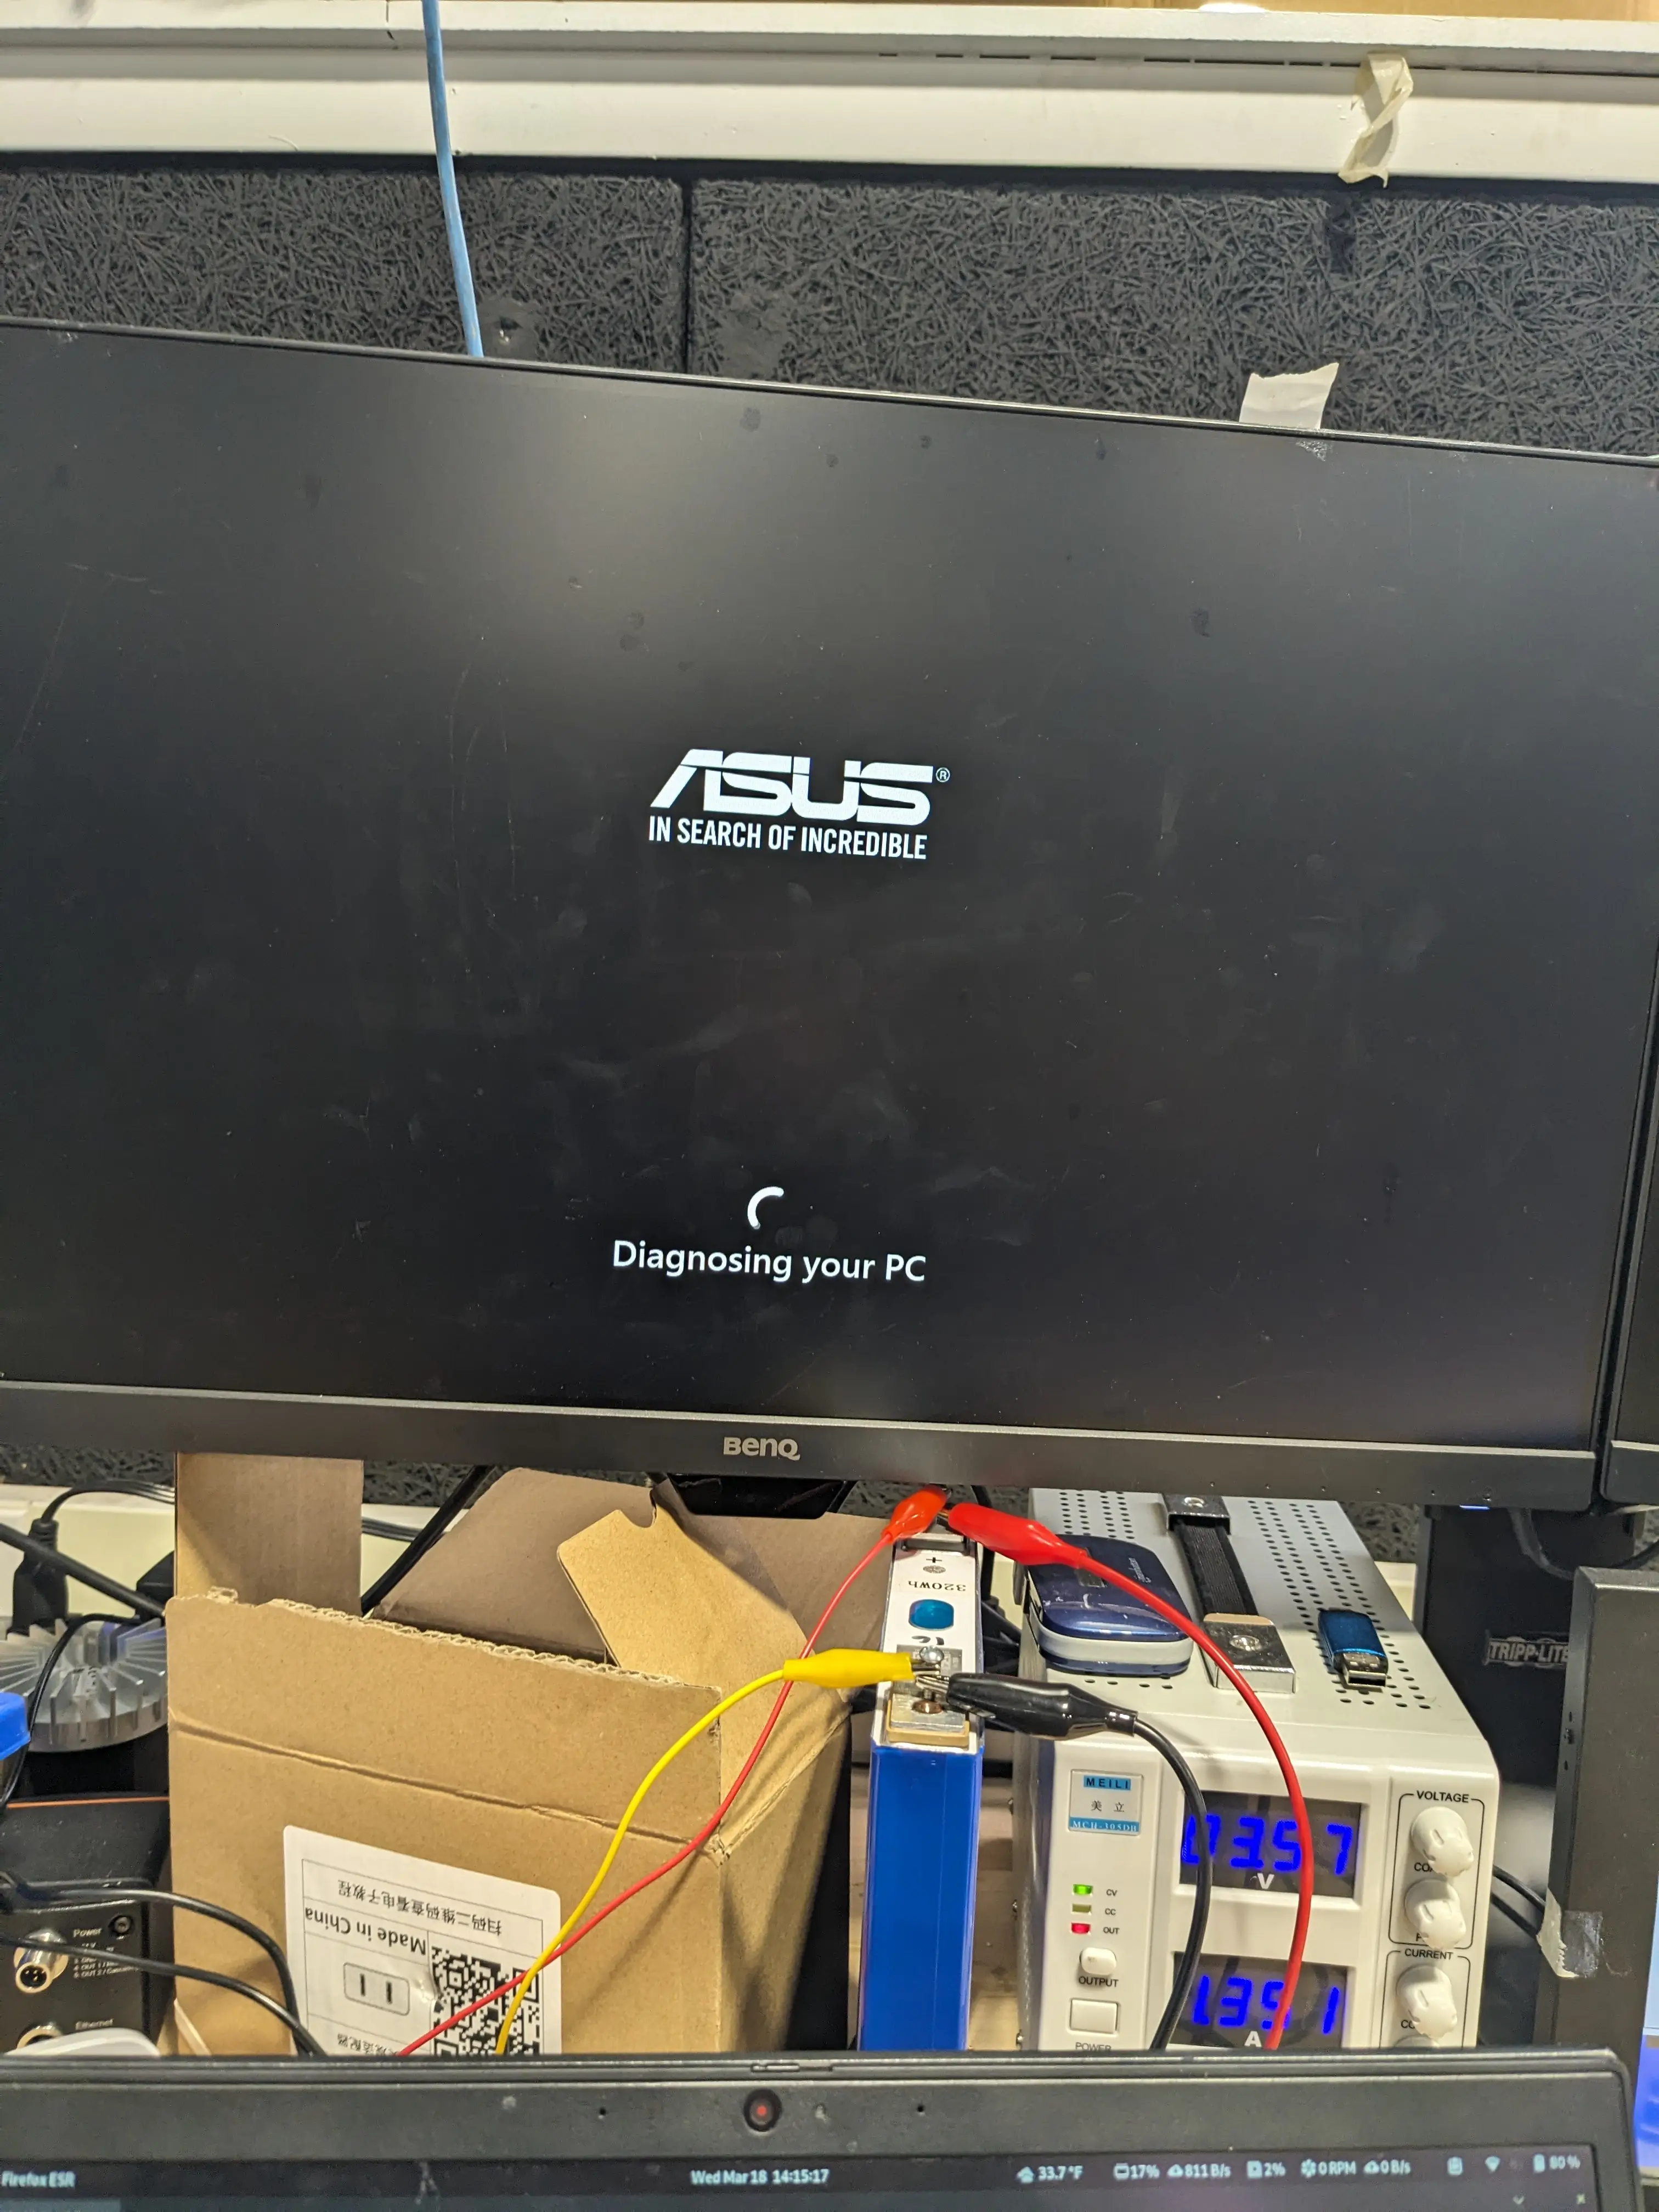
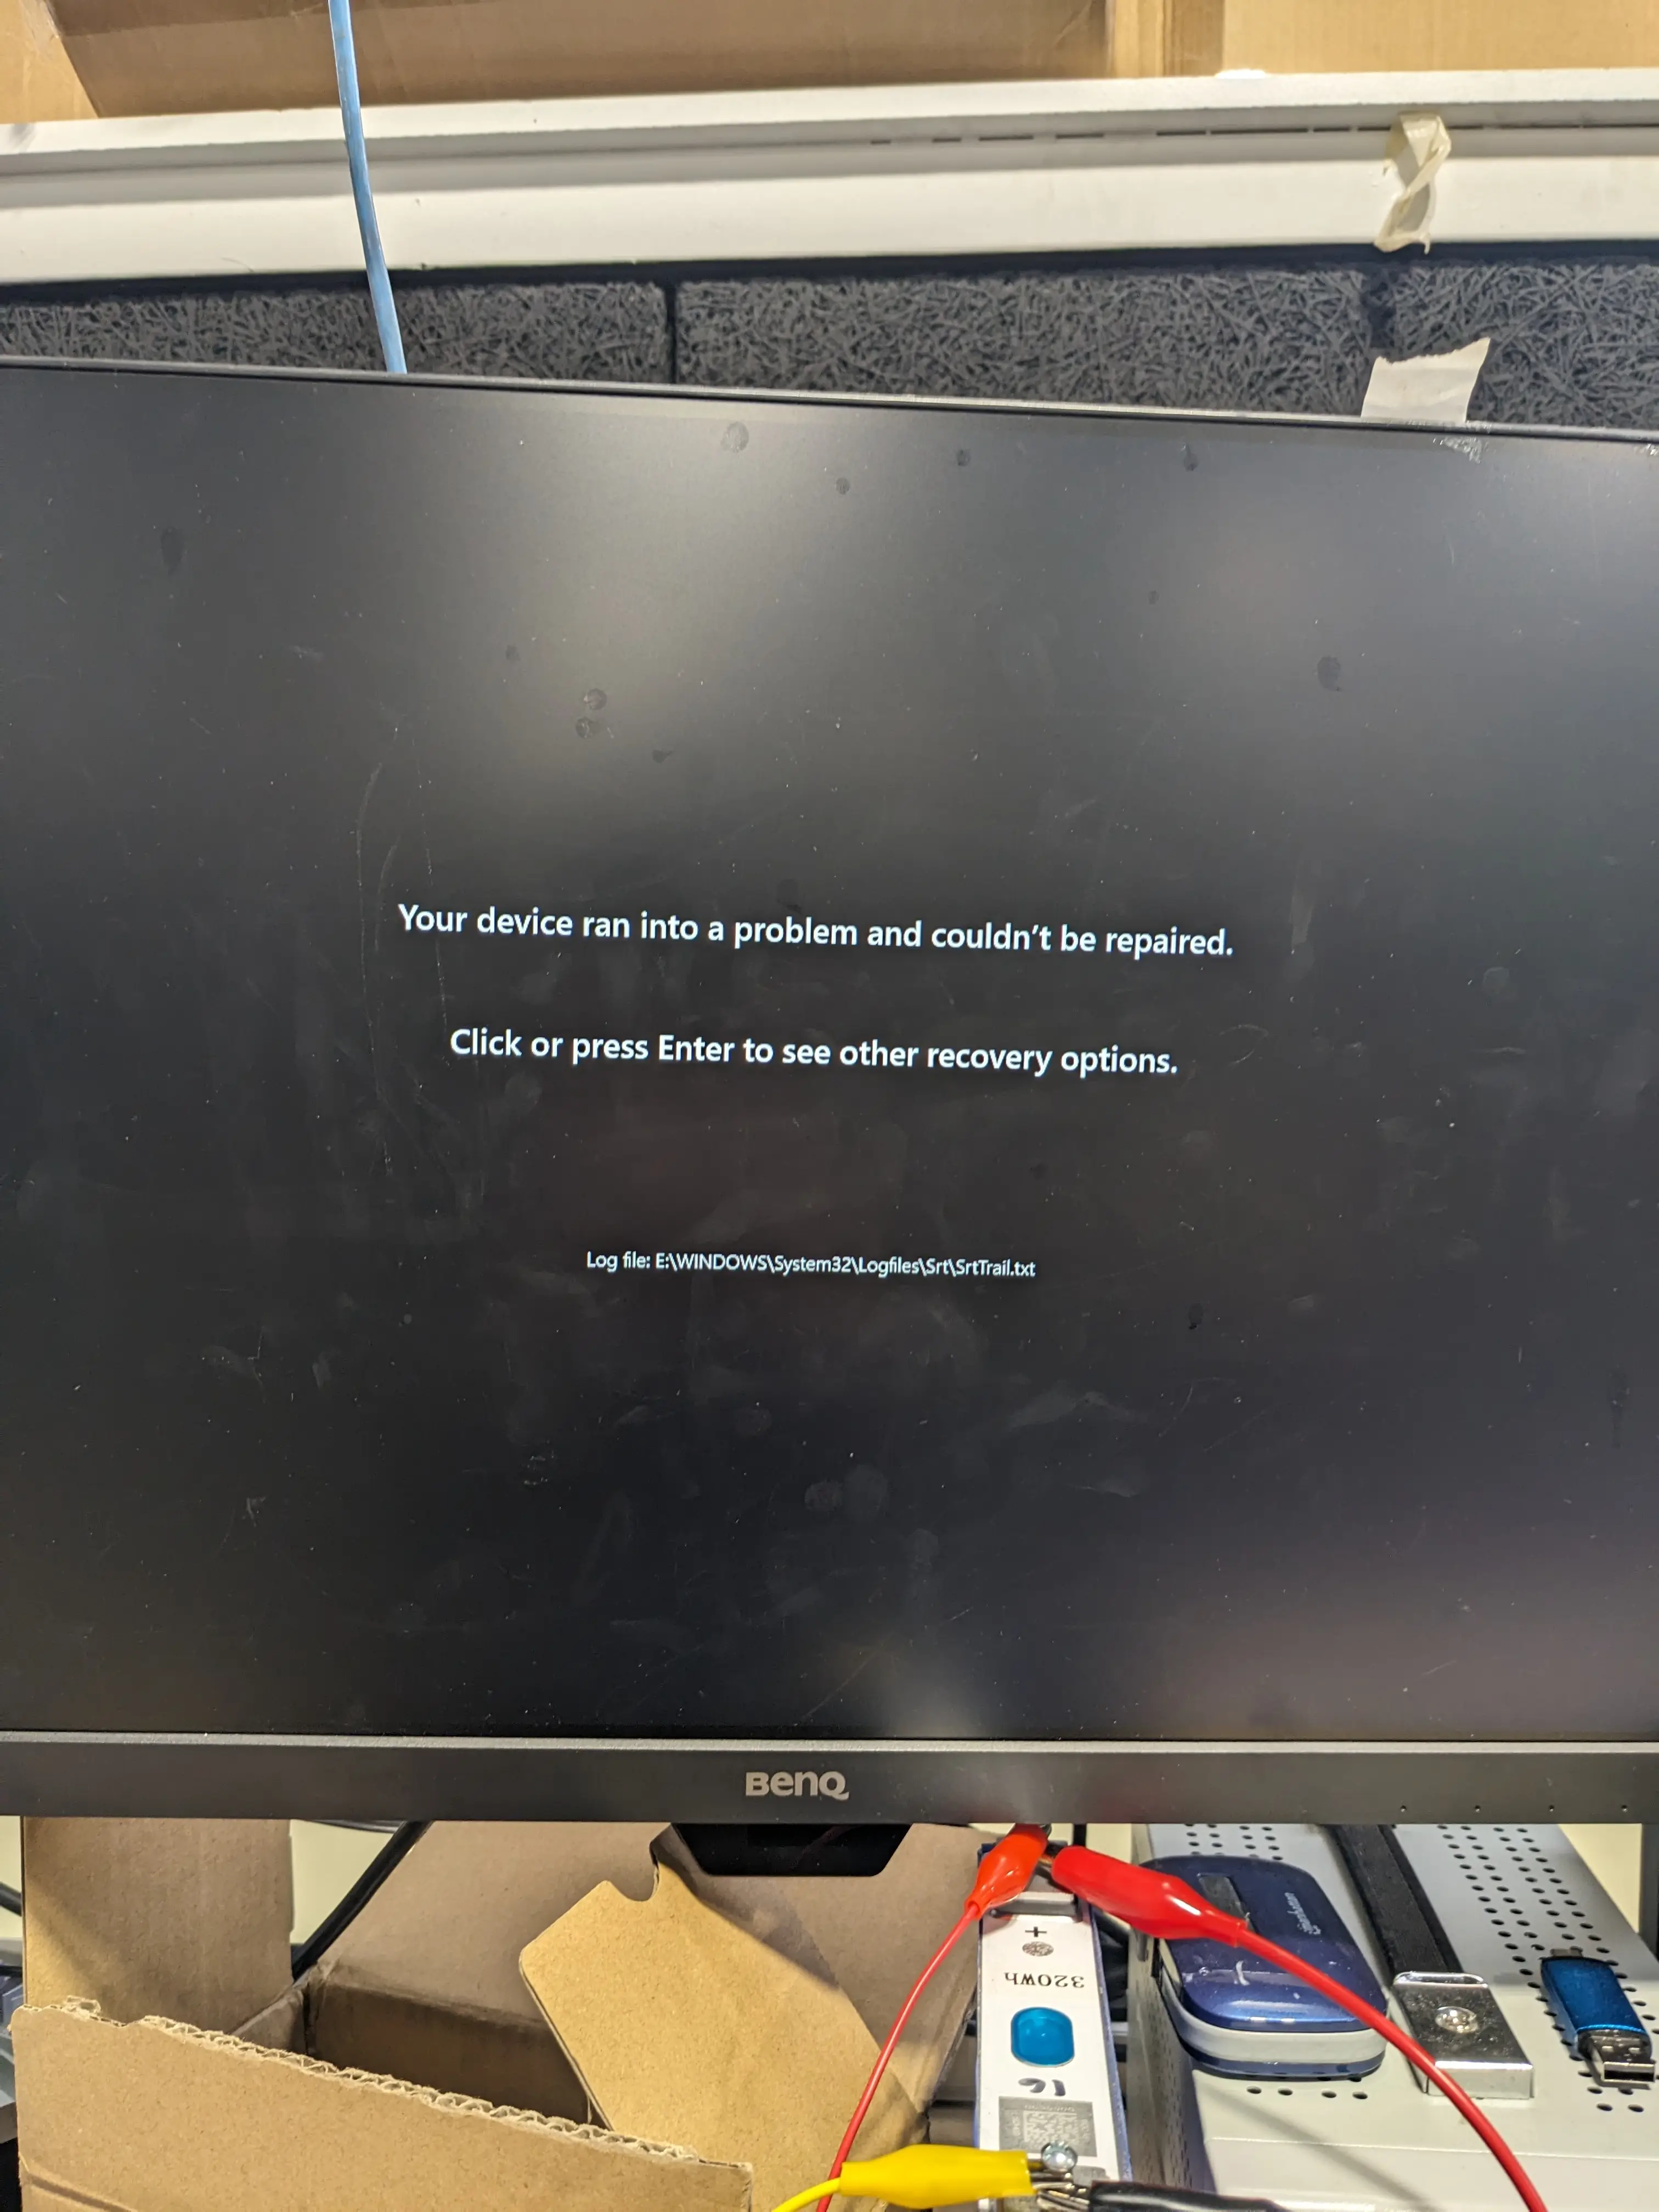
Monday I was welcomed with some errors on my PC complaining about BitLocker which had apparently encrypted my entire hard drive and refused to let me use it without some magic key.
I spent a solid period attempting to bypass this restriction with some advice from Andrew, but I realized I could obtain the magic key it wanted from my Microsoft account. After logging in, I found where it had created a special token to be used that could decrypt my hard drive.
I copied that and it unlocked everything just fine. Needless to say, I completely uninstalled BitLocker after that…
After that fiasco, it was time for gym, so I didn’t get a whole lot more done until seventh period.
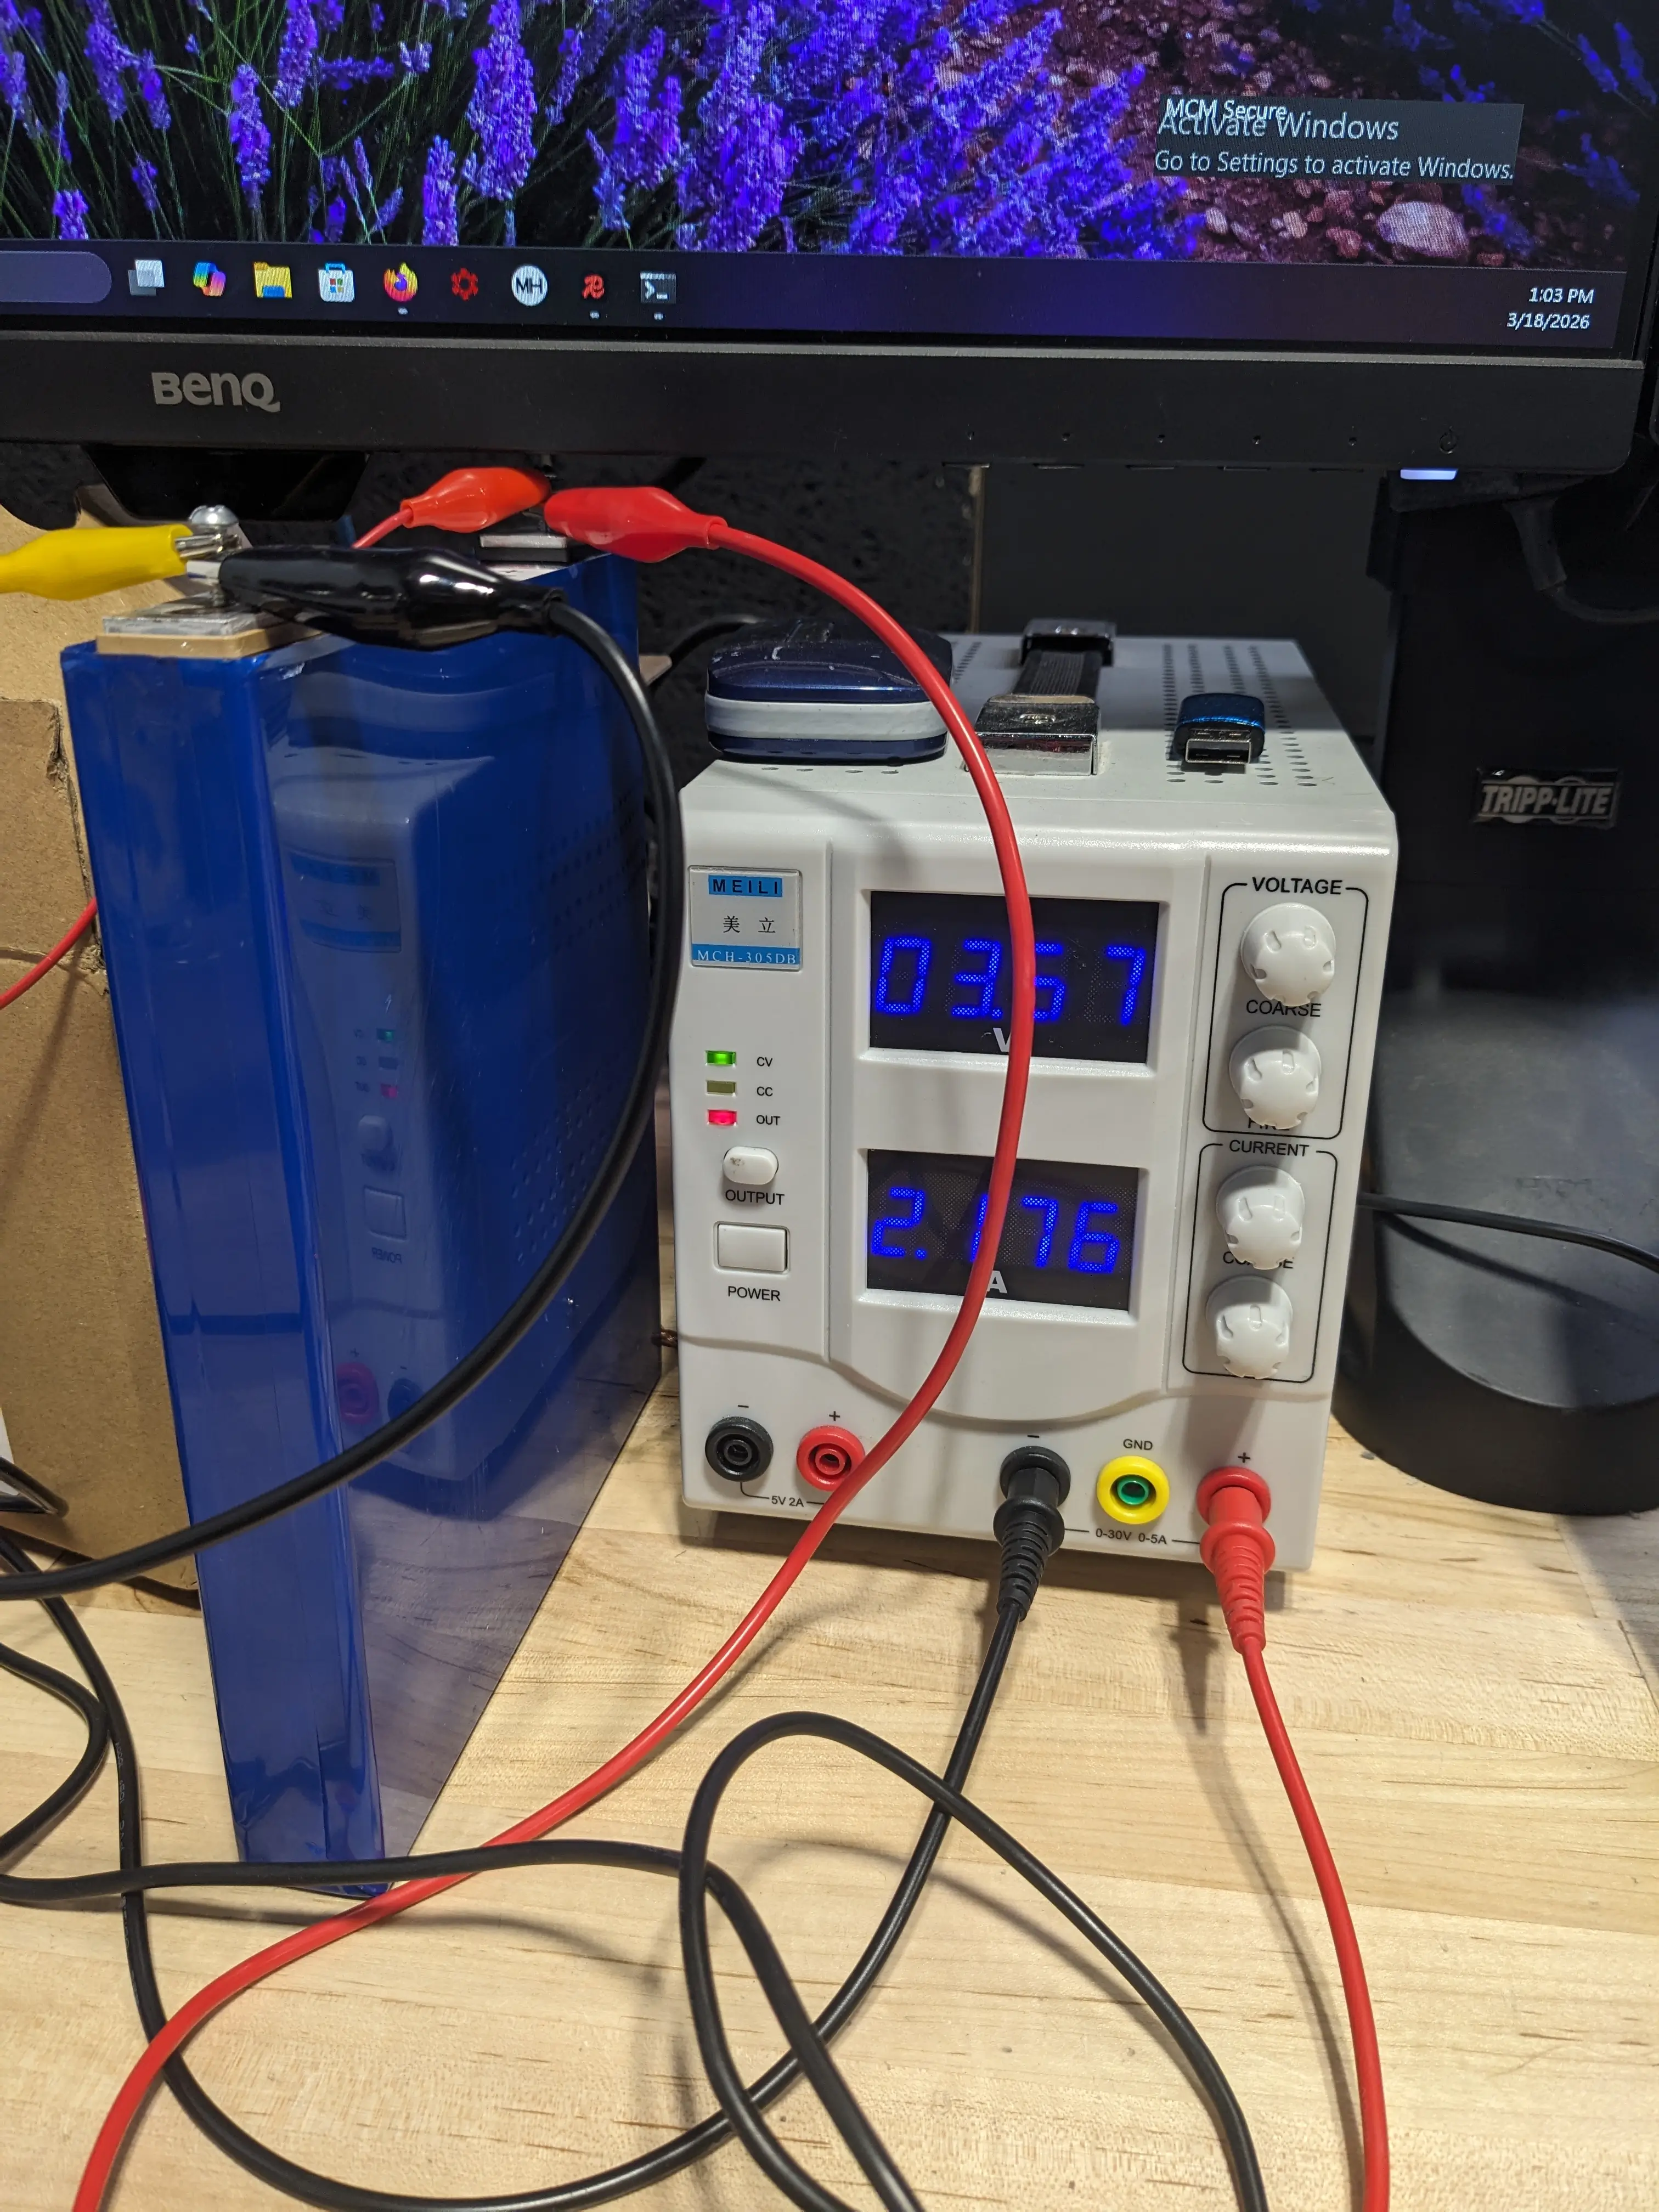
With my remaining time, I hooked up one of the old battery cells from the golf cart to the power supply to charge it fully. This way, I can discharge it in a controlled manner in order to measure the internal resistance of it, capacity of it, and a general reading on how ruined it is. I only had it on the charger for some 45 minutes before school ended, and I disconnected it, planning to reconnect it on Tuesday. Turns out I was absent Tuesday.
Jumping to Wednesday, I wanted to confirm that we would need to replace the two cells that we checked last week that gave bum readings under load. It isn’t easy to take the whole electrical system apart on the golf cart after all. I charged the battery fully using the intended series charger (for the first time in months) and it actually handled it just fine. Our most recent replacement cell (cell 16) was still about 1/10th of a volt lower than the rest, which is fine. I will leave everything set up over the weekend so the BMS automatically balances things out naturally.
After having it charge fully (more or less), I realized the only way to test it out was to give it another test drive.
I called Jonas over and we did some “experimenting” which included “load testing” where we just drove fast and measured cell voltage and IR.
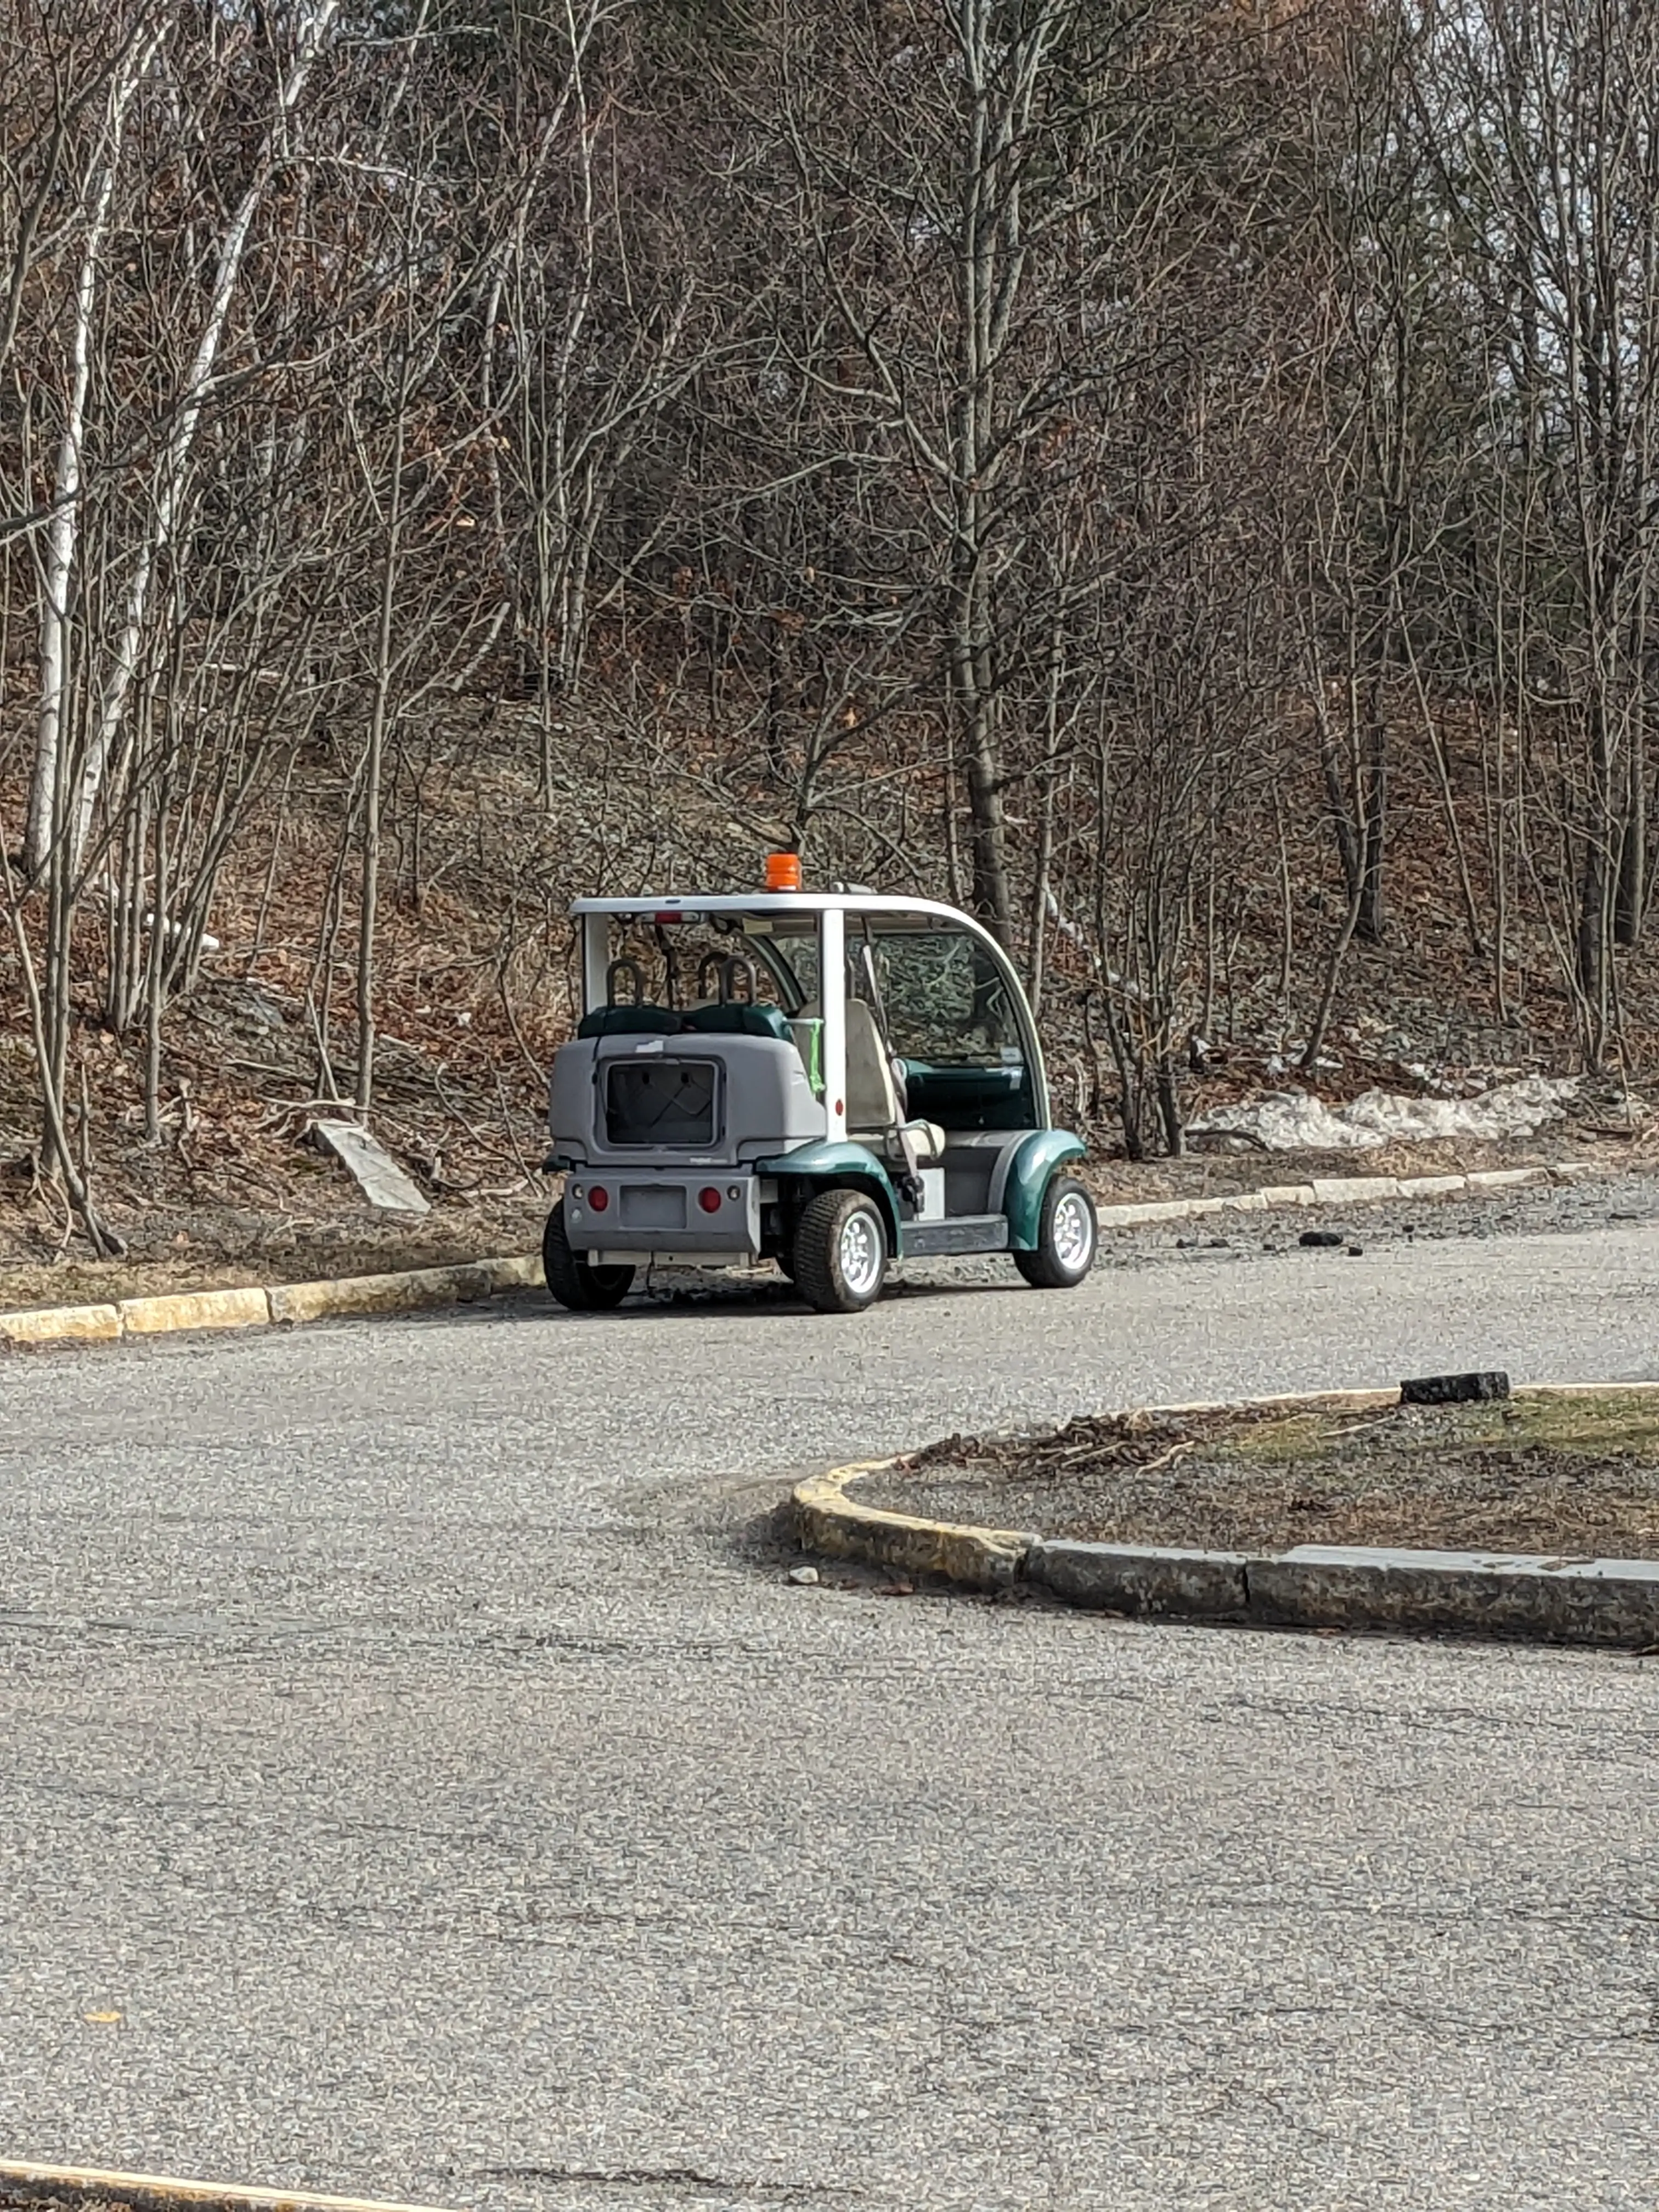
Definetely my favorite part of the week! Until Jonas got behind the wheel for a fraction of a second and somehow made the whole BMS shut off. We then had to push it back to shop… Turns out one of the cells just dropped a little too far and the BMS went into SOS mode. Putting it on the charger brought things back to life however, so no harm done.
This does confirm my theory that there are still a few lemon cells in the pack.
While I was waiting for the cart to charge again, I decided to work on the black-box UI for the BMS. I decided to transition away from having a laptop set up all the time on the golf cart, and put in a Raspberry Pi 4, freshly imaged with Raspbian OS.
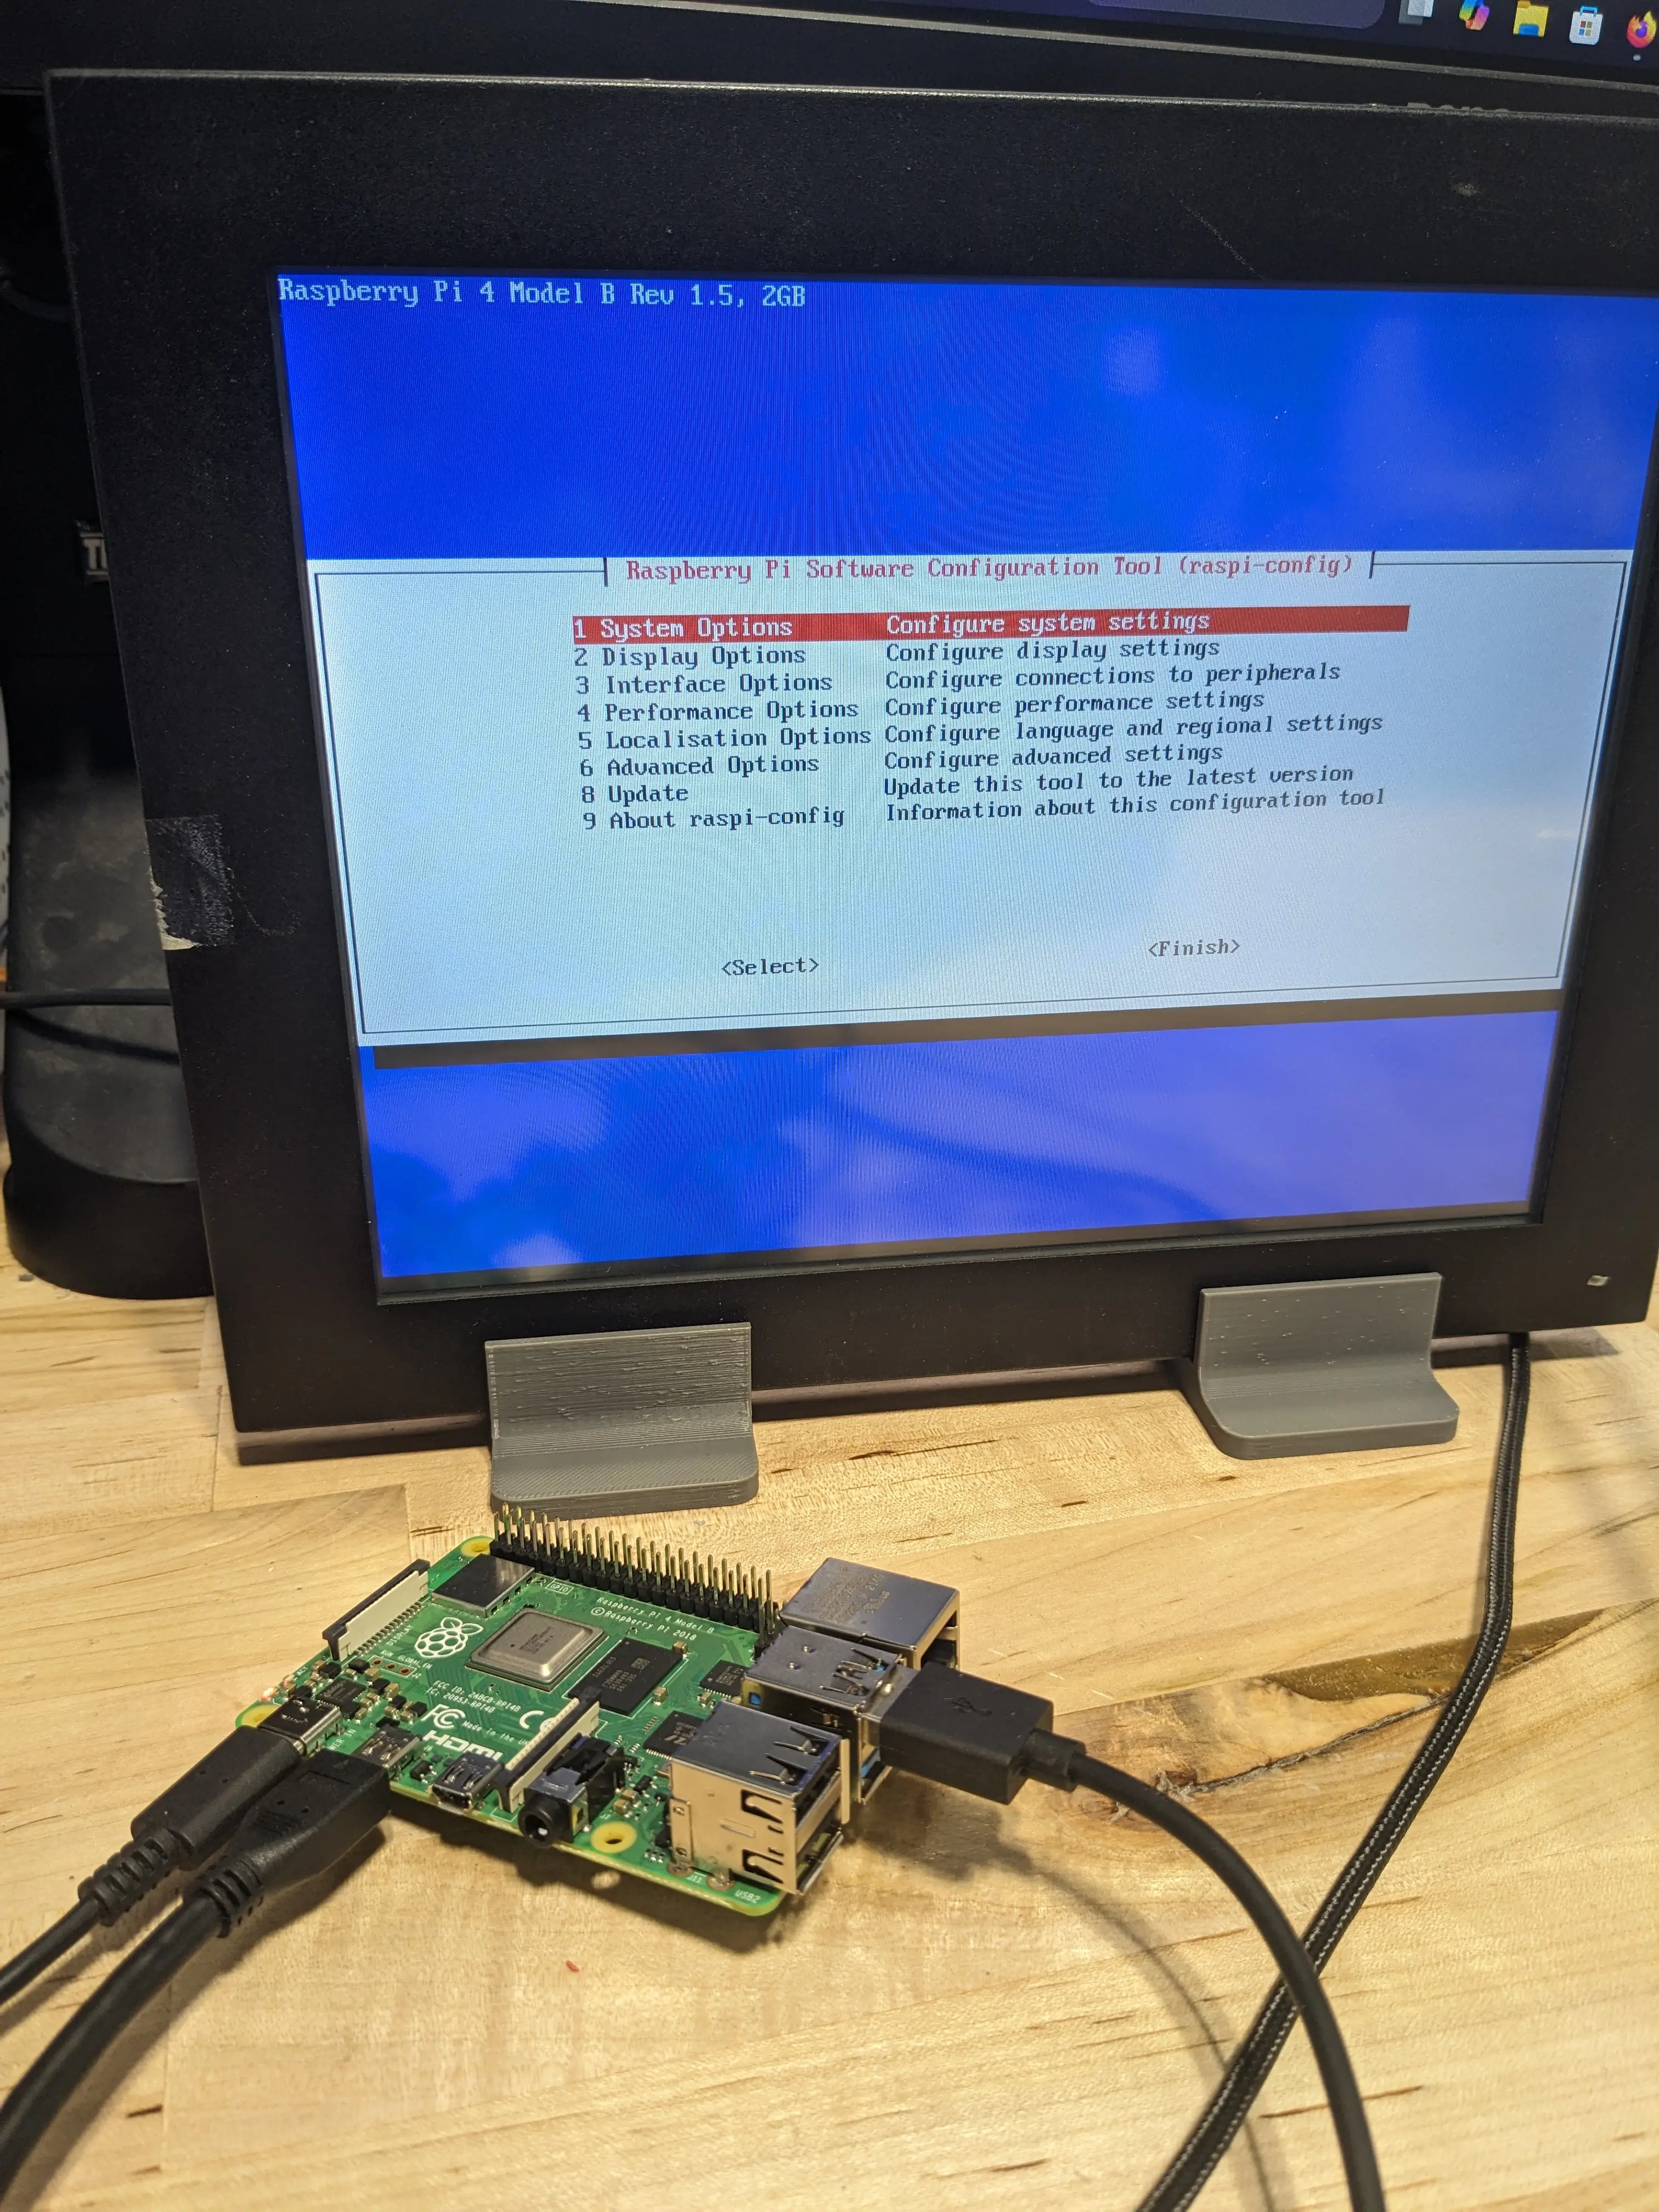
The Pi’s job is to keep a persistent “black box” style log of everything BMS related. This will make going back to pinpoint future BMS or battrey related faults much easier and more efficient!
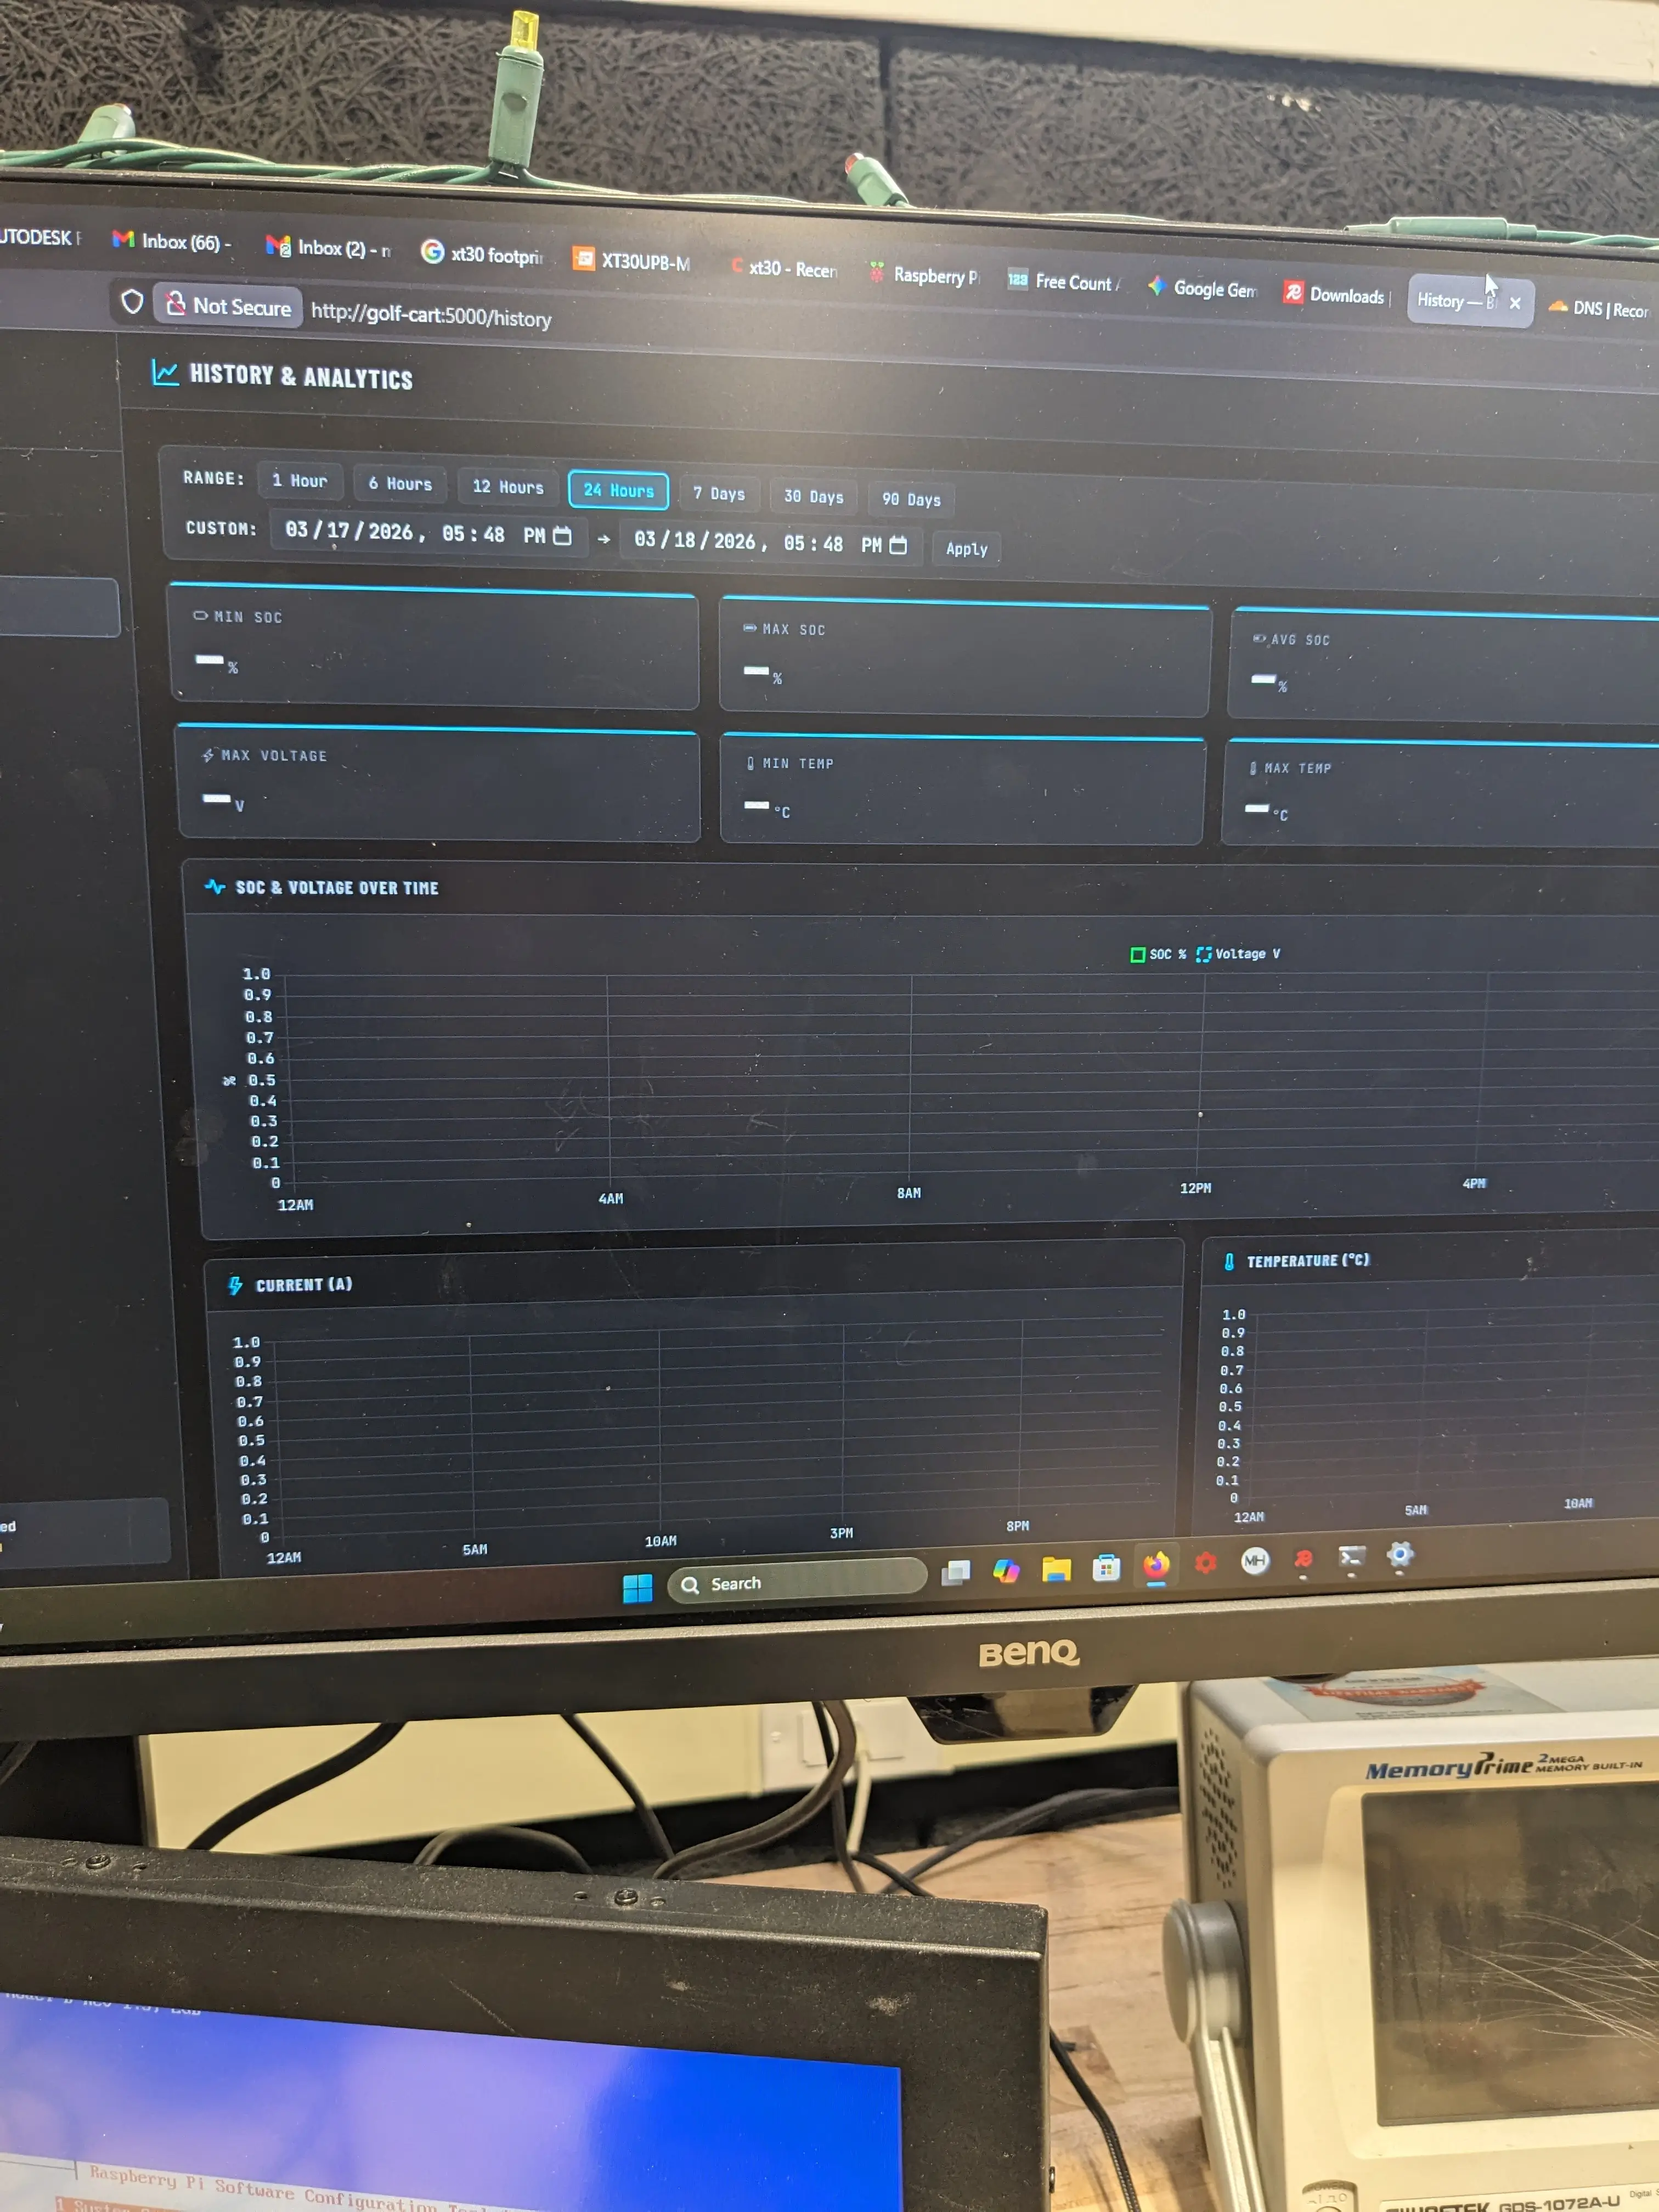
The UI now looks pretty awesome, and the RPi hosts its own WiFi AP. This means it can be tapped into with any device from anywhere nearby (no internet required) and can be monitored! A good web ui really brings things together.
And before I left shop on Wednesday, I had Mr. Christy order 6 more of the prismatic cells… JIC
Week of 03/23/26
This week, a lot of progress on the golf cart was made.
Jonas and I worked to get a display installed, which will serve as our custom dashboard. This will be hooked up the the Raspberry Pi SBC that will be onboard the golf cart. This module will be responsibe for recording all info and data in a blackbox log. This includes battery info (BMS status, cell voltage, current, temp, etc.) along with other stats like steering position and throttle percentage.
The hope is that this will make debugging future issues much easier. The Pi’s other job is to delegate commands coming from the central computer (Jetson Drive PX2 from Nvidia) to the individual modules to control the hardware-level components.
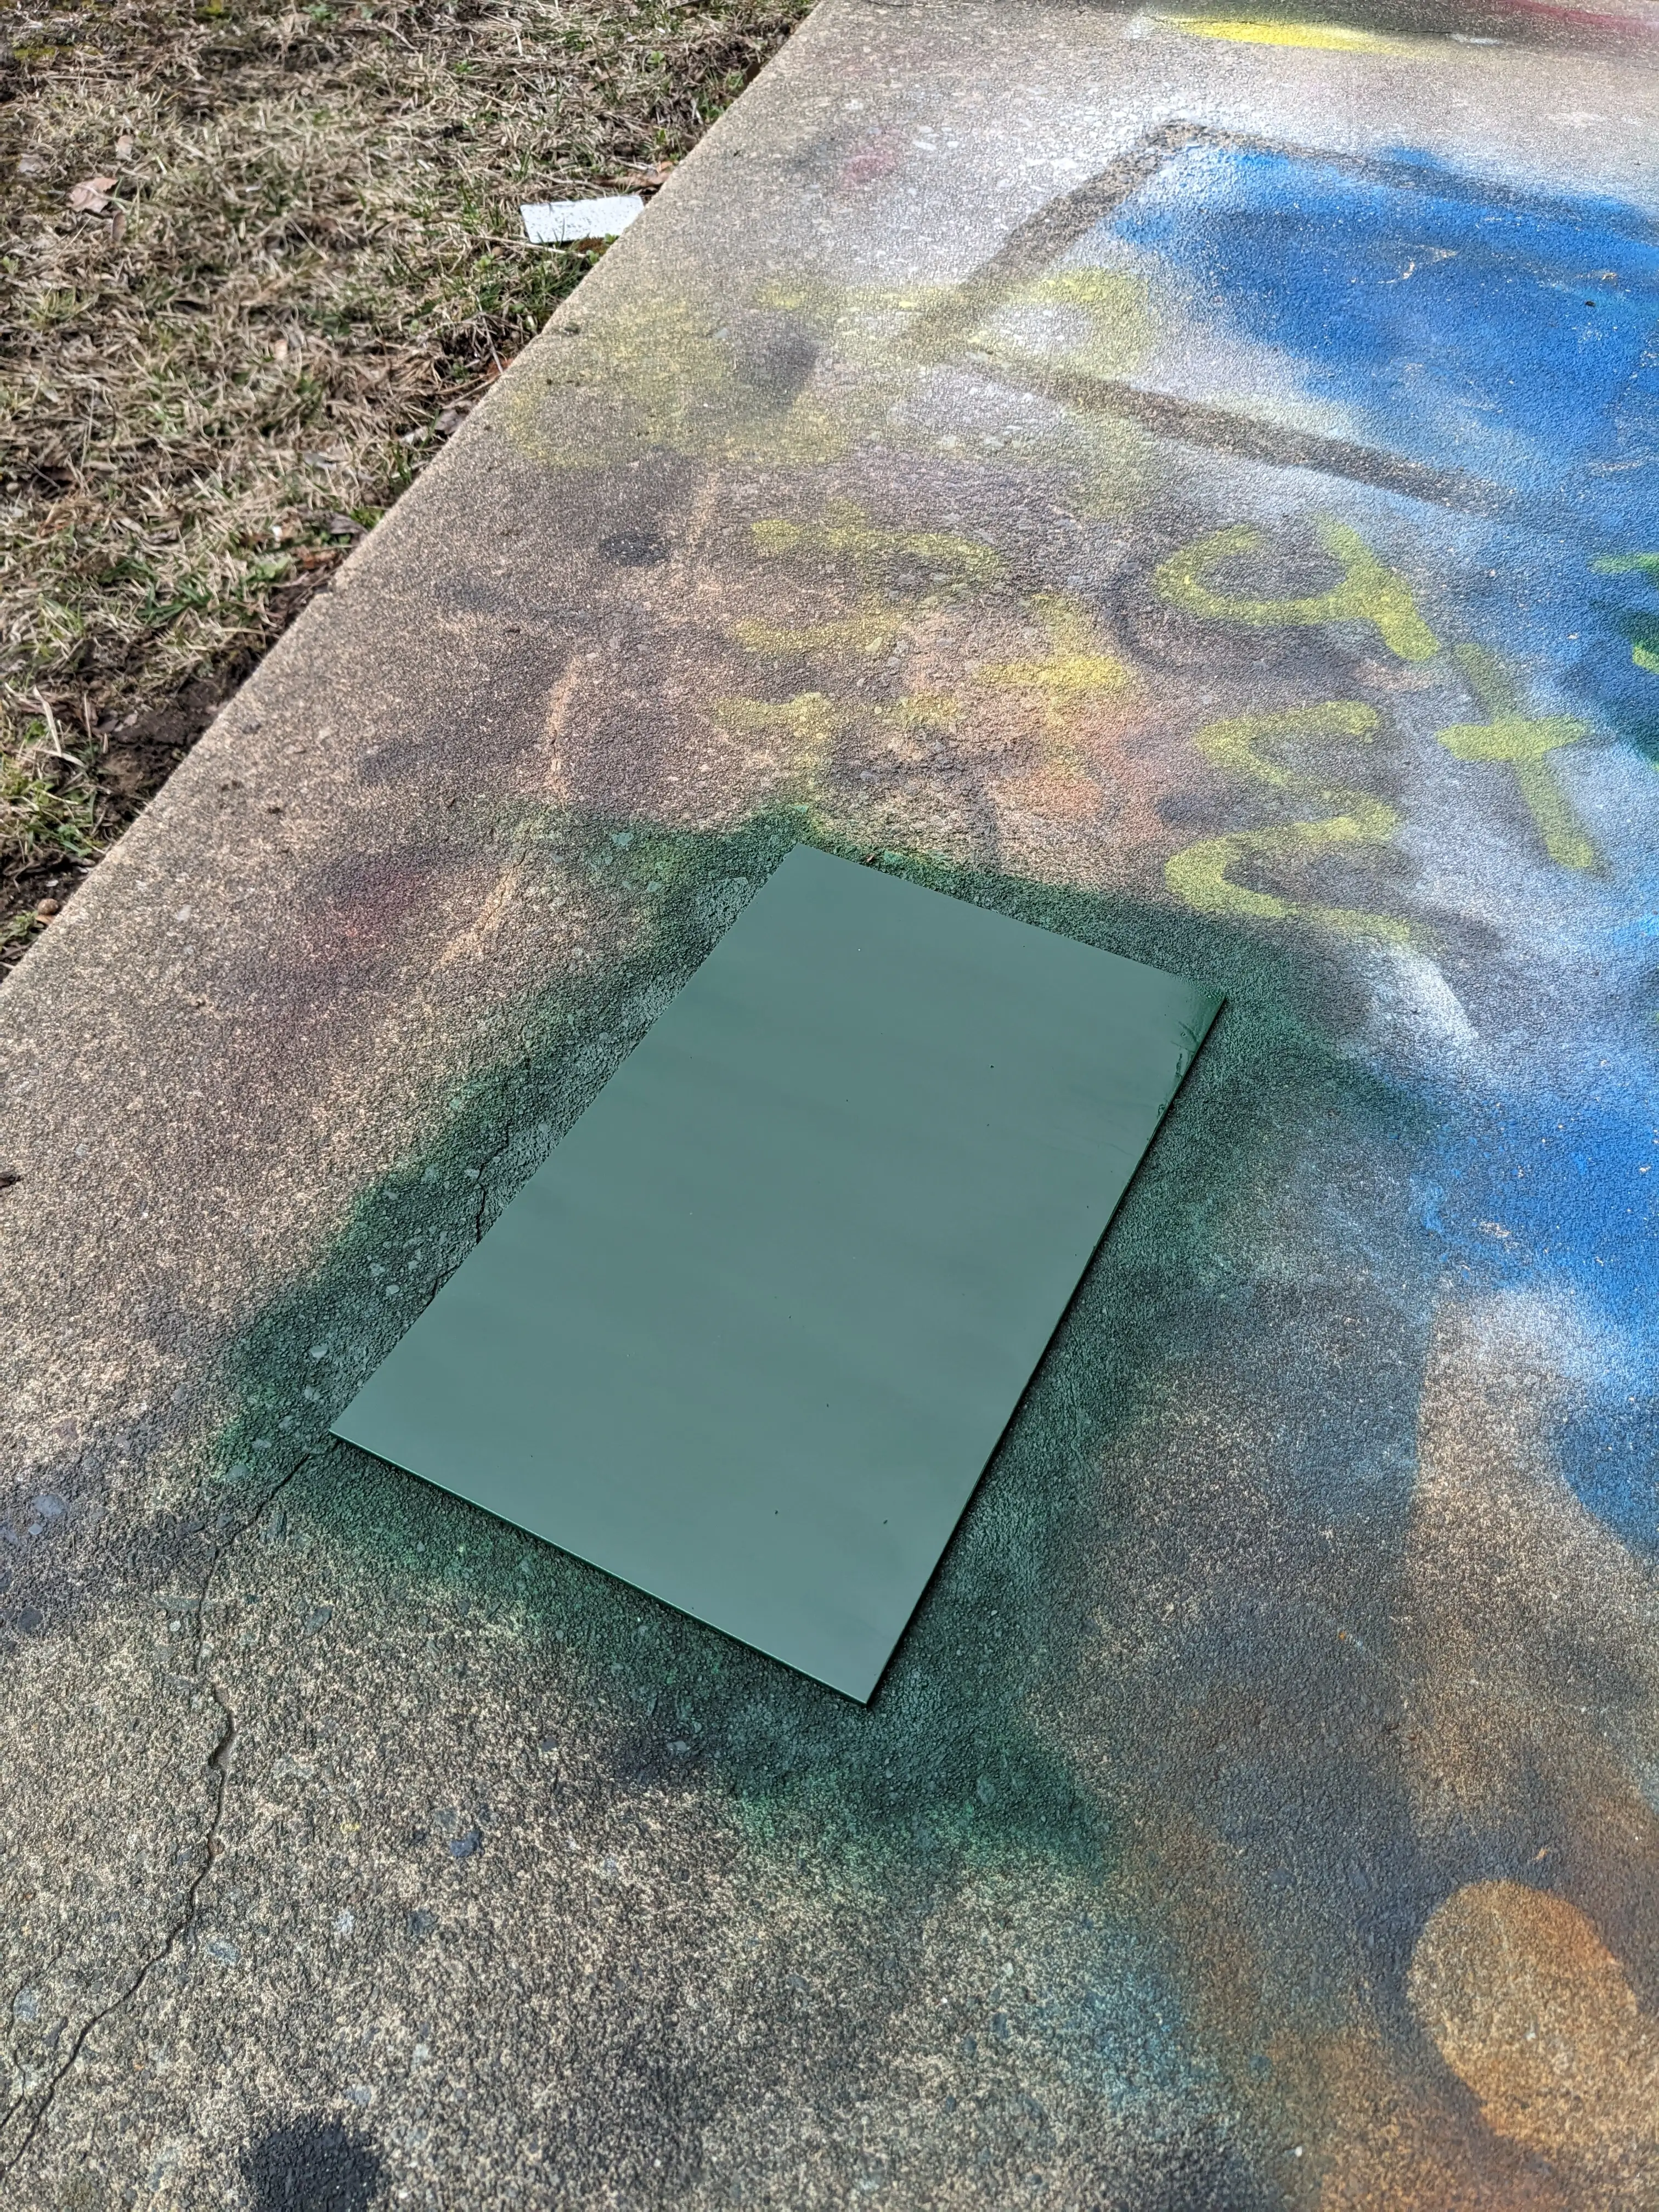
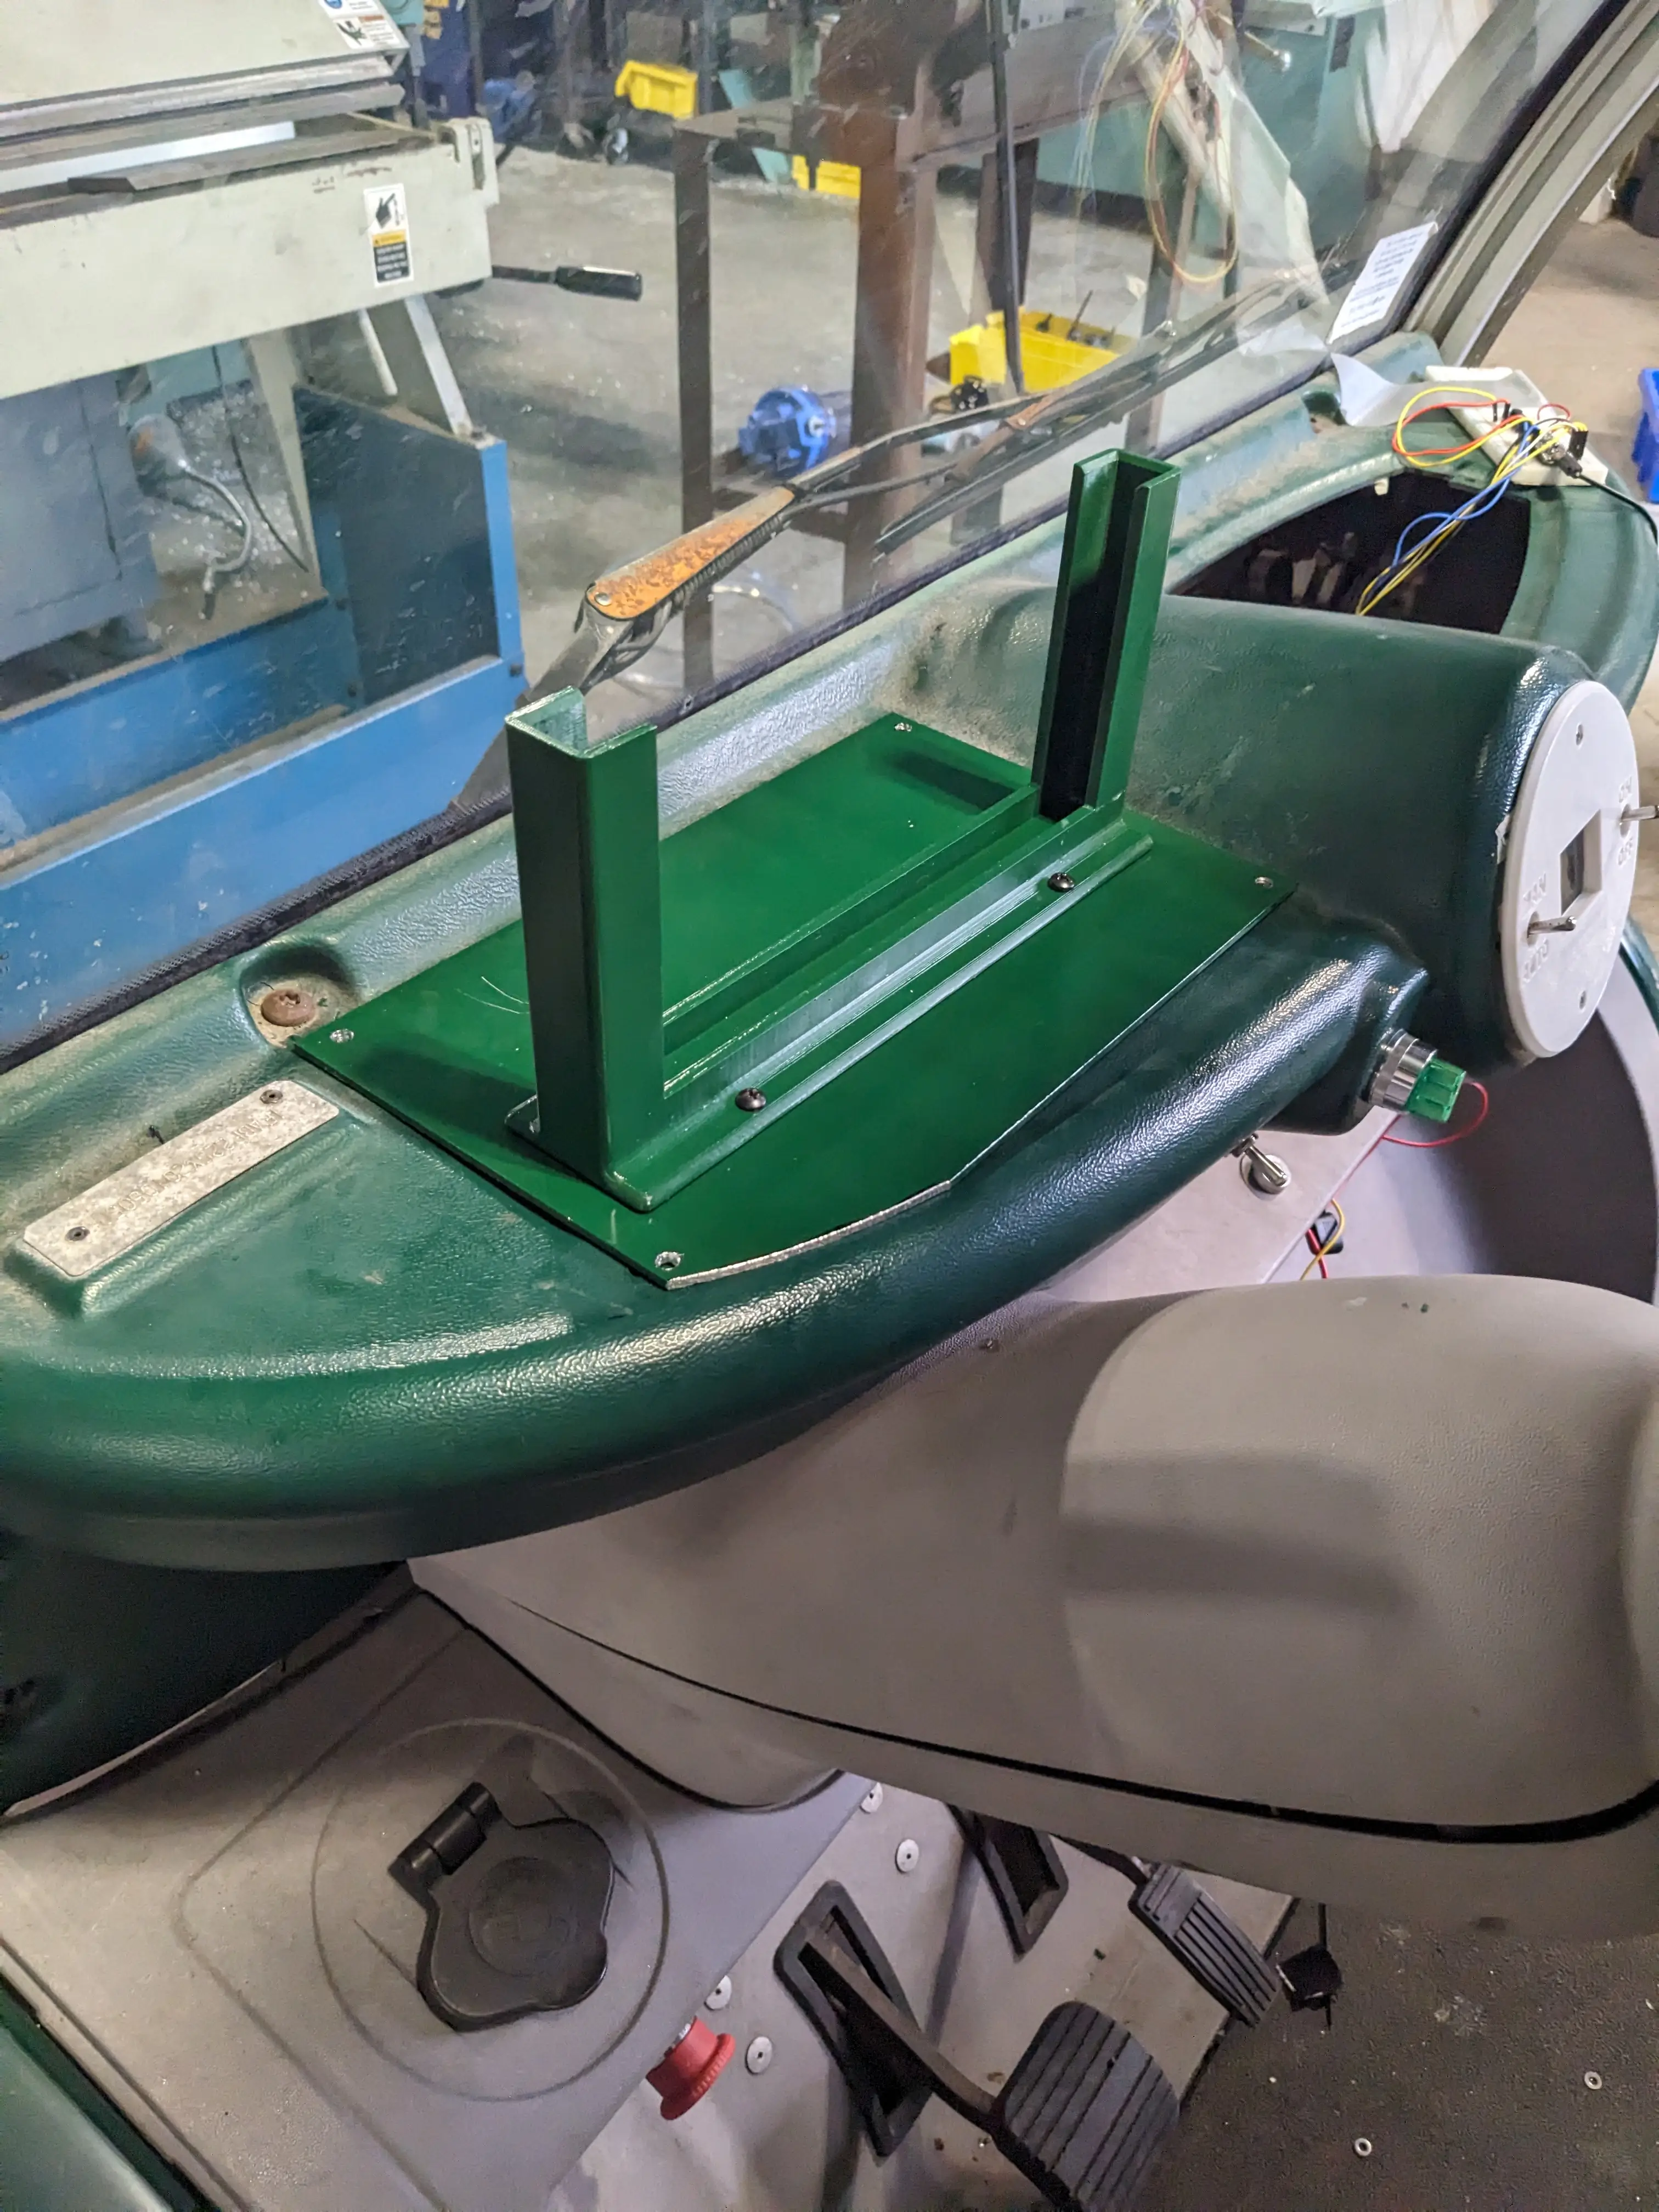
To do this, Jonas designed and printed out a 3D mount for the display. Later, he water jet cut a piece of steel to sit on the dashboard that will mount to it.
I then painted the parts separately to help match the color (it was especially ugly otherwise)

Once everything dried, I drilled holes in the steel plate and mountd everything up.
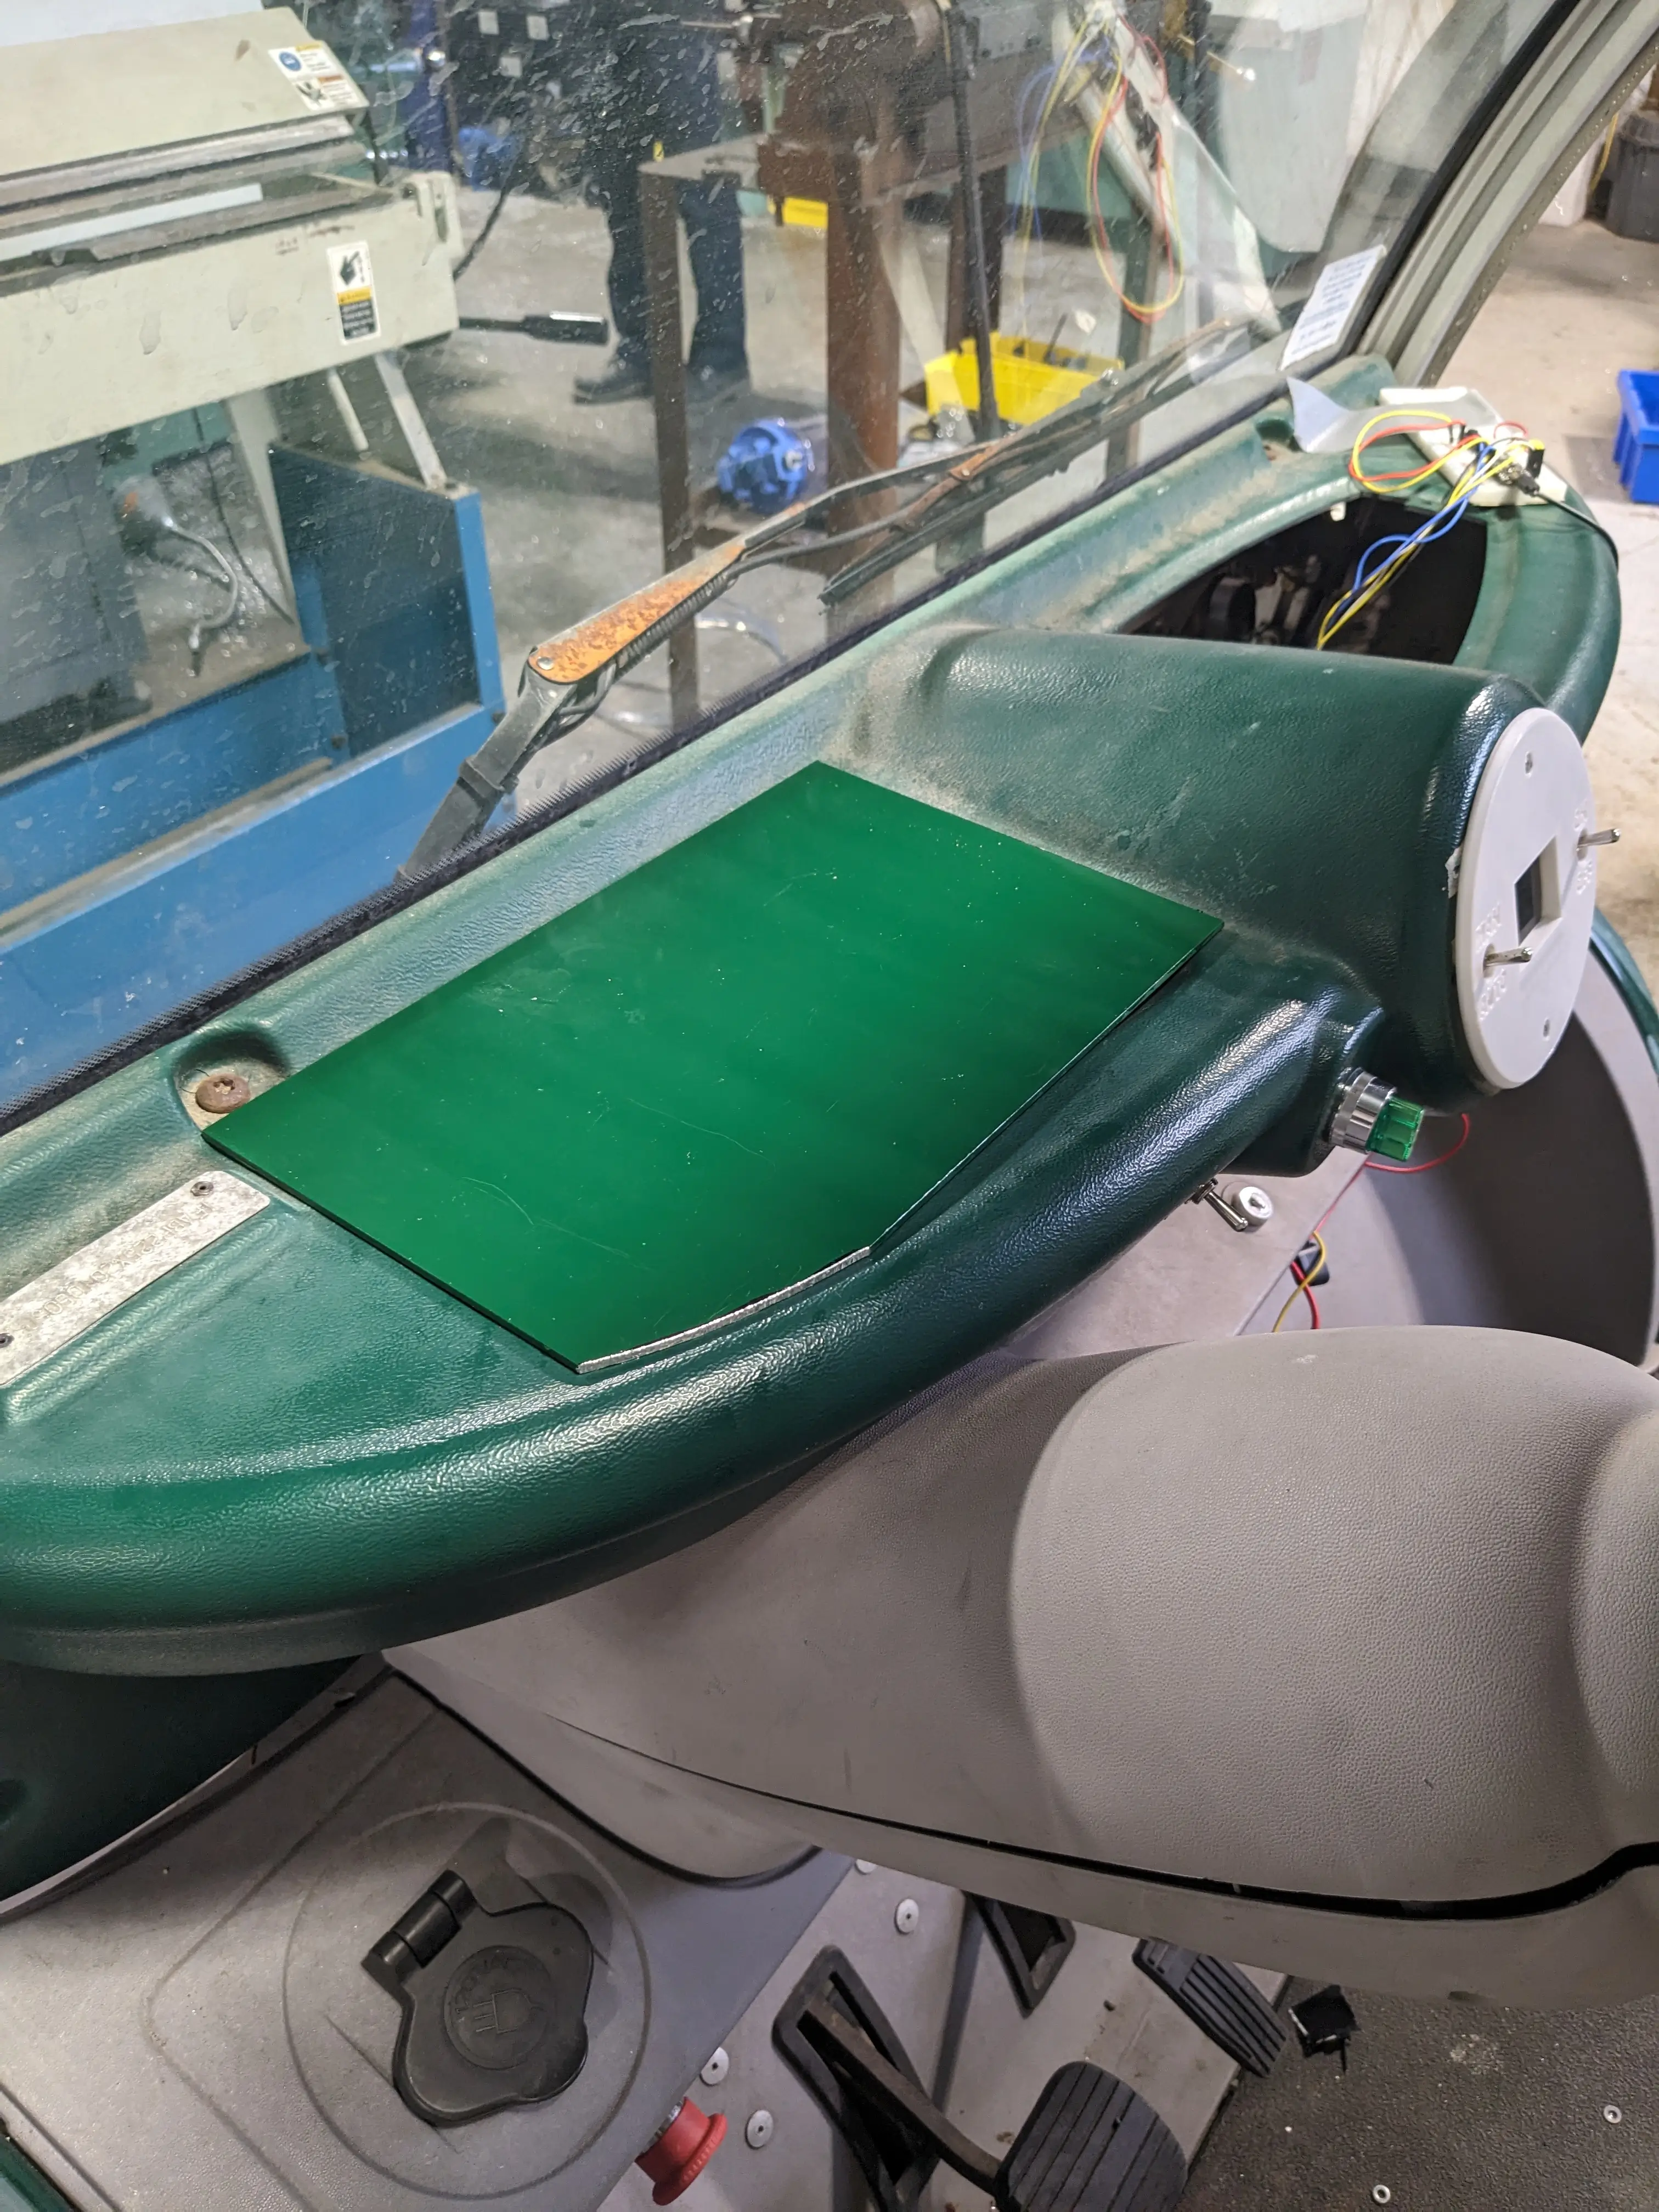
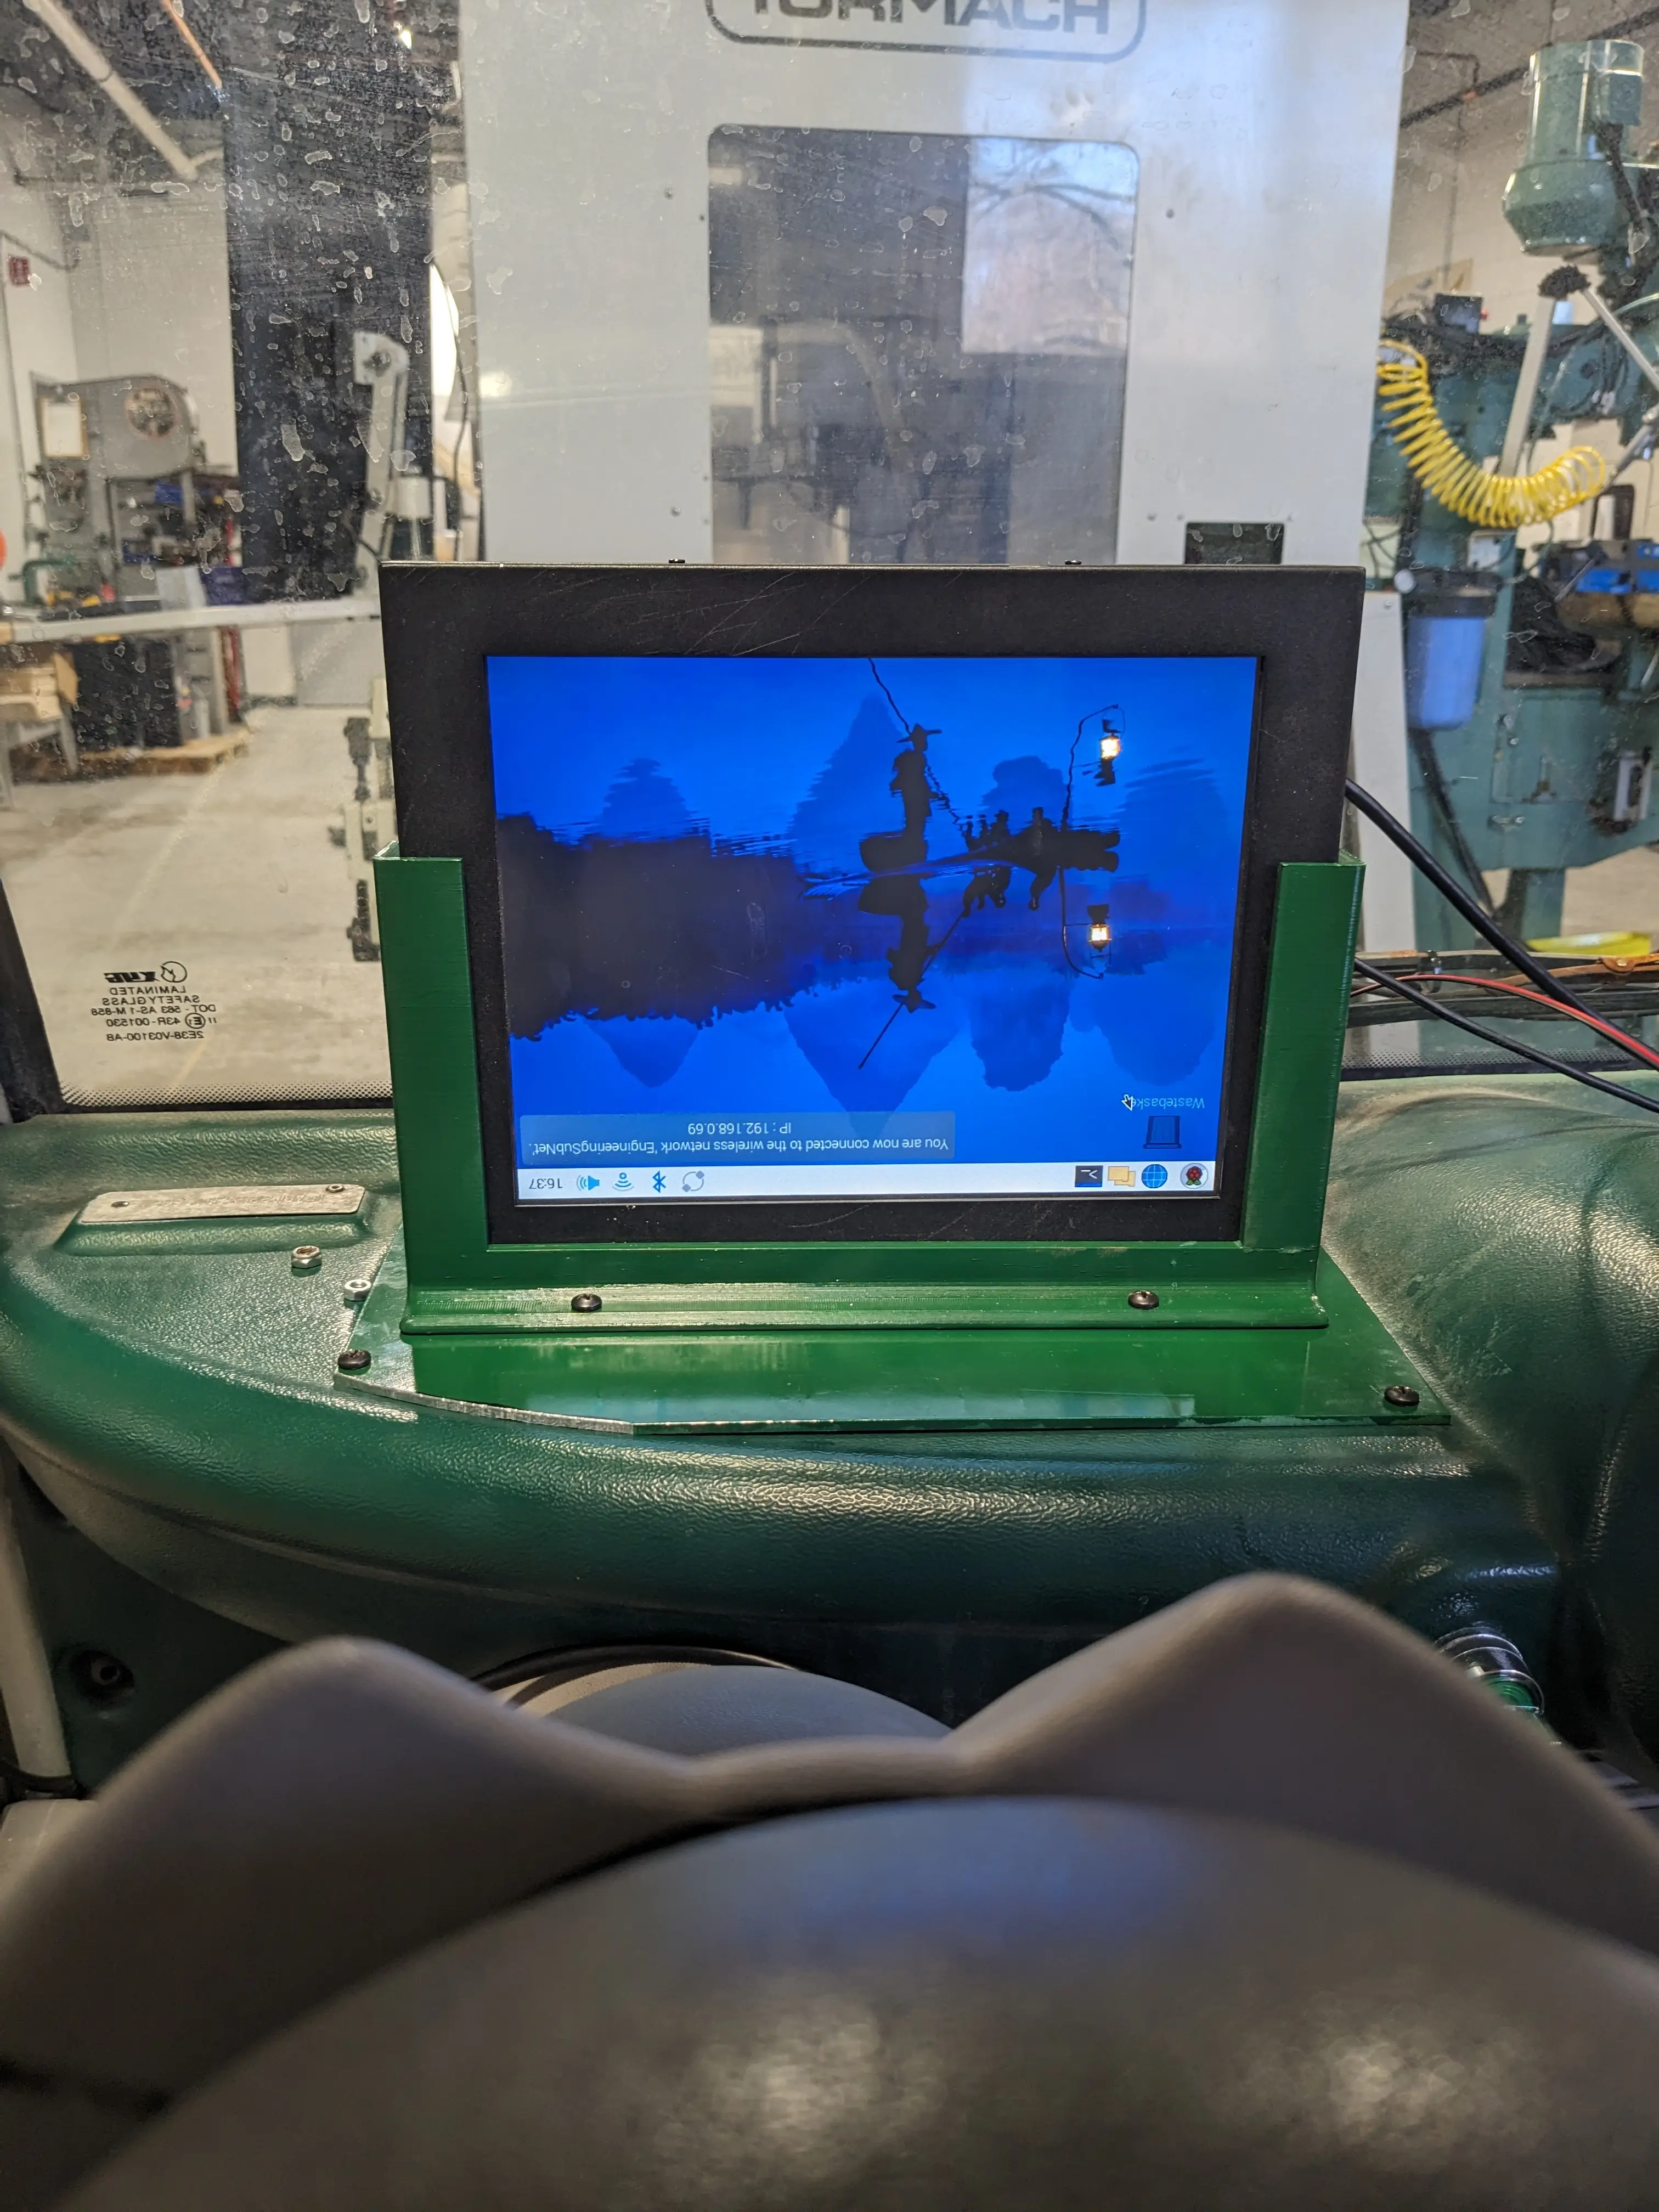
After mounting it up and powering the display with a 12v power cable (coming from the 72v to 12v converter that we installed) we rolled the whole vehicle outside in the bright sun and hooked up a laptop via HDMI to see how it would look.
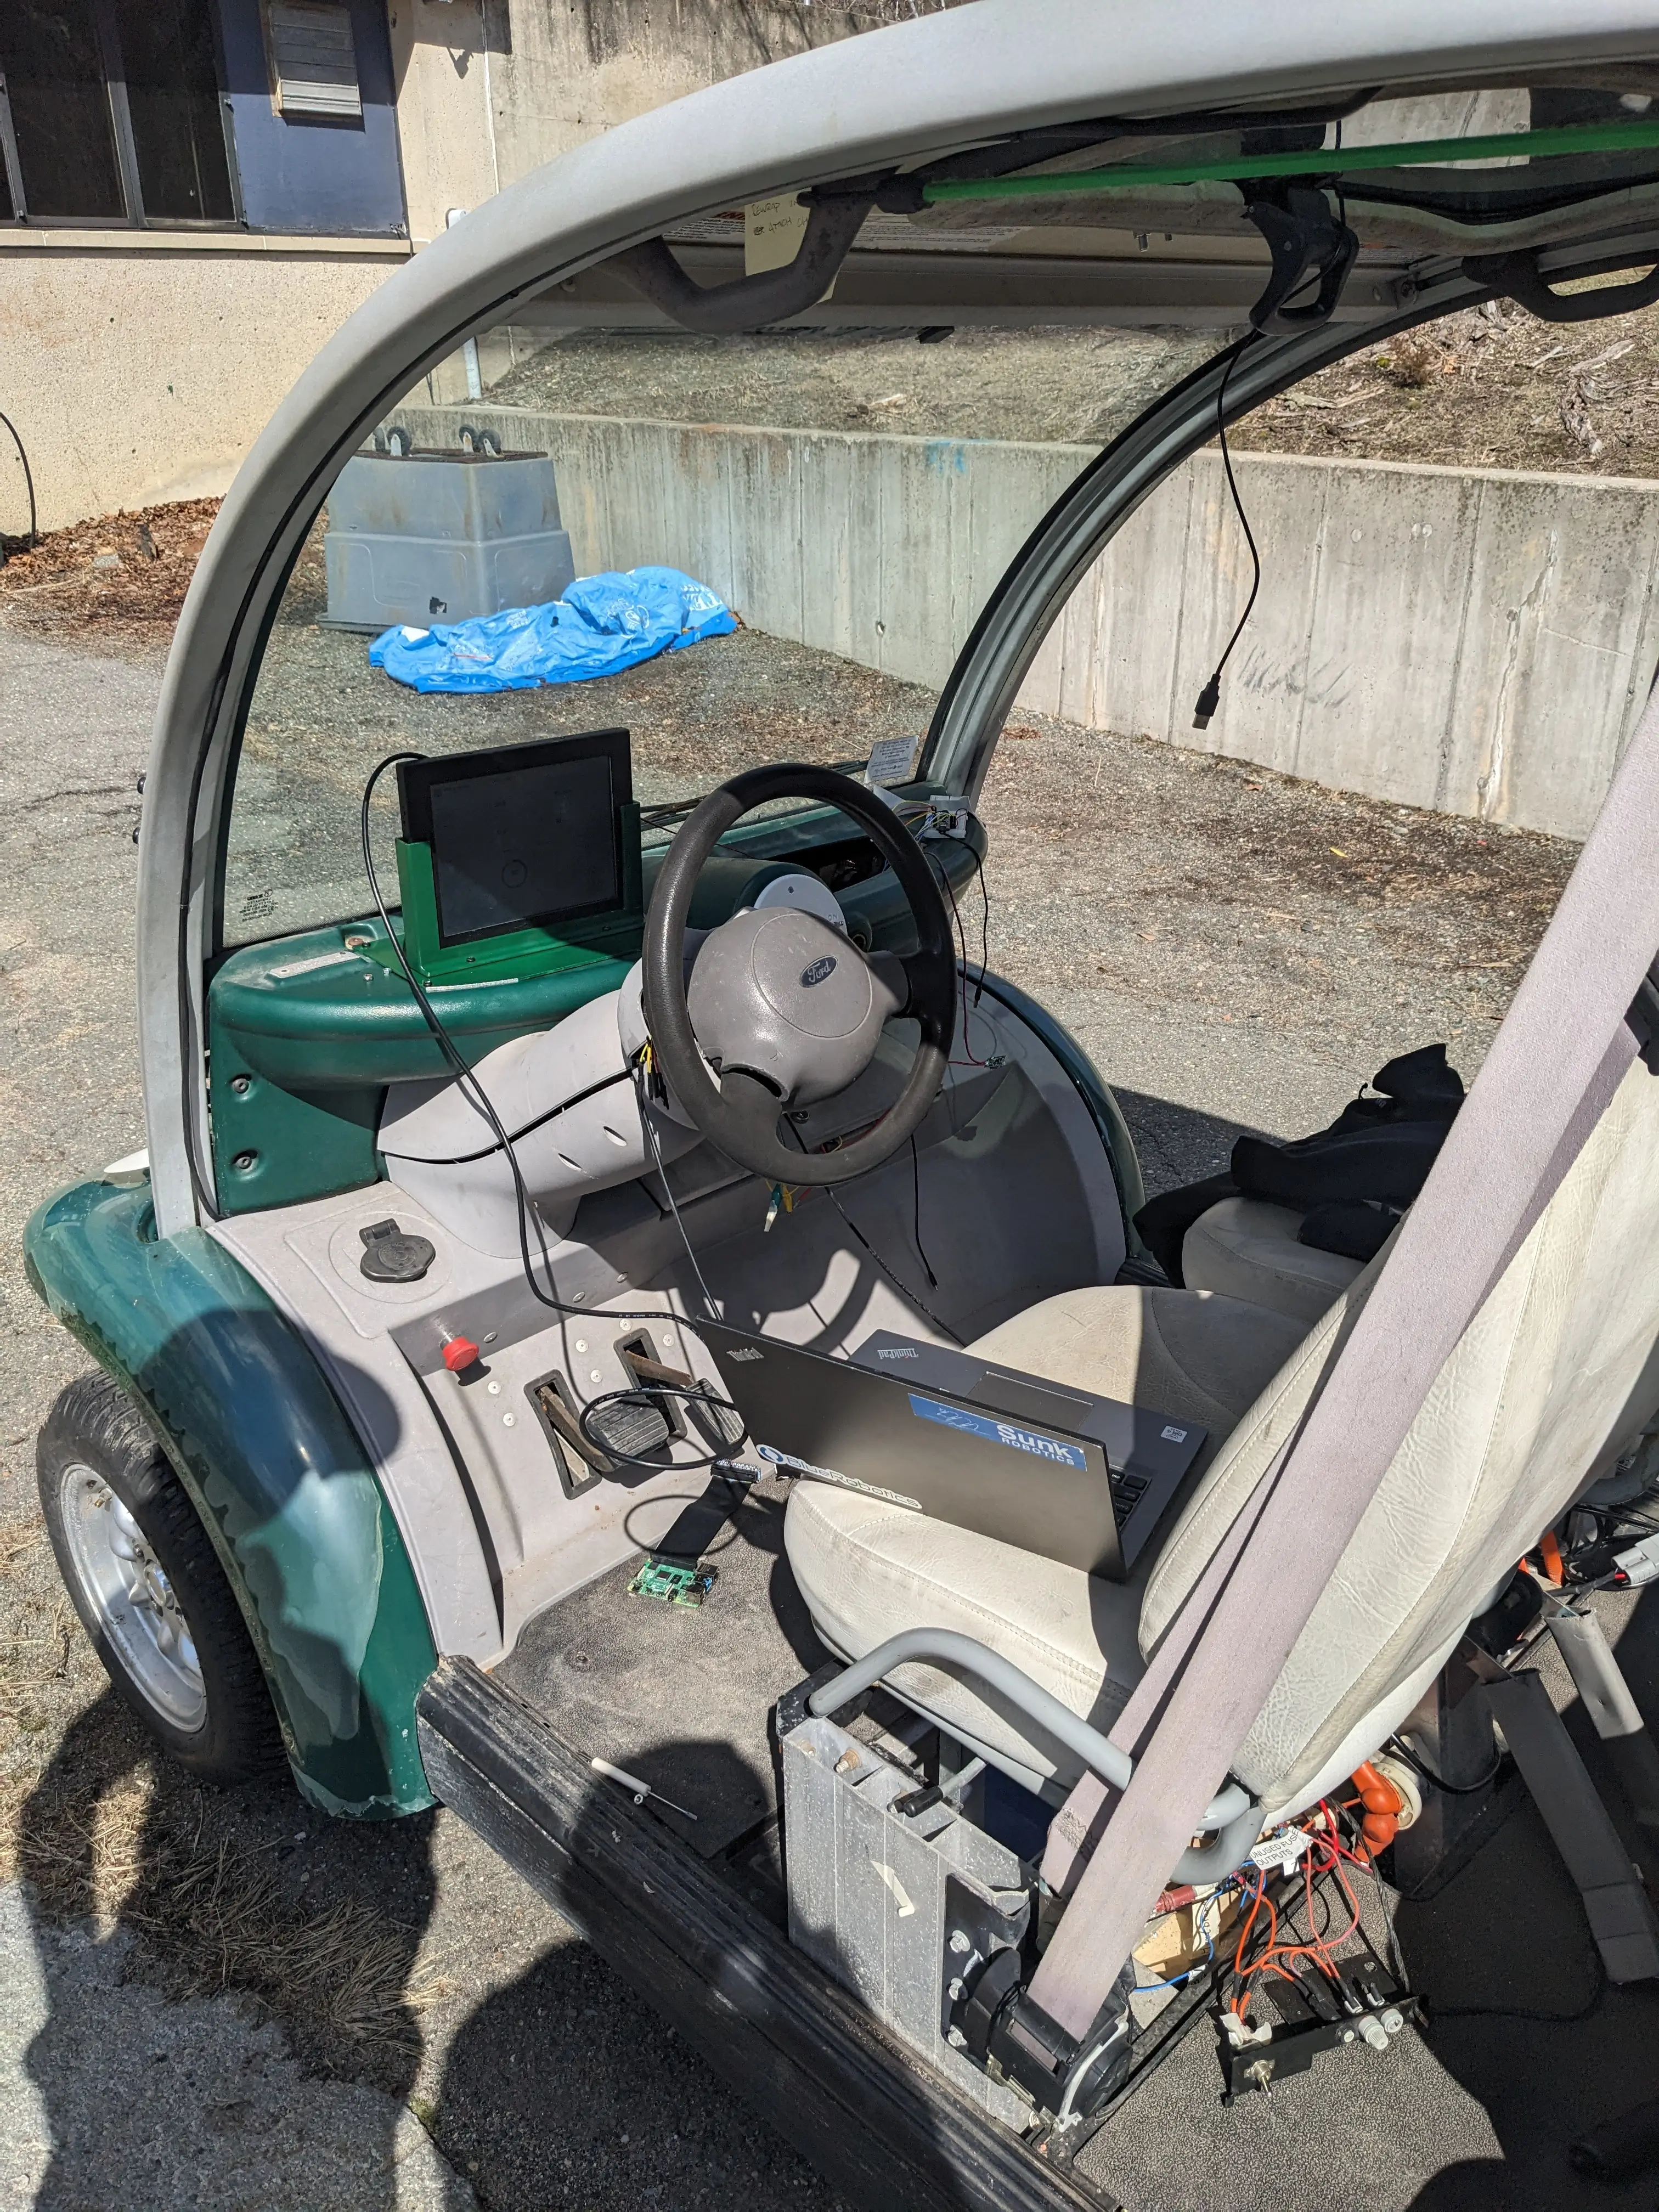
Unfortunately, something I overlooked, was the polarization of the display. We mounted the whole thing upside down so that the cables could come out the top, but this caused the whole screen to look very dark. If you look from down low, it looks great, but from up high, its almost invisible. When you are in the driver’s seat, it’s okay. If it is a problem down the road, we will fix it. For now, it will stay as is.
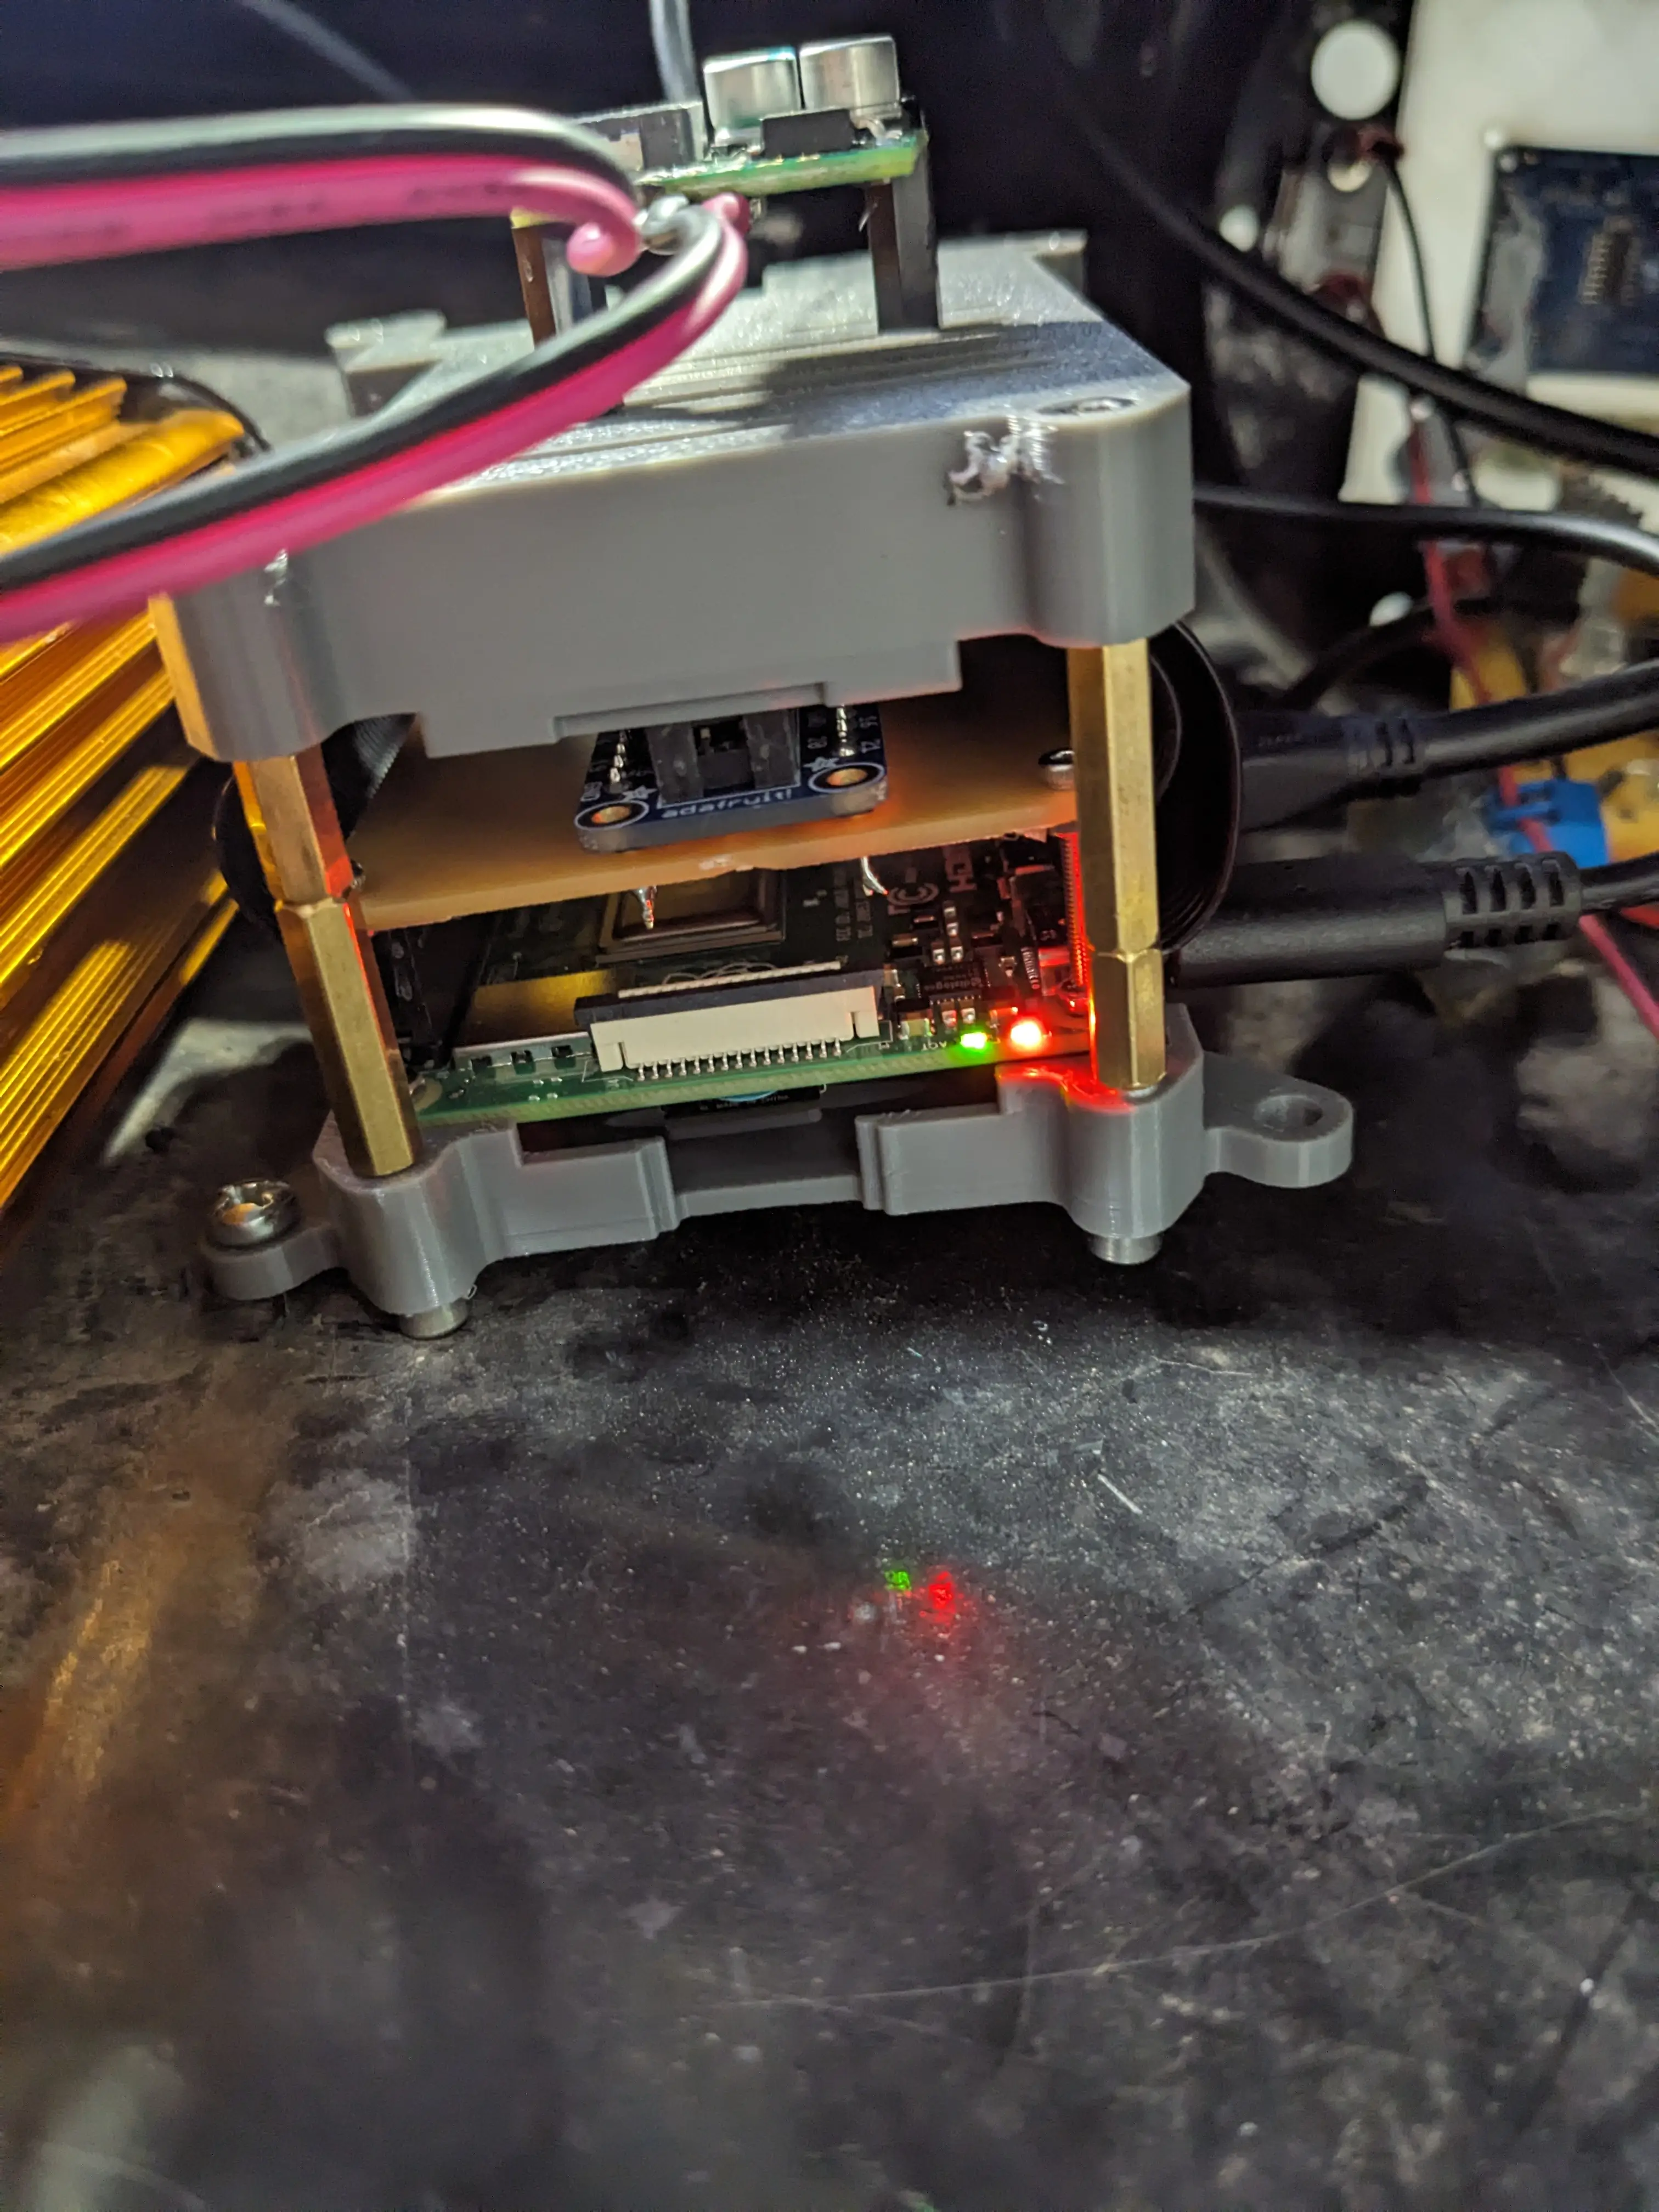
Finally, I 3D printed a case for the RPI that allowed it to be mounted to the inside of the golf cart’s dashboard. Additionally, I helped Jonas make a breakout board that sits on top of the RPI as a shield. This will make connecting sensors and powering devices with the pi much easier down the road.
All in all, I think it looks pretty good. Next week, I will be getting the software for the dashboard all sorted out… So stay tuned!
0
Views